Introduction
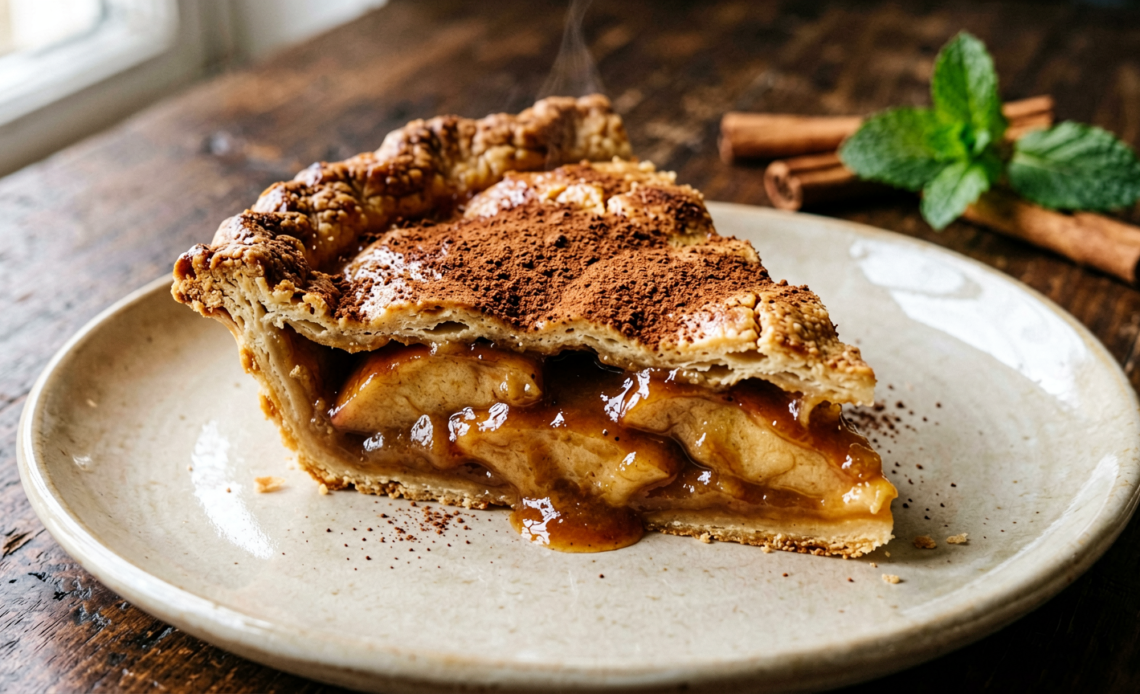
Forget store-bought! There’s nothing quite like the aroma and taste of a homemade apple pie, and the secret to that perfection lies in the filling. This recipe will guide you to create a luscious, perfectly spiced apple filling that will elevate your pies, tarts, and even your morning oatmeal to a whole new level. Get ready to impress with this simple yet spectacular creation!
Recommended Kitchen Tools
To make this recipe easier and more efficient, here are some tools I recommend:
-
Apple Peeler, Corer, and Slicer
Check Price on Amazon →
-
Large Mixing Bowl
Check Price on Amazon →
-
Measuring Cups and Spoons
Check Price on Amazon →
Why You’ll Love This Recipe
This apple pie filling recipe is a game-changer because it’s incredibly easy to make, uses simple pantry staples, and delivers a flavor that’s far superior to any pre-made version. It strikes the perfect balance of sweet and tart, with warm spices that hug every tender apple slice. Plus, the flexibility to adjust spices and sweetness means you can tailor it to your exact preference. It’s the foundation for countless delicious desserts!
Ingredients
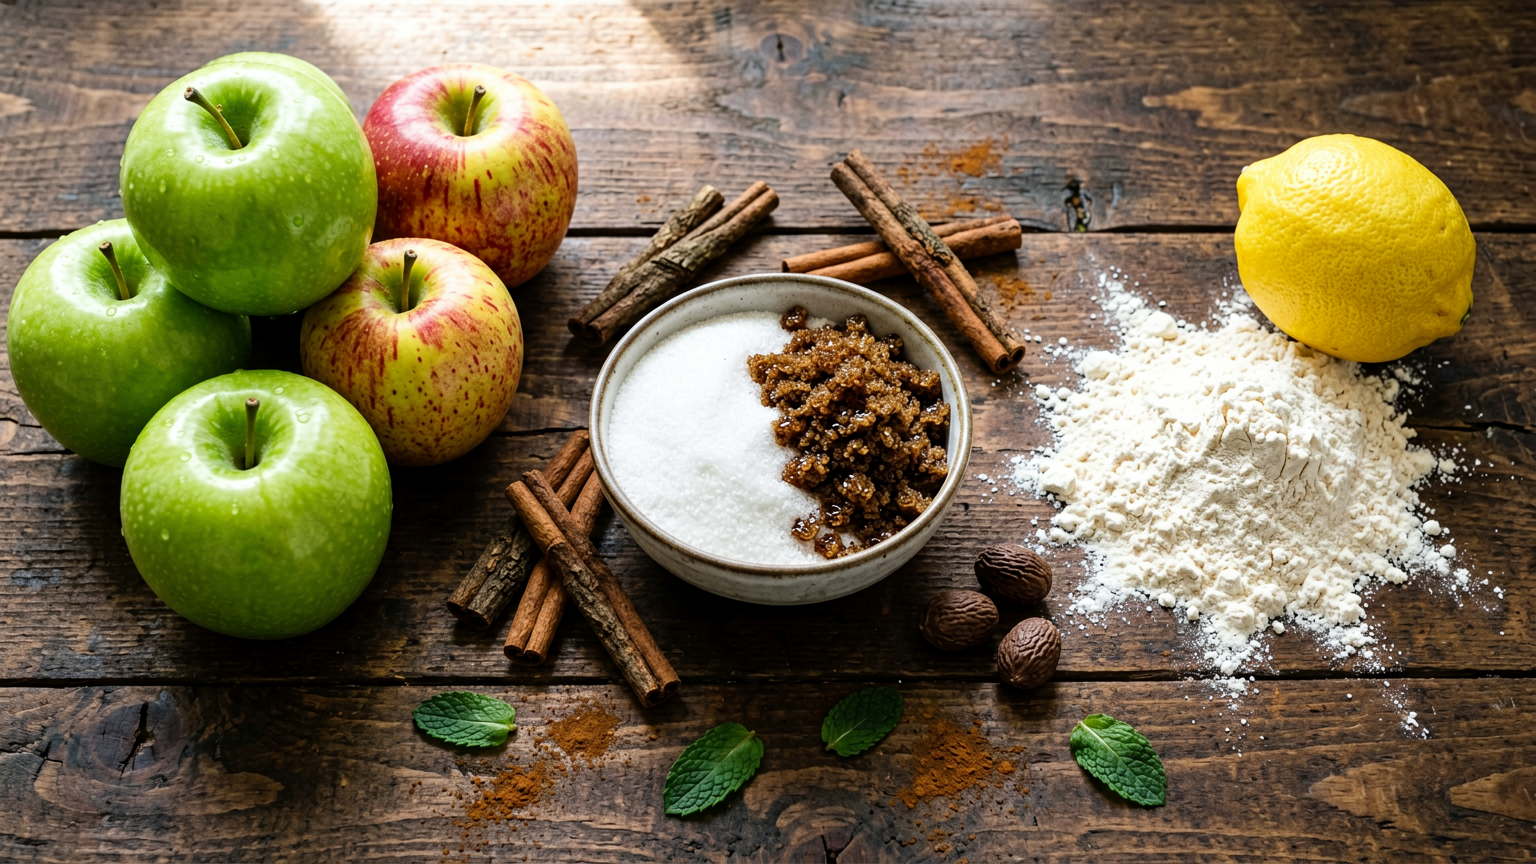
- 6-8 medium apples (a mix of varieties like Honeycrisp, Gala, Granny Smith for best flavor and texture)
- 3/4 cup granulated sugar (adjust to taste and apple sweetness)
- 1/4 cup packed light brown sugar
- 2 tablespoons all-purpose flour or cornstarch (for thickening)
- 1 teaspoon ground cinnamon
- 1/4 teaspoon ground nutmeg
- 1/8 teaspoon ground allspice (optional)
- 1 tablespoon lemon juice
- 2 tablespoons unsalted butter, cut into small pieces
- Pinch of salt
Instructions
- Prepare your apples: Peel, core, and slice the apples into roughly 1/4-inch thick pieces. Aim for uniform thickness so they cook evenly.
- Combine dry ingredients: In a large bowl, whisk together the granulated sugar, brown sugar, flour (or cornstarch), cinnamon, nutmeg, allspice (if using), and salt. This ensures the spices and thickener are evenly distributed.
- Coat the apples: Add the sliced apples to the bowl with the dry ingredients. Gently toss until all the apple slices are well coated. Stir in the lemon juice to help prevent browning and add a touch of brightness.
- Cook the filling: Transfer the coated apples to a large saucepan or Dutch oven. Cook over medium heat, stirring occasionally, for about 10-15 minutes. The apples should begin to soften but still hold their shape. If using flour as a thickener, you may notice it needs a bit longer to cook out the raw flavor.
- Thicken and finish: Reduce the heat to low. Add the small pieces of butter to the saucepan. Continue to stir gently until the butter is melted and the filling has thickened to your desired consistency. This usually takes another 5-10 minutes. Be careful not to overcook, as you want the apples to retain some texture.
- Cool the filling: Remove the saucepan from the heat and let the apple pie filling cool completely before using it in your pies or other desserts. This allows it to thicken further.
Tips
- Use a variety of apples: Mixing sweet and tart apples creates a more complex and balanced flavor profile.
- Don’t overcook: The apples should be tender but not mushy, especially if you plan to bake them further in a pie.
- Adjust sweetness and spice: Taste the filling before adding the butter and adjust sugar and spice levels to your preference.
- For a smoother filling: If you prefer a less chunky filling, you can mash some of the apple slices after cooking.
- Thickener choice: Flour provides a slightly cloudier, more traditional filling, while cornstarch yields a clearer, glossier finish.
Serving Suggestions
- Use as a filling for classic double-crust apple pies.
- Spoon over vanilla ice cream or pound cake.
- Layer into parfaits with yogurt and granola.
- Serve warm over pancakes or waffles.
- Incorporate into crumbles, crisps, or cobblers.
Storage Tips
Once completely cooled, store the apple pie filling in an airtight container in the refrigerator for up to 3-4 days. For longer storage, you can freeze it in freezer-safe containers or bags for up to 3 months.
FAQ
Can I use canned apples for this recipe?
While you can, fresh apples provide the best texture and flavor. If using canned, drain them very well and reduce cooking time significantly.
How do I prevent my apples from browning while I prepare them?
Soaking the sliced apples in a bowl of cold water with a tablespoon of lemon juice or vinegar can help prevent browning.
Can I make this filling ahead of time?
Yes, this filling can be made up to 3 days in advance and stored in the refrigerator, or frozen for longer storage.
Nutrition Information
- Calories: Approx. 150-200 per serving (depending on apple type and sugar)
- Protein: 1-2g
- Fat: 3-5g
- Carbohydrates: 30-40g
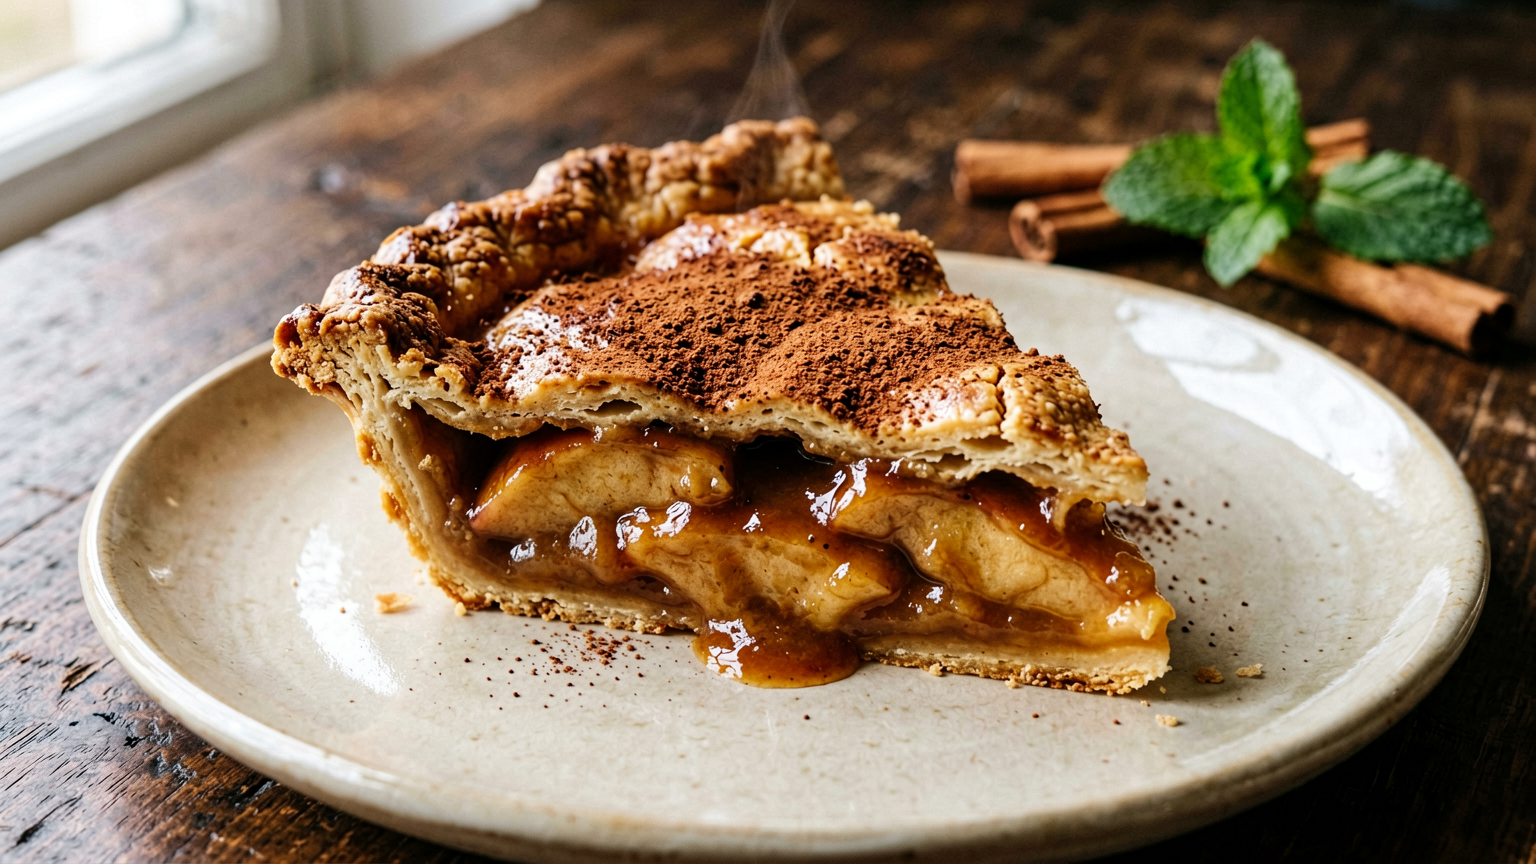
The Ultimate Homemade Apple Pie Filling Recipe (Easy & Delicious!)
Ingredients
Method
- Prepare your apples: Peel, core, and slice the apples into roughly 1/4-inch thick pieces. Aim for uniform thickness so they cook evenly.
- Combine dry ingredients: In a large bowl, whisk together the granulated sugar, brown sugar, flour (or cornstarch), cinnamon, nutmeg, allspice (if using), and salt. This ensures the spices and thickener are evenly distributed.
- Coat the apples: Add the sliced apples to the bowl with the dry ingredients. Gently toss until all the apple slices are well coated. Stir in the lemon juice to help prevent browning and add a touch of brightness.
- Cook the filling: Transfer the coated apples to a large saucepan or Dutch oven. Cook over medium heat, stirring occasionally, for about 10-15 minutes. The apples should begin to soften but still hold their shape. If using flour as a thickener, you may notice it needs a bit longer to cook out the raw flavor.
- Thicken and finish: Reduce the heat to low. Add the small pieces of butter to the saucepan. Continue to stir gently until the butter is melted and the filling has thickened to your desired consistency. This usually takes another 5-10 minutes. Be careful not to overcook, as you want the apples to retain some texture.
- Cool the filling: Remove the saucepan from the heat and let the apple pie filling cool completely before using it in your pies or other desserts. This allows it to thicken further.

















