
Introduction
Imagine a cookie that’s crisp around the edges, tender in the center, and bursting with your favorite sweet jam. That’s the magic of a classic thumbprint cookie! These delightful little treats are deceptively simple to make, yet they look and taste like they came straight from a high-end bakery. Whether you’re a seasoned baker or just starting out, this thumbprint cookie recipe is sure to become a cherished favorite.
Recommended Kitchen Tools
To make this recipe easier and more efficient, here are some tools I recommend:
-
Electric Mixer
Check Price on Amazon →
-
Baking Sheets
Check Price on Amazon →
-
Measuring Cups and Spoons
Check Price on Amazon →
Why You’ll Love This Recipe
This thumbprint cookie recipe is a winner because it strikes the perfect balance between buttery, melt-in-your-mouth texture and a sweet, fruity surprise. They’re incredibly versatile – customize the jam to your liking or even add a sprinkle of festive decorations. Plus, they’re a joy to make, bringing a touch of homemade charm and deliciousness to any gathering.
Ingredients
- 1 cup (2 sticks or 226g) unsalted butter, softened
- 1/2 cup (100g) granulated sugar
- 1 large egg yolk
- 1 teaspoon vanilla extract
- 1/4 teaspoon salt
- 2 1/2 cups (300g) all-purpose flour
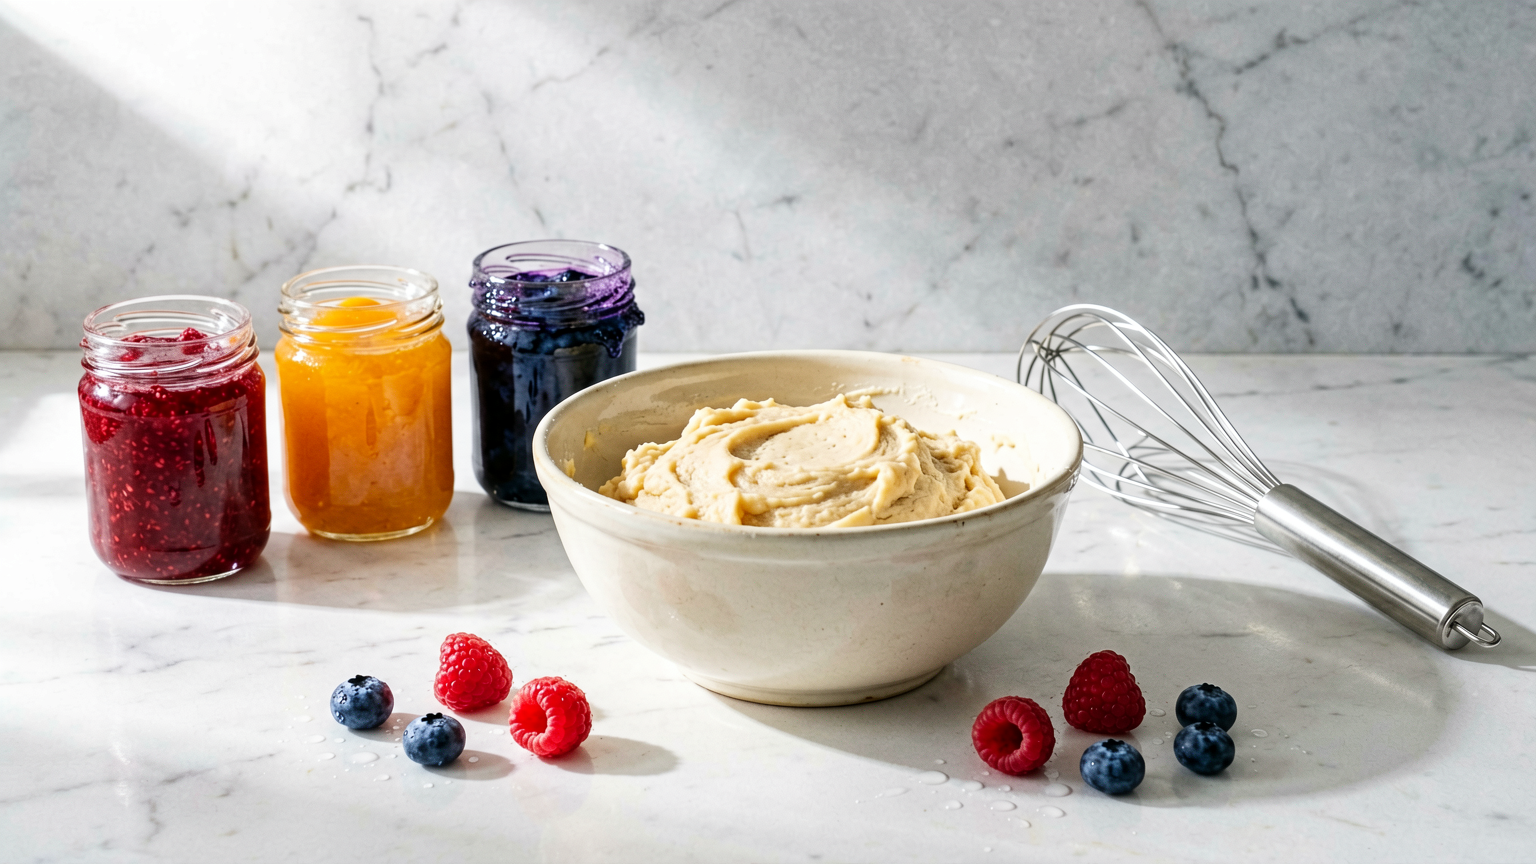
- 1/2 cup (about 150g) fruit jam or preserves (such as raspberry, strawberry, apricot, or blueberry)
Instructions
- In a large bowl, cream together the softened butter and granulated sugar using an electric mixer until light and fluffy. This usually takes about 2-3 minutes on medium speed.
- Beat in the egg yolk and vanilla extract until well combined. Scrape down the sides of the bowl as needed.
- In a separate bowl, whisk together the flour and salt. Gradually add the dry ingredients to the wet ingredients, mixing on low speed until just combined and a soft dough forms. Be careful not to overmix.
- Preheat your oven to 350°F (175°C). Line two baking sheets with parchment paper.
- Roll the dough into 1-inch balls. Place the balls about 2 inches apart on the prepared baking sheets.
- Using your thumb or the back of a small spoon, gently press an indentation into the center of each cookie ball, creating a well for the jam. Be careful not to press all the way through the dough.
- Fill each indentation with about 1/2 teaspoon of your chosen jam or preserves. Don’t overfill, as the jam will spread slightly during baking.
- Bake for 12-15 minutes, or until the edges are lightly golden brown and the centers are set. The jam should be bubbly.
- Let the cookies cool on the baking sheets for 5 minutes before transferring them to a wire rack to cool completely.
Tips
- Ensure your butter is truly softened, not melted, for the best cookie texture.
- Chill the dough for about 15-30 minutes if it feels too soft to handle, especially in warmer kitchens.
- For perfectly rounded indentations, lightly flour your thumb or the back of the spoon before pressing into the dough.
- Use a thicker jam or preserves to prevent it from spreading too much and overflowing the cookie.
- Watch the cookies closely during the last few minutes of baking to prevent over-browning.
Serving Suggestions
- Serve these thumbprint cookies with a glass of cold milk for a classic treat.
- They are perfect for afternoon tea or coffee breaks.
- Arrange them on a platter for holiday cookie exchanges or parties.
- Consider a drizzle of melted white or dark chocolate over the cooled cookies for an extra touch of elegance.
Storage Tips
Store cooled thumbprint cookies in an airtight container at room temperature for up to 5 days. If storing for longer, they can be frozen for up to 3 months. Ensure they are completely cool before storing to prevent condensation.
FAQ
Q: Can I use different types of jam? A: Absolutely! Raspberry, strawberry, apricot, and blueberry are popular choices, but feel free to experiment with other fruit preserves or even lemon curd.
Q: How do I prevent the jam from leaking out? A: Ensure you don’t overfill the indentations and use a jam that is on the thicker side. Chilling the dough can also help maintain the cookie’s shape.
Q: Can I make the dough ahead of time? A: Yes, the cookie dough can be refrigerated for up to 3 days. Let it soften slightly at room temperature before rolling and baking.
Nutrition Information
- Calories: 150 kcal
- Protein: 2g
- Fat: 8g
- Carbohydrates: 18g

Classic Thumbprint Cookie Recipe: A Sweet & Simple Delight
Ingredients
Method
- In a large bowl, cream together the softened butter and granulated sugar using an electric mixer until light and fluffy. This usually takes about 2-3 minutes on medium speed.
- Beat in the egg yolk and vanilla extract until well combined. Scrape down the sides of the bowl as needed.
- In a separate bowl, whisk together the flour and salt. Gradually add the dry ingredients to the wet ingredients, mixing on low speed until just combined and a soft dough forms. Be careful not to overmix.
- Preheat your oven to 350°F (175°C). Line two baking sheets with parchment paper.
- Roll the dough into 1-inch balls. Place the balls about 2 inches apart on the prepared baking sheets.
- Using your thumb or the back of a small spoon, gently press an indentation into the center of each cookie ball, creating a well for the jam. Be careful not to press all the way through the dough.
- Fill each indentation with about 1/2 teaspoon of your chosen jam or preserves. Don't overfill, as the jam will spread slightly during baking.
- Bake for 12-15 minutes, or until the edges are lightly golden brown and the centers are set. The jam should be bubbly.
- Let the cookies cool on the baking sheets for 5 minutes before transferring them to a wire rack to cool completely.

















