Introduction
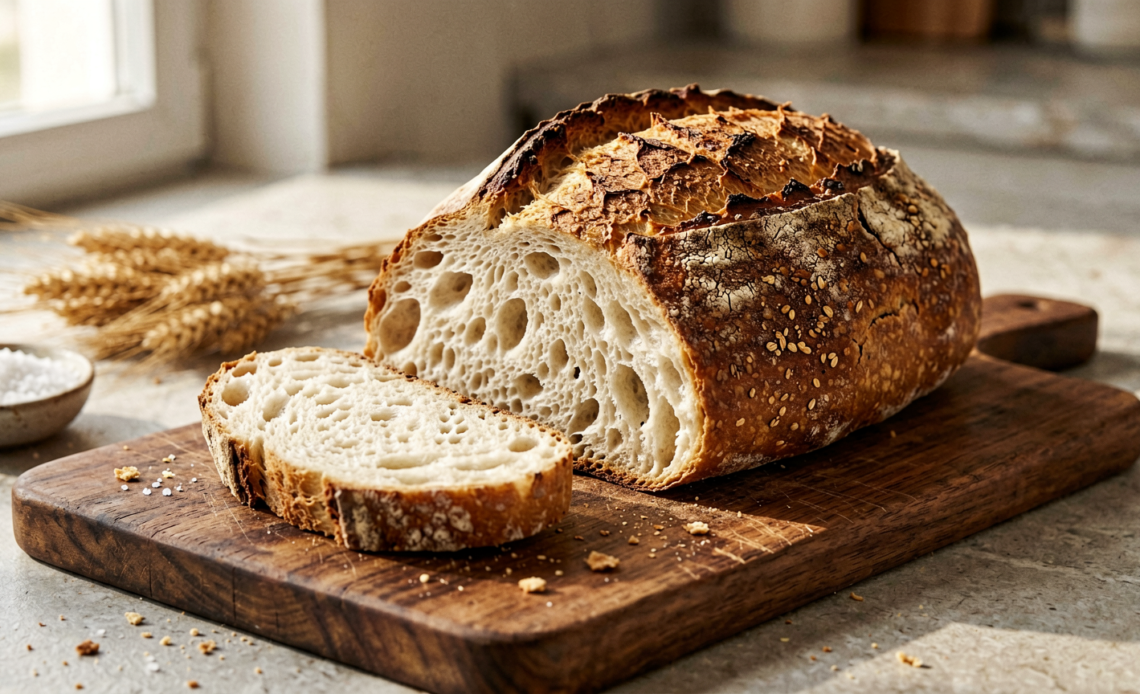
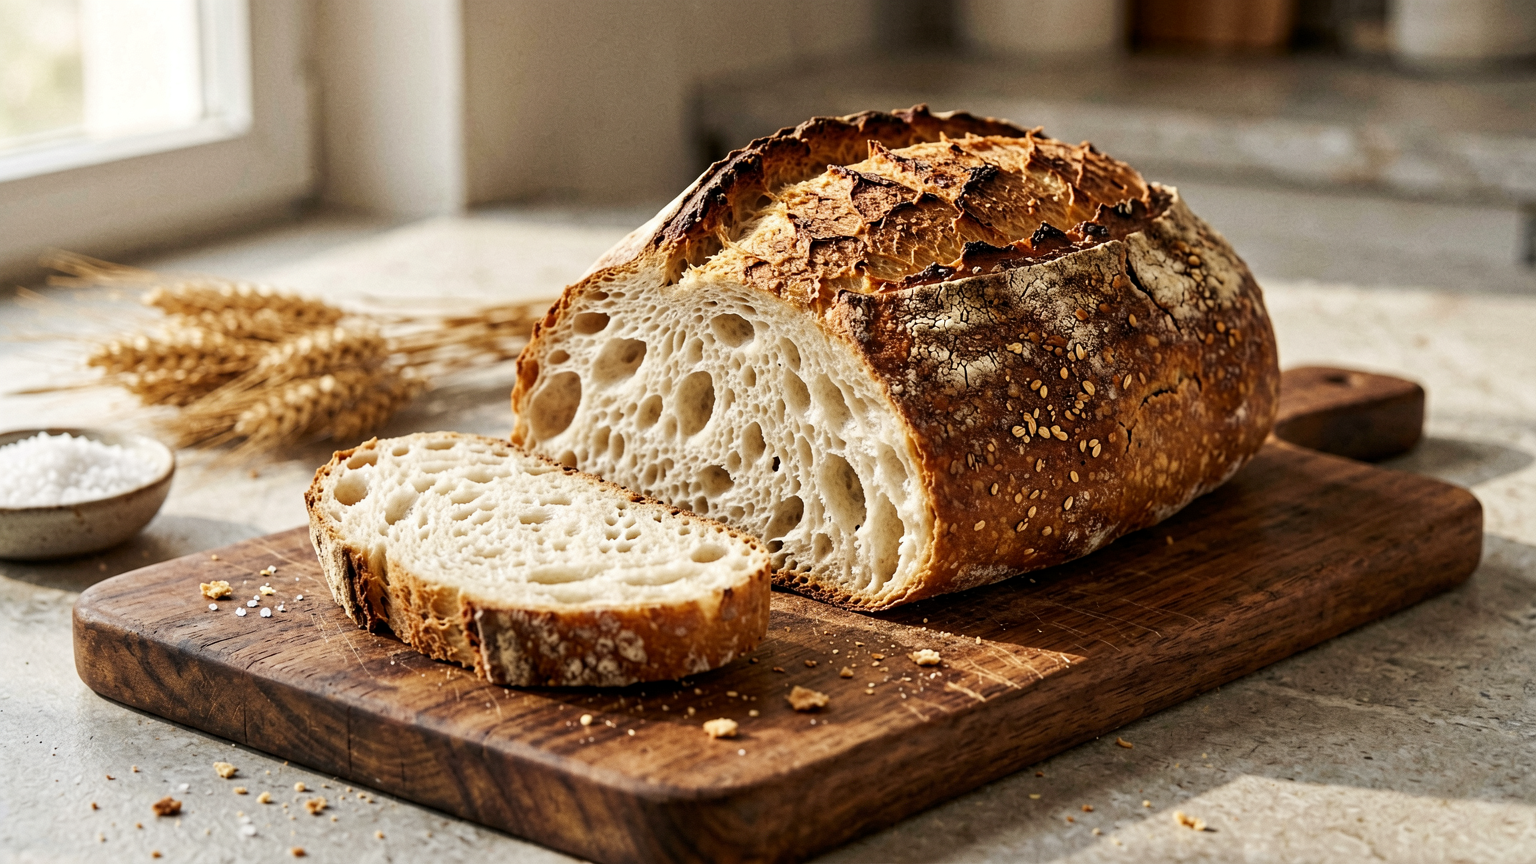
Tired of store-bought bread that lacks character and that delightful sourdough tang? Get ready to elevate your sandwich game with this foolproof Sourdough Sandwich Bread recipe. Imagine sinking your teeth into a slice of warm, homemade bread, its crust golden brown and its interior impossibly soft and airy, with that signature sourdough complexity. This isn’t just bread; it’s an experience. Whether you’re a seasoned sourdough baker or a curious beginner, this recipe will guide you to creating a loaf that will become a staple in your kitchen.
Recommended Kitchen Tools
To make this recipe easier and more efficient, here are some tools I recommend:
-
Heavy-Duty Stand Mixer
Check Price on Amazon →
-
Loaf Pan
Check Price on Amazon →
-
Digital Kitchen Scale
Check Price on Amazon →
Why You’ll Love This Recipe
This recipe yields a beautifully structured sourdough loaf that’s tender enough for delicate sandwiches yet robust enough to hold up to hearty fillings. It boasts a wonderfully mild tang, making it approachable for those new to sourdough, and a fantastic crust that’s neither too hard nor too soft. Plus, the satisfaction of pulling a perfect loaf from your oven is unparalleled!
Ingredients
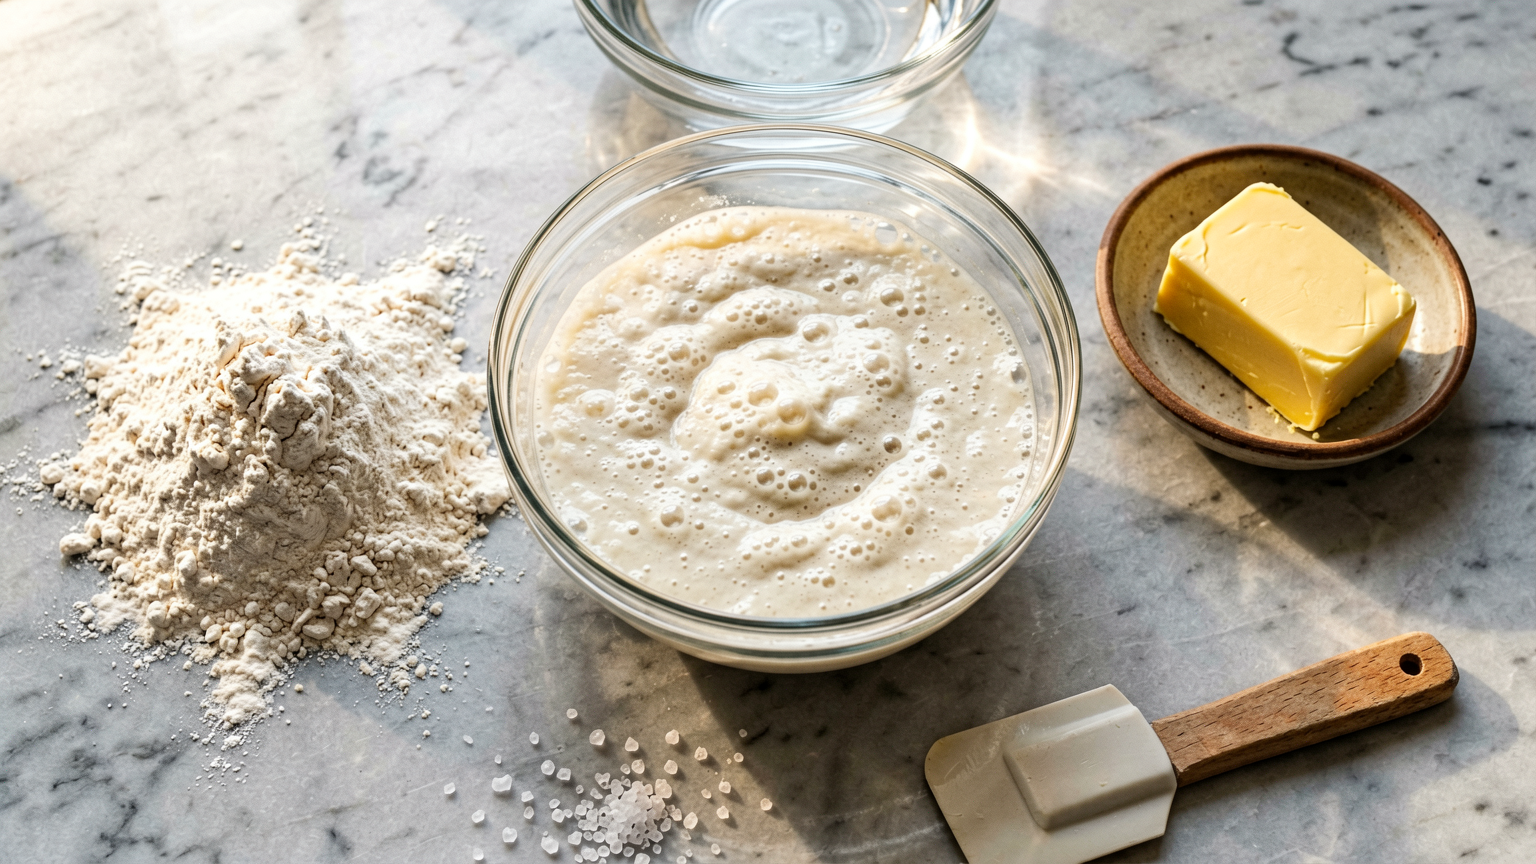
- 100g active sourdough starter (100% hydration)
- 350g warm water (around 80-85°F or 27-29°C)
- 500g bread flour
- 10g salt
- 20g unsalted butter, softened (optional, for richness)
Instructions
- In the bowl of your stand mixer, combine the active sourdough starter and warm water. Whisk gently until the starter is mostly dispersed.
- Add the bread flour and salt to the bowl. If using, add the softened butter. Mix on low speed with the dough hook attachment until a shaggy dough forms and no dry flour remains. This should take about 2-3 minutes.
- Increase the speed to medium-low and knead for 8-10 minutes, or until the dough is smooth, elastic, and pulls away from the sides of the bowl. It should pass the windowpane test (a small piece of dough can be stretched thin enough to see light through without tearing).
- Transfer the dough to a lightly oiled bowl or container. Cover and let it rest at room temperature for 4-6 hours, or until it has increased in volume by about 50-75% and shows signs of fermentation (bubbles, a slightly domed top). Perform a few sets of stretch and folds during the first 2 hours if desired.
- Gently turn the dough out onto a lightly floured surface. Shape it into a loaf that will fit your loaf pan. Be careful not to deflate the dough too much. Tuck the seams underneath to create surface tension.
- Place the shaped dough into a greased 9×5 inch loaf pan. Cover loosely with plastic wrap or a damp towel.
- Allow the dough to proof at room temperature for another 2-4 hours, or until it has risen about 1 inch above the rim of the pan. Alternatively, you can cold proof it in the refrigerator overnight for a more developed flavor.
- Preheat your oven to 375°F (190°C) about 30 minutes before you plan to bake. If you cold-proofed, let the dough sit at room temperature for about 30-60 minutes before baking.
- Bake for 35-45 minutes, or until the crust is a deep golden brown and the internal temperature of the bread reaches 200-210°F (93-99°C) on an instant-read thermometer. If the crust is browning too quickly, you can tent it loosely with aluminum foil.
- Once baked, immediately remove the bread from the loaf pan and place it on a wire rack to cool completely before slicing. This is crucial for the texture.
Tips
- Ensure your sourdough starter is active and bubbly before you begin. A sluggish starter will result in a dense loaf.
- Bread flour is recommended for its higher protein content, which provides better structure for sandwich bread.
- Don’t over-flour your work surface when shaping. A little flour is fine, but too much can make the dough dry.
- Patience is key! Allow the dough to ferment and proof adequately for the best flavor and texture.
- Cooling completely is essential. Slicing warm sourdough can result in a gummy texture.
Serving Suggestions
- Perfect for classic ham and cheese, turkey and avocado, or grilled cheese sandwiches.
- Toast slices and serve with butter, jam, or honey.
- Use as a base for avocado toast or open-faced sandwiches.
- Enjoy a simple slice with a smear of cream cheese.
Storage Tips
Store cooled bread in a bread box or a loosely sealed plastic bag at room temperature for up to 3-4 days. For longer storage, slice the bread and freeze it in an airtight container or freezer bag for up to 3 months. Thaw at room temperature or toast slices directly from frozen.
FAQ
What is active sourdough starter? Active sourdough starter is a fermented mixture of flour and water that is bubbly, has a pleasant sour aroma, and has recently been fed and is at its peak activity.
Can I make this without a stand mixer? Yes, you can knead the dough by hand. It will require more time and effort, about 15-20 minutes of vigorous kneading.
Why is my sourdough bread dense? A dense loaf can be caused by an inactive starter, under-proofing, over-proofing, or not developing enough gluten structure during kneading.
How long does the dough take to rise? Proofing times can vary greatly depending on room temperature and starter activity. Generally, expect 4-6 hours for the bulk fermentation and 2-4 hours for the final proof at room temperature.
Nutrition Information
- Calories: Approximately 150-180 per slice (varies based on ingredients and slice size)
- Protein: Approximately 5-7g per slice
- Fat: Approximately 2-4g per slice (without butter)
- Carbohydrates: Approximately 25-30g per slice
The Ultimate Sourdough Sandwich Bread Recipe: Perfectly Soft & Tangy
Ingredients
Method
- In the bowl of your stand mixer, combine the active sourdough starter and warm water. Whisk gently until the starter is mostly dispersed.
- Add the bread flour and salt to the bowl. If using, add the softened butter. Mix on low speed with the dough hook attachment until a shaggy dough forms and no dry flour remains. This should take about 2-3 minutes.
- Increase the speed to medium-low and knead for 8-10 minutes, or until the dough is smooth, elastic, and pulls away from the sides of the bowl. It should pass the windowpane test (a small piece of dough can be stretched thin enough to see light through without tearing).
- Transfer the dough to a lightly oiled bowl or container. Cover and let it rest at room temperature for 4-6 hours, or until it has increased in volume by about 50-75% and shows signs of fermentation (bubbles, a slightly domed top). Perform a few sets of stretch and folds during the first 2 hours if desired.
- Gently turn the dough out onto a lightly floured surface. Shape it into a loaf that will fit your loaf pan. Be careful not to deflate the dough too much. Tuck the seams underneath to create surface tension.
- Place the shaped dough into a greased 9x5 inch loaf pan. Cover loosely with plastic wrap or a damp towel.
- Allow the dough to proof at room temperature for another 2-4 hours, or until it has risen about 1 inch above the rim of the pan. Alternatively, you can cold proof it in the refrigerator overnight for a more developed flavor.
- Preheat your oven to 375°F (190°C) about 30 minutes before you plan to bake. If you cold-proofed, let the dough sit at room temperature for about 30-60 minutes before baking.
- Bake for 35-45 minutes, or until the crust is a deep golden brown and the internal temperature of the bread reaches 200-210°F (93-99°C) on an instant-read thermometer. If the crust is browning too quickly, you can tent it loosely with aluminum foil.
- Once baked, immediately remove the bread from the loaf pan and place it on a wire rack to cool completely before slicing. This is crucial for the texture.

















