Introduction
Calling all crafters, builders, and dessert enthusiasts! Have you ever stared at your screen, fueled by the pixelated adventures of Minecraft, and thought, ‘I wish I could taste that?’ Well, prepare to mine for culinary gold because we’re bringing the beloved Minecraft cake from the digital world into your kitchen. This recipe is your blueprint for creating a visually stunning and deliciously satisfying cake that looks just like its iconic in-game counterpart. Get ready to bake a block of pure joy!
Recommended Kitchen Tools
To make this recipe easier and more efficient, here are some tools I recommend:
-
Electric Mixer
Check Price on Amazon →
-
Baking Pans
Check Price on Amazon →
-
Offset Spatula
Check Price on Amazon →
Why You’ll Love This Recipe
This Minecraft cake recipe is a guaranteed hit for any fan of the game. It’s surprisingly simple to make, even for beginner bakers, and the result is incredibly rewarding. The vibrant colors and instantly recognizable design make it perfect for birthdays, gaming parties, or just a fun afternoon project. Plus, who can resist a moist, delicious cake that tastes as good as it looks?
Ingredients
- For the Cake Layers:
- 2 ½ cups all-purpose flour
- 1 ½ cups granulated sugar
- 1 teaspoon baking soda
- ½ teaspoon salt
- 1 cup buttermilk
- ½ cup vegetable oil
- 2 large eggs
- 1 teaspoon vanilla extract
- ½ cup hot water
- For the Frosting:
- 3 cups powdered sugar
- ½ cup unsalted butter, softened
- ¼ cup milk
- 1 teaspoon vanilla extract
- Red and Black food coloring
- Optional: Chocolate sprinkles for ‘dirt’ effect
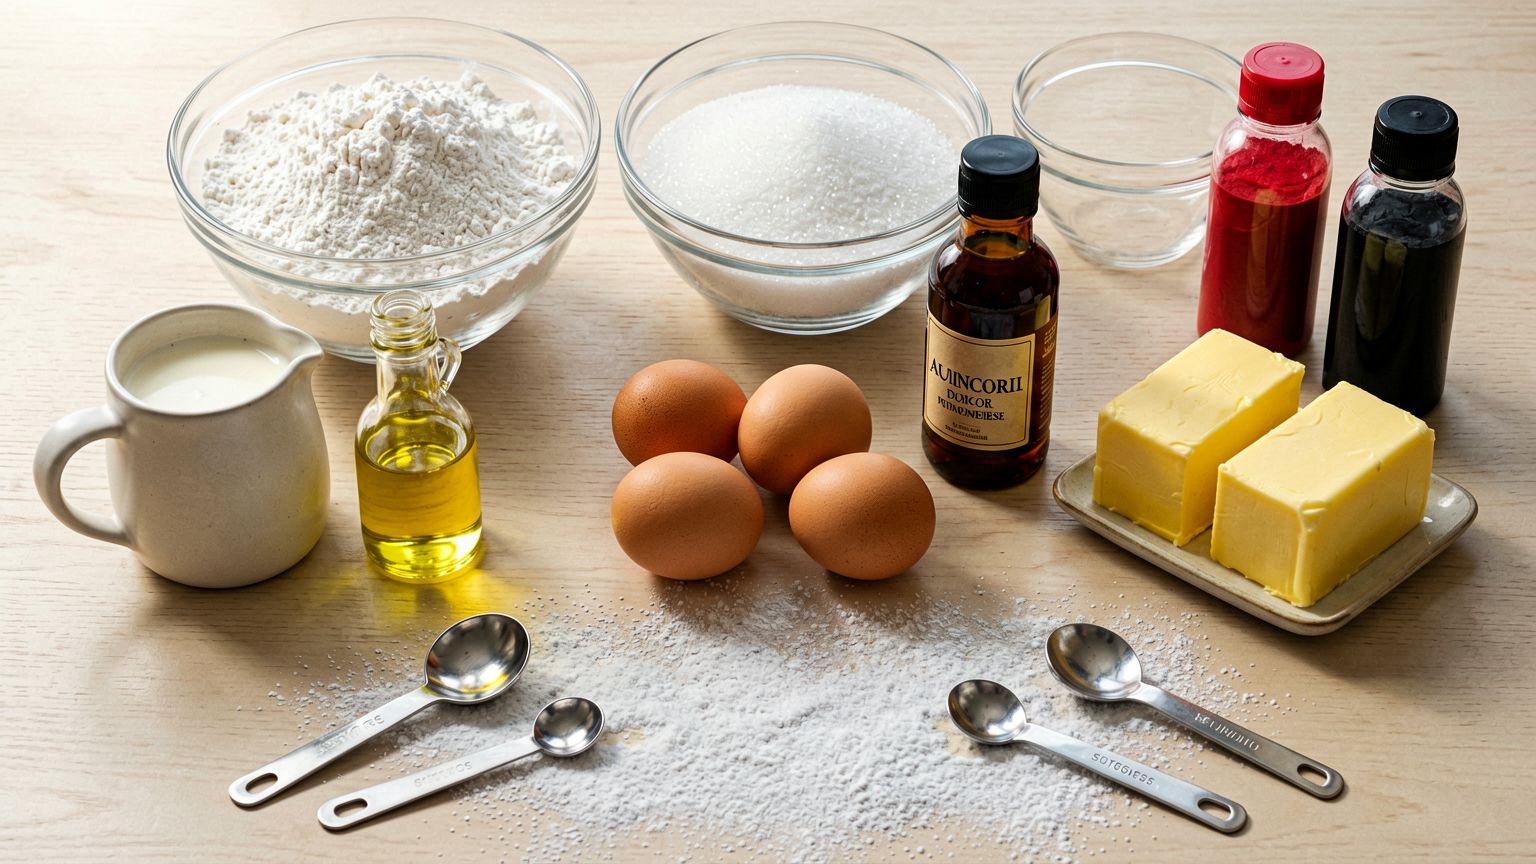
Instructions
- Preheat your oven to 350°F (175°C). Grease and flour two 8-inch square baking pans. Alternatively, you can use one 9×13 inch pan and cut it into squares later.
- In a large bowl, whisk together the flour, sugar, baking soda, and salt.
- In a separate medium bowl, combine the buttermilk, vegetable oil, eggs, and vanilla extract. Beat until well combined.
- Pour the wet ingredients into the dry ingredients and mix on low speed until just combined. Do not overmix.
- Carefully add the hot water to the batter and mix on low speed until smooth. The batter will be thin.
- Divide the batter evenly between the prepared pans. Bake for 30-35 minutes for square pans, or 35-40 minutes for a 9×13 inch pan, or until a toothpick inserted into the center comes out clean.
- Let the cakes cool in the pans for 10 minutes before inverting them onto a wire rack to cool completely.
- While the cakes cool, prepare the frosting. In a large bowl, beat the softened butter until creamy. Gradually add the powdered sugar, alternating with the milk, and beat until smooth and fluffy. Stir in the vanilla extract.
- Divide the frosting into three portions. Leave one portion white for the cream layer. Tint one portion red and the other black using food coloring.
- Once the cake layers are completely cool, place one layer on your serving plate or cake board. Spread a generous layer of white frosting evenly over the top.
- Carefully place the second cake layer on top of the white frosting. If using a 9×13 inch cake, you’ll need to cut it into squares and assemble them on the serving plate, adding the white frosting between the ‘blocks’.
- Frost the top and sides of the assembled cake with the red frosting, trying to create a smooth, even surface. For a more rustic look, you can leave some texture.
- Using the black frosting, pipe or spread it onto the cake to create the iconic ‘cracks’ and edges of the Minecraft cake. You can use a piping bag with a small round tip or a ziplock bag with a corner snipped off.
- Optional: Sprinkle a few chocolate sprinkles around the base of the cake to mimic the ‘dirt’ or ‘grass’ blocks.
Tips
- Ensure your butter is truly softened for the frosting to achieve a smooth, creamy texture.
- Don’t overmix the cake batter, as this can lead to a tough cake.
- For sharper edges on your cake squares, chill the cake briefly before frosting.
- If you don’t have buttermilk, you can make a substitute by adding 1 tablespoon of lemon juice or white vinegar to 1 cup of milk and letting it sit for 5 minutes.
- Experiment with different shades of red and black for your frosting to get the perfect Minecraft look.
Serving Suggestions
- Serve slices of this Minecraft cake at birthday parties or gaming gatherings.
- Pair with a glass of milk or a ‘potion’ of your favorite fruity drink.
- Cut into perfect squares for an authentic Minecraft presentation.
Storage Tips
Store any leftover cake in an airtight container at room temperature for up to 3 days. For longer storage, it can be refrigerated, but allow it to come to room temperature before serving for best flavor and texture.
FAQ
Q: Can I make this cake gluten-free?
A: Yes, you can substitute a gluten-free all-purpose flour blend for the all-purpose flour. You may need to adjust baking time slightly.
Q: How do I get the black frosting to not taste bitter?
A: Use good quality black food coloring. Gel food coloring is recommended as it provides intense color without adding too much liquid. Taste as you go, and a little goes a long way.
Q: Can I make cupcakes instead of a cake?
A: Absolutely! Bake cupcakes according to the cake batter instructions and frost them with the red and black frosting, adding black details.
Nutrition Information
- Calories: Approximately 350-400 per serving (estimated)
- Protein: Approximately 4-5g per serving (estimated)
- Fat: Approximately 15-20g per serving (estimated)
- Carbohydrates: Approximately 50-60g per serving (estimated)
Minecraft Cake Recipe: Bake Your Own Block of Deliciousness!
Ingredients
Method
- Preheat your oven to 350°F (175°C). Grease and flour two 8-inch square baking pans. Alternatively, you can use one 9x13 inch pan and cut it into squares later.
- In a large bowl, whisk together the flour, sugar, baking soda, and salt.
- In a separate medium bowl, combine the buttermilk, vegetable oil, eggs, and vanilla extract. Beat until well combined.
- Pour the wet ingredients into the dry ingredients and mix on low speed until just combined. Do not overmix.
- Carefully add the hot water to the batter and mix on low speed until smooth. The batter will be thin.
- Divide the batter evenly between the prepared pans. Bake for 30-35 minutes for square pans, or 35-40 minutes for a 9x13 inch pan, or until a toothpick inserted into the center comes out clean.
- Let the cakes cool in the pans for 10 minutes before inverting them onto a wire rack to cool completely.
- While the cakes cool, prepare the frosting. In a large bowl, beat the softened butter until creamy. Gradually add the powdered sugar, alternating with the milk, and beat until smooth and fluffy. Stir in the vanilla extract.
- Divide the frosting into three portions. Leave one portion white for the cream layer. Tint one portion red and the other black using food coloring.
- Once the cake layers are completely cool, place one layer on your serving plate or cake board. Spread a generous layer of white frosting evenly over the top.
- Carefully place the second cake layer on top of the white frosting. If using a 9x13 inch cake, you'll need to cut it into squares and assemble them on the serving plate, adding the white frosting between the 'blocks'.
- Frost the top and sides of the assembled cake with the red frosting, trying to create a smooth, even surface. For a more rustic look, you can leave some texture.
- Using the black frosting, pipe or spread it onto the cake to create the iconic 'cracks' and edges of the Minecraft cake. You can use a piping bag with a small round tip or a ziplock bag with a corner snipped off.
- Optional: Sprinkle a few chocolate sprinkles around the base of the cake to mimic the 'dirt' or 'grass' blocks.

















