Prepare your workspace: Cover your table with newspaper or a plastic tablecloth to protect it from glue and paint. Have your mold ready and your paper strips torn and within easy reach.
Make the paste: In a medium-sized mixing bowl, combine the flour and water. Whisk vigorously until you achieve a smooth, lump-free consistency, similar to pancake batter. If using, stir in the white craft glue or liquid starch for added durability.
Dip the paper strips: Take a strip of newspaper or paper towel and dip it into the paste, ensuring it's fully saturated. Run the strip between your fingers to remove excess paste, leaving just enough to coat the paper.
Apply the strips: Lay the coated paper strips onto your mold, overlapping them slightly to create a solid layer. Smooth out any air bubbles or wrinkles as you go. Continue layering strips in different directions to build strength.
Build layers: For a sturdy final product, apply at least 3-4 layers of paper mache. Allow each layer to dry partially before adding the next, especially if you're working on a complex shape. This helps prevent sogginess and ensures a stronger structure.
Drying time: Once you've applied all your layers, let your creation dry completely. This can take 24-48 hours, depending on the thickness, humidity, and air circulation. Ensure it's thoroughly dry before proceeding to the next step.
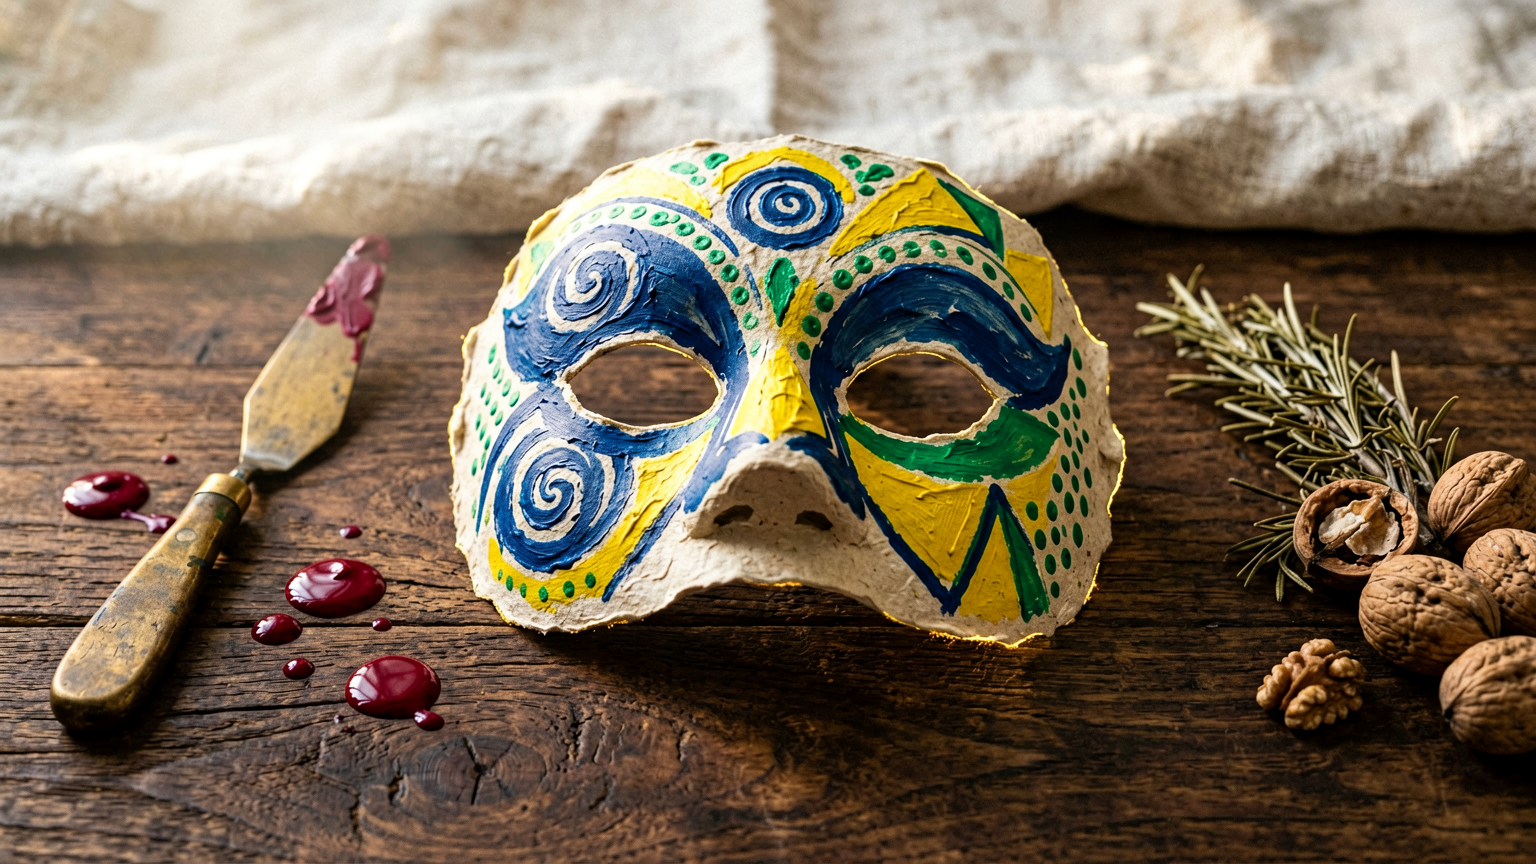
Remove from mold and decorate: Carefully remove the dried paper mache from its mold. If you used a balloon, pop and remove it. Now comes the fun part! Sand any rough edges if desired, and then paint, draw, or embellish your creation however you like!