Introduction
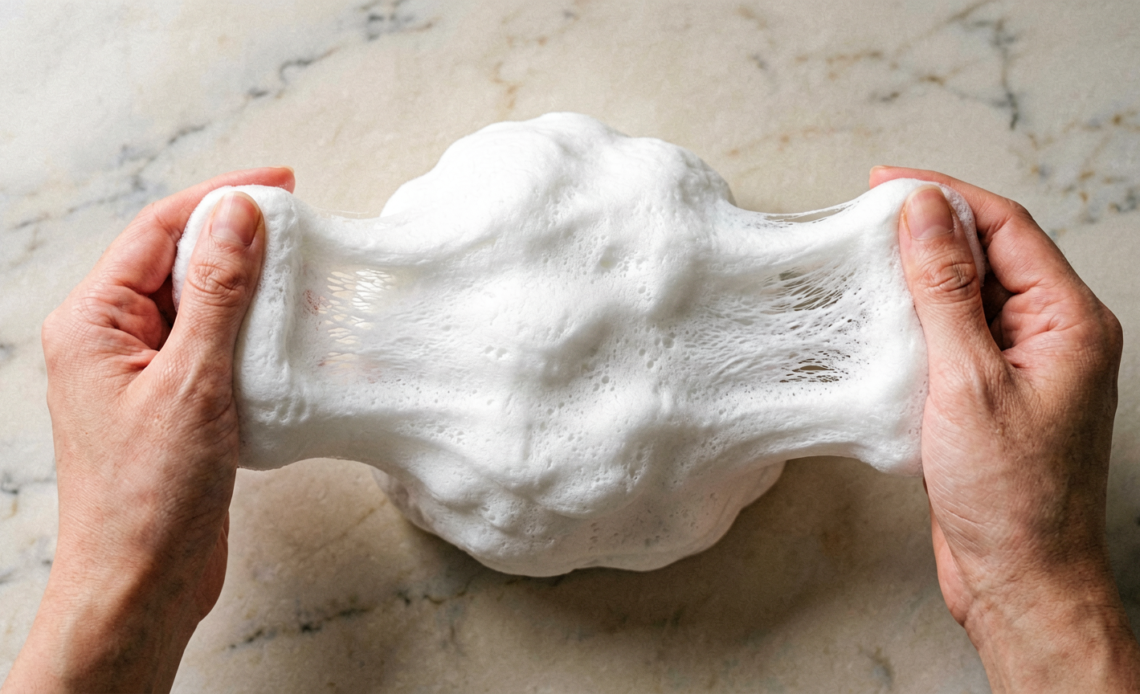
Get ready for a sensory adventure! If you’ve ever dreamed of holding a piece of a cloud, this cloud slime recipe is for you. It’s unbelievably soft, stretchy, and satisfyingly squishy. Forget store-bought kits; making your own cloud slime at home is surprisingly simple and incredibly rewarding. Perfect for kids’ craft time, a relaxing desk toy, or just a moment of pure tactile joy, this recipe will have you creating fluffy masterpieces in no time.
Recommended Kitchen Tools
To make this recipe easier and more efficient, here are some tools I recommend:
-
Large Mixing Bowl
Check Price on Amazon →
-
Measuring Cups and Spoons
Check Price on Amazon →
-
Spatula or Spoon for Mixing
Check Price on Amazon →
Why You’ll Love This Recipe
This cloud slime recipe is a winner because it’s incredibly easy to make with common household ingredients, resulting in a texture that’s out-of-this-world fluffy and delightful. It’s less sticky than traditional slime, offers a unique sensory experience, and provides hours of entertainment for children and adults alike. Plus, you can customize the colors to your heart’s content!
Ingredients
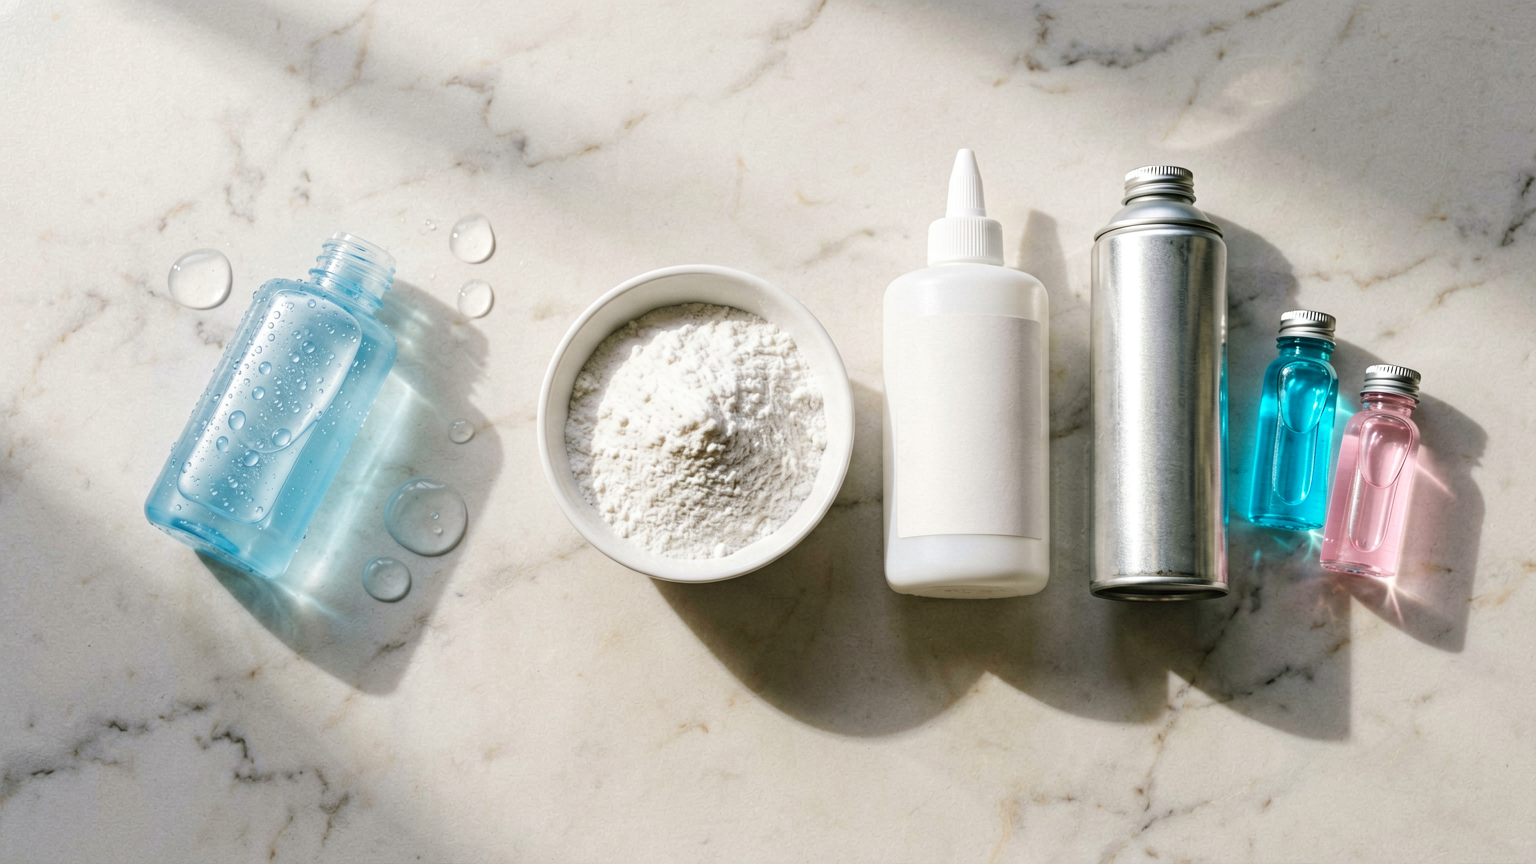
- 1/2 cup white PVA glue (like Elmer’s)
- 1/2 teaspoon baking soda
- 1/4 cup shaving cream (foam, not gel)
- 1 tablespoon contact lens solution (containing boric acid and sodium borate)
- 1-2 drops of food coloring (optional, for color)
- 1/4 cup instant snow or polymer snow (optional, for extra fluffiness)
Instructions
- In a large mixing bowl, pour in the 1/2 cup of white PVA glue. This is your slime base.
- Add the 1/2 teaspoon of baking soda to the glue and mix thoroughly until it’s fully incorporated. Baking soda helps to activate the slime.
- Now, gently fold in the 1/4 cup of shaving cream. Use a spatula or spoon to mix until it’s well combined with the glue and baking soda mixture. This is what gives the slime its signature cloud-like fluffiness.
- If you’re adding color, now is the time! Add 1-2 drops of your desired food coloring and mix until the color is evenly distributed throughout the mixture.
- Gradually add the contact lens solution, starting with about half of the tablespoon. Stir continuously. You’ll notice the mixture starting to pull away from the sides of the bowl and form a cohesive slime. Add more contact lens solution, a little at a time, until the slime reaches your desired consistency and is no longer overly sticky.
- Once the slime is formed and mostly not sticking to your hands, knead it with your hands for a few minutes until it becomes smooth, stretchy, and super fluffy. If it’s still too sticky, add a tiny bit more contact lens solution. If it feels too stiff, you can try adding a bit more shaving cream.
- For an extra airy and fluffy texture, gently fold in 1/4 cup of instant snow or polymer snow. Be careful not to overmix, as you want to maintain the fluffy structure.
Tips
- Ensure your contact lens solution contains boric acid and sodium borate, as these are the key activators for slime.
- Start with less contact lens solution than you think you need; you can always add more, but it’s hard to fix slime that’s too stiff.
- Shaving cream is crucial for the fluffy texture. Use foam, not gel, for the best results.
- Kneading is key! Spend a few minutes working the slime with your hands to achieve the perfect soft and stretchy consistency.
- If your slime is too sticky after kneading, add a tiny bit more contact lens solution (just a drop or two) and knead again. If it’s too stiff, try adding a small amount of lotion or a bit more shaving cream.
Serving Suggestions
- Cloud slime is best enjoyed as a sensory play activity. Let kids (and adults!) stretch, squish, and poke it.
- It can be used as a calming tool for stress relief or anxiety.
- Create different colors and present them together for a vibrant display.
Storage Tips
Store your cloud slime in an airtight container or a zip-top bag at room temperature. This will prevent it from drying out and keep it fresh for your next play session. Properly stored, it can last for several days to a week.
FAQ
Q: Is this slime recipe safe for young children?
A: While the ingredients are generally safe, adult supervision is highly recommended, especially for younger children, to ensure they do not ingest the slime.
Q: My slime is too sticky, what should I do?
A: Add a tiny bit more contact lens solution, a drop at a time, and knead thoroughly. Be patient, as it may take a few additions to reach the right consistency.
Q: Can I use a different type of glue?
A: For this specific fluffy cloud texture, white PVA glue works best. Clear glue will result in a different slime consistency.
Q: How long does this slime last?
A: When stored properly in an airtight container, cloud slime can last for about a week. Discard if it develops any unusual smell or mold.
Nutrition Information
- Calories: N/A (Non-edible craft)
- Protein: N/A
- Fat: N/A
- Carbohydrates: N/A

















