Introduction
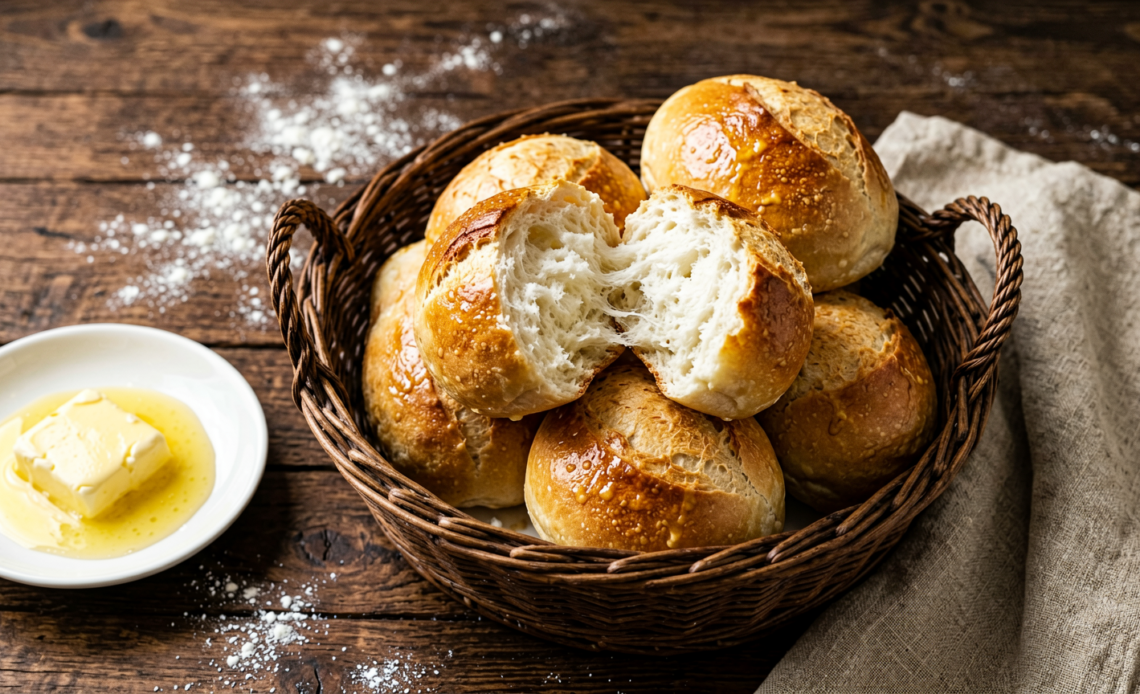
Imagine this: a basket of warm, golden-brown rolls, fresh from the oven, with a tender, cloud-like interior. They’re slightly sweet, perfectly buttery, and simply irresistible. This isn’t just a recipe; it’s an invitation to create those comforting, memory-making moments around your table. Forget store-bought – mastering homemade yeast rolls is surprisingly simple, and the reward is pure culinary bliss.
Recommended Kitchen Tools
To make this recipe easier and more efficient, here are some tools I recommend:
-
Stand Mixer with Dough Hook
Check Price on Amazon →
-
Measuring Cups and Spoons Set
Check Price on Amazon →
-
Baking Sheet
Check Price on Amazon →
Why You’ll Love This Recipe
This yeast rolls recipe is a game-changer! It strikes the perfect balance between a delightfully soft and airy crumb and a rich, buttery flavor. The dough is forgiving and easy to work with, making it ideal for bakers of all levels. Plus, the aroma that fills your kitchen as they bake is simply heavenly. They’re versatile enough for a holiday feast or a simple weeknight dinner, and they are guaranteed to be a crowd-pleaser.
Ingredients
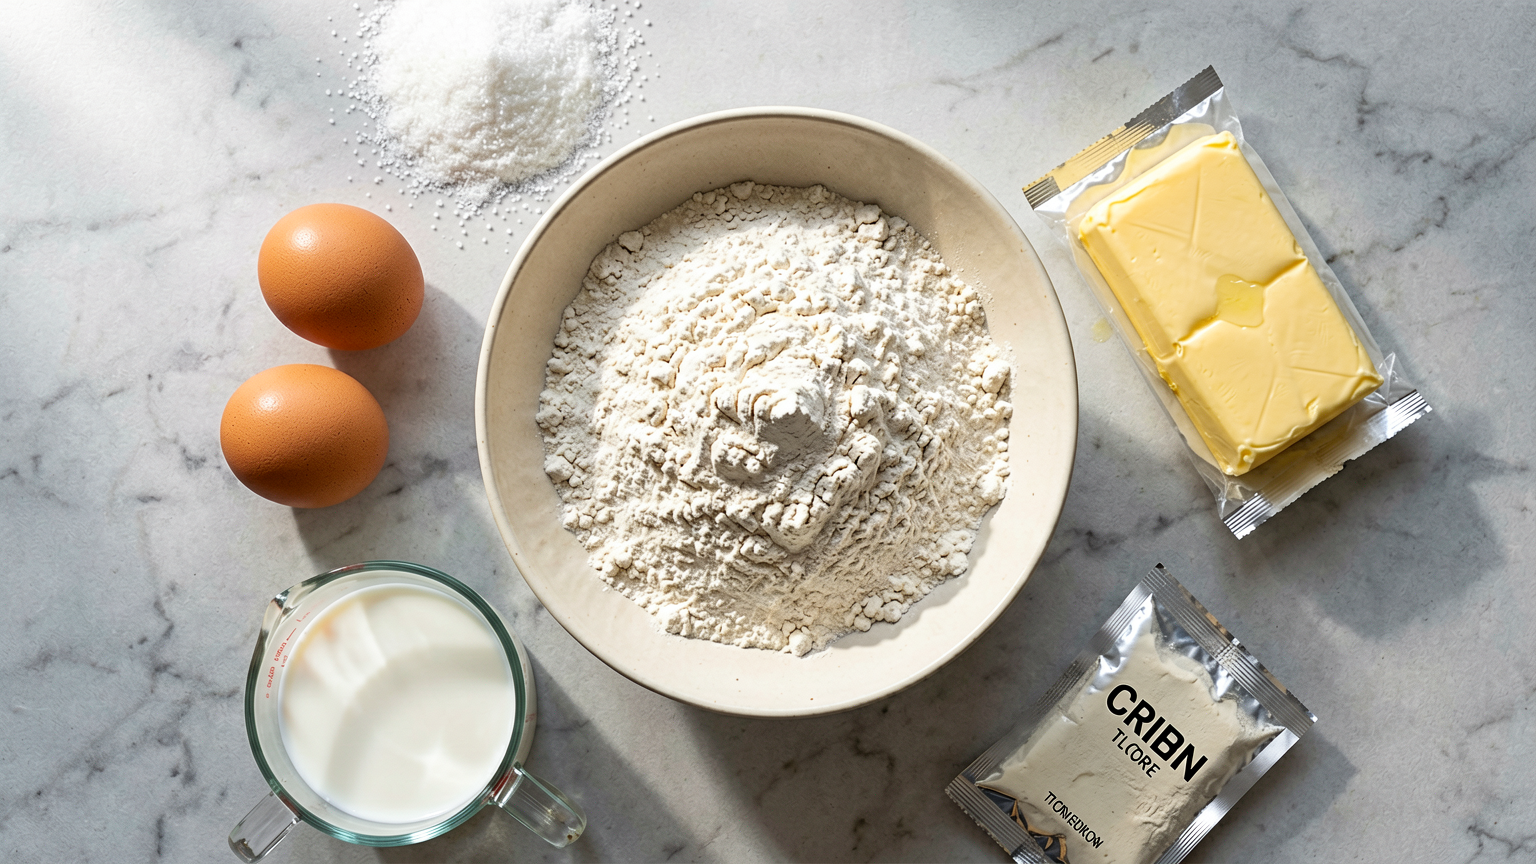
- 1 cup warm milk (105-115°F or 40-46°C)
- 2 ¼ teaspoons active dry yeast (one standard packet)
- ¼ cup granulated sugar, plus a pinch for the yeast
- 1 large egg, room temperature
- ⅓ cup unsalted butter, melted and slightly cooled
- 1 teaspoon salt
- 3 ½ to 4 cups all-purpose flour, divided
- 2 tablespoons unsalted butter, melted (for brushing)
Instructions
- In the bowl of a stand mixer (or a large mixing bowl), combine the warm milk, a pinch of sugar, and the active dry yeast. Stir gently and let it sit for 5-10 minutes until it becomes foamy. This means your yeast is alive and ready to work its magic!
- Add the remaining ¼ cup sugar, the room temperature egg, and the melted butter to the yeast mixture. Mix on low speed until just combined.
- In a separate bowl, whisk together 3 ½ cups of the all-purpose flour and the salt. Gradually add the flour mixture to the wet ingredients in the stand mixer bowl, mixing on low speed until a shaggy dough forms. If you don’t have a stand mixer, you can do this by hand, stirring with a wooden spoon until a shaggy dough forms.
- Once the dough starts to come together, increase the mixer speed to medium-low and knead for 6-8 minutes, or knead by hand on a lightly floured surface for 10-12 minutes, until the dough is smooth, elastic, and slightly tacky. If the dough is too sticky, add more flour, one tablespoon at a time. If it seems too dry, add a teaspoon of milk.
- Lightly grease a clean large bowl with butter or cooking spray. Place the kneaded dough in the bowl, turning it once to coat the surface. Cover the bowl tightly with plastic wrap or a clean kitchen towel. Let the dough rise in a warm place for 1 to 1 ½ hours, or until doubled in size.
- Gently punch down the risen dough to release the air. Turn the dough out onto a lightly floured surface. Divide the dough into 12 equal portions. For perfectly round rolls, shape each portion into a smooth ball. For slightly different shaped rolls, you can flatten each ball slightly and fold it in half, then in half again to create layers, and shape into a rough ball.
- Arrange the shaped rolls about 1-2 inches apart on a greased or parchment-lined baking sheet. Cover them loosely with plastic wrap or a kitchen towel and let them rise again in a warm place for another 30-45 minutes, or until puffy and nearly doubled.
- While the rolls are proofing for the second time, preheat your oven to 375°F (190°C).
- Once the rolls have finished their second rise, bake them in the preheated oven for 15-20 minutes, or until they are beautifully golden brown on top and sound hollow when tapped on the bottom.
- Immediately after removing the rolls from the oven, brush the tops with the 2 tablespoons of melted butter. This adds a lovely sheen and extra flavor. Let them cool slightly on the baking sheet before serving.
Tips
- Ensure your milk is the correct temperature: too hot will kill the yeast, too cold will prevent it from activating.
- Don’t rush the rising process. A warm, draft-free place is key for the dough to double in size.
- For extra fluffy rolls, be gentle when shaping and avoid overworking the dough after the first rise.
- If you prefer sweeter rolls, you can increase the sugar slightly, but be mindful that too much sugar can affect the dough’s texture.
- For a beautiful golden crust, you can add an egg wash (1 egg beaten with 1 tablespoon of water) before baking.
Serving Suggestions
- Serve warm alongside your favorite dinner, such as roasted chicken, beef stew, or pasta dishes.
- These rolls are fantastic with butter, jam, or honey.
- They make a delightful base for mini sandwiches or sliders.
- Enjoy them as a simple snack on their own!
Storage Tips
Store cooled yeast rolls in an airtight container or a resealable plastic bag at room temperature for up to 2-3 days. For longer storage, wrap them tightly and freeze for up to 3 months. Reheat gently in the oven or microwave.
FAQ
Q: Can I make these yeast rolls ahead of time? A: Yes, you can prepare the dough, let it rise, punch it down, shape it, and then refrigerate it overnight. Let it come to room temperature for about 30 minutes before the second rise and baking.
Q: Why are my yeast rolls not rising? A: This is usually due to inactive yeast (check expiration date and water temperature) or a too-cold environment for rising. Ensure your yeast is fresh and the dough is in a warm spot.
Q: Can I use bread flour instead of all-purpose flour? A: Yes, using bread flour will result in slightly chewier and more structured rolls due to its higher gluten content.
Nutrition Information
- Calories: 180 kcal
- Protein: 4 g
- Fat: 7 g
- Carbohydrates: 25 g
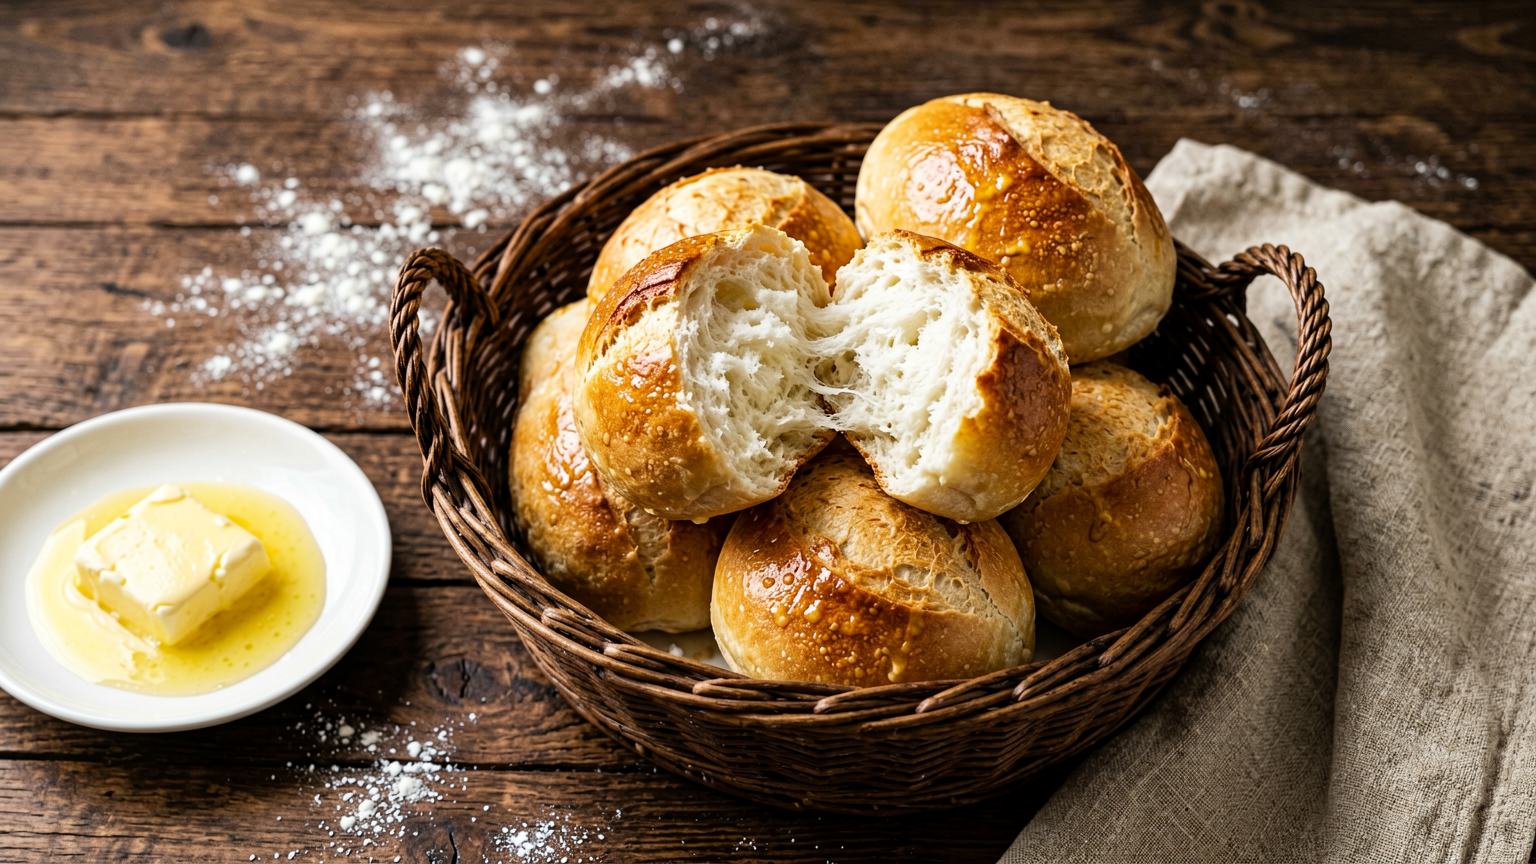
The Ultimate Soft & Fluffy Yeast Rolls Recipe (Easy & Delicious!)
Ingredients
Method
- In the bowl of a stand mixer (or a large mixing bowl), combine the warm milk, a pinch of sugar, and the active dry yeast. Stir gently and let it sit for 5-10 minutes until it becomes foamy. This means your yeast is alive and ready to work its magic!
- Add the remaining ¼ cup sugar, the room temperature egg, and the melted butter to the yeast mixture. Mix on low speed until just combined.
- In a separate bowl, whisk together 3 ½ cups of the all-purpose flour and the salt. Gradually add the flour mixture to the wet ingredients in the stand mixer bowl, mixing on low speed until a shaggy dough forms. If you don't have a stand mixer, you can do this by hand, stirring with a wooden spoon until a shaggy dough forms.
- Once the dough starts to come together, increase the mixer speed to medium-low and knead for 6-8 minutes, or knead by hand on a lightly floured surface for 10-12 minutes, until the dough is smooth, elastic, and slightly tacky. If the dough is too sticky, add more flour, one tablespoon at a time. If it seems too dry, add a teaspoon of milk.
- Lightly grease a clean large bowl with butter or cooking spray. Place the kneaded dough in the bowl, turning it once to coat the surface. Cover the bowl tightly with plastic wrap or a clean kitchen towel. Let the dough rise in a warm place for 1 to 1 ½ hours, or until doubled in size.
- Gently punch down the risen dough to release the air. Turn the dough out onto a lightly floured surface. Divide the dough into 12 equal portions. For perfectly round rolls, shape each portion into a smooth ball. For slightly different shaped rolls, you can flatten each ball slightly and fold it in half, then in half again to create layers, and shape into a rough ball.
- Arrange the shaped rolls about 1-2 inches apart on a greased or parchment-lined baking sheet. Cover them loosely with plastic wrap or a kitchen towel and let them rise again in a warm place for another 30-45 minutes, or until puffy and nearly doubled.
- While the rolls are proofing for the second time, preheat your oven to 375°F (190°C).
- Once the rolls have finished their second rise, bake them in the preheated oven for 15-20 minutes, or until they are beautifully golden brown on top and sound hollow when tapped on the bottom.
- Immediately after removing the rolls from the oven, brush the tops with the 2 tablespoons of melted butter. This adds a lovely sheen and extra flavor. Let them cool slightly on the baking sheet before serving.

















