
Introduction
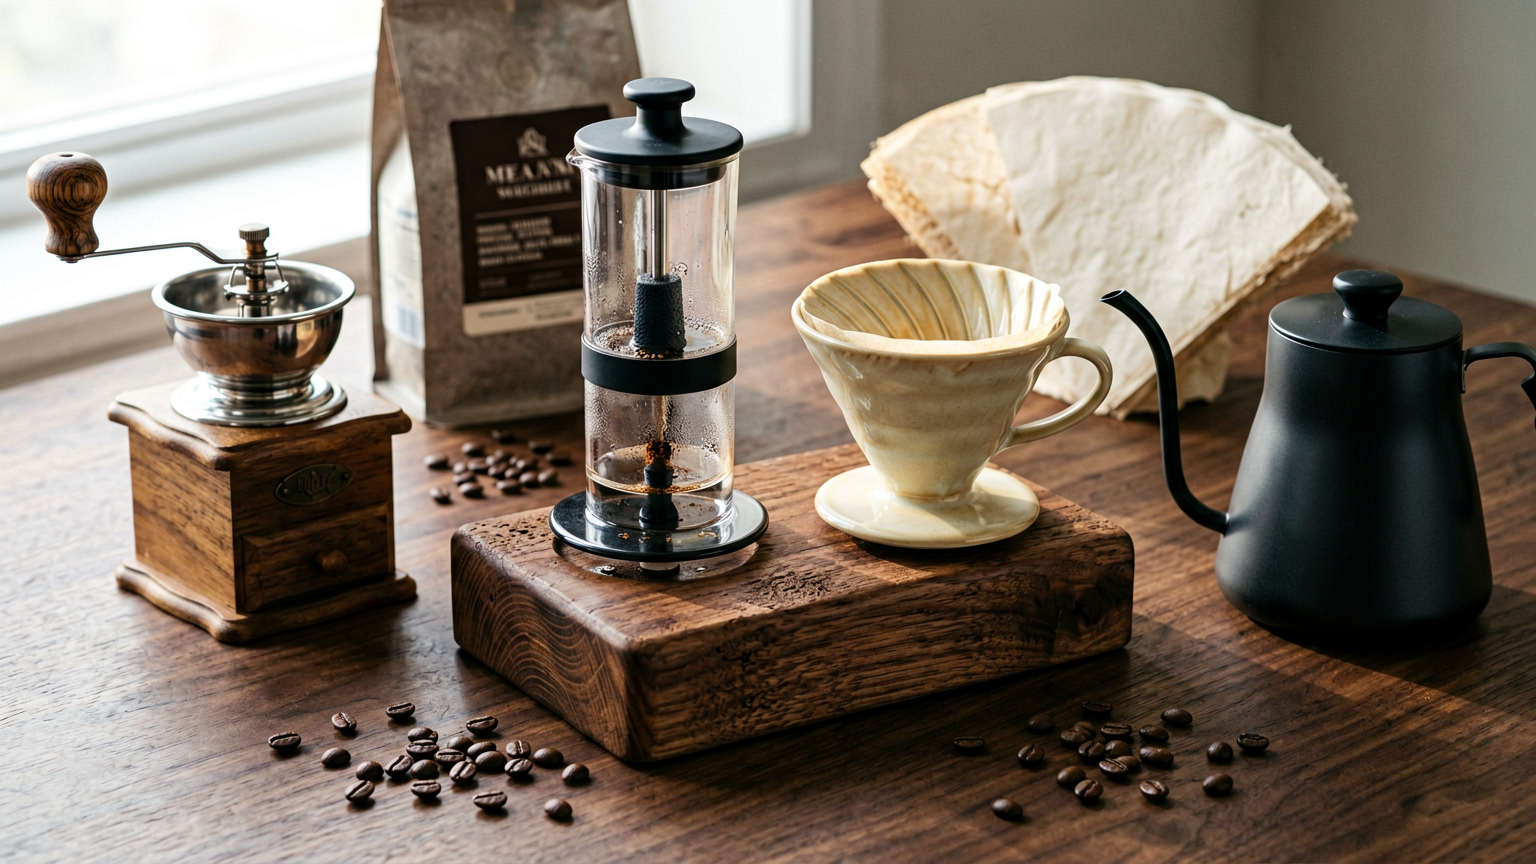
Are you tired of cluttered countertops and a less-than-ideal coffee brewing experience? Imagine a dedicated, stylish space for your favorite brewing methods, all within reach and beautifully organized. This DIY brewing stand isn’t just a piece of furniture; it’s a statement of your commitment to the perfect cup. Whether you’re a pour-over aficionado, an Aeropress enthusiast, or simply love the ritual of making coffee, this project will transform your morning routine.
Recommended Kitchen Tools
To make this recipe easier and more efficient, here are some tools I recommend:
-
Wood Clamps
Check Price on Amazon →
-
Orbital Sander
Check Price on Amazon →
-
Wood Drill and Bits
Check Price on Amazon →
Why You’ll Love This Recipe
This DIY brewing stand is a game-changer for any coffee lover. It provides a stable, aesthetically pleasing platform for various brewing devices, keeping your coffee station tidy and functional. It’s a rewarding weekend project that adds a personal, handcrafted touch to your kitchen, and the satisfaction of using something you made yourself is unparalleled.
Ingredients
- 1x piece of wood for the base (e.g., 12″x8″x1″, pine or hardwood)
- 2x pieces of wood for the uprights (e.g., 12″x4″x1″, matching base material)
- 1x piece of wood for the top shelf/support (e.g., 10″x6″x1″, matching base material)
- Wood screws (appropriate length for your wood thickness, typically 1.5″-2″)
- Wood glue
- Sandpaper (various grits: 80, 120, 220)
- Wood finish (e.g., food-safe mineral oil, Danish oil, or a clear polyurethane)
Instructions
- **Prepare Your Wood:** Cut your wood pieces to the desired dimensions. For a standard setup, the base can be around 12 inches long and 8 inches wide. The uprights should be tall enough to accommodate your tallest brewing device (e.g., 12 inches high and 4 inches wide). The top shelf should be slightly smaller than the base to allow for overhang, perhaps 10 inches by 6 inches.
- **Assemble the Base and Uprights:** Apply a generous amount of wood glue to the bottom edge of one upright. Position it flush with one of the longer edges of the base, approximately 1-2 inches in from the end. Secure it by drilling pilot holes and then driving in wood screws from the underside of the base into the upright. Repeat this process for the second upright on the opposite side of the base.
- **Attach the Top Shelf:** Apply wood glue to the top edges of both uprights. Carefully place the top shelf onto the glued edges, ensuring it is centered and flush with the front and back of the uprights. Use wood clamps to hold it firmly in place while you drill pilot holes and drive screws down through the top shelf into the uprights.
- **Reinforce and Sand:** Once the glue has dried, reinforce the structure by adding more screws if needed for stability. Begin sanding all surfaces and edges. Start with a coarser grit (80 or 120) to smooth out any rough spots and remove pencil marks, then move to a finer grit (220) for a silky-smooth finish. Pay attention to all corners and edges.
- **Apply Wood Finish:** Wipe away all dust from sanding. Apply your chosen wood finish according to the manufacturer’s instructions. For coffee stands, a food-safe finish like mineral oil or a durable clear coat is recommended. Allow adequate drying time between coats, usually 2-3 coats are sufficient for protection and a beautiful sheen.
Tips
- Measure your brewing equipment (pour-over drippers, Aeropress, French press) before cutting wood to ensure adequate height and width.
- Pre-drilling pilot holes is crucial to prevent the wood from splitting, especially near the edges.
- Consider adding a small lip or drip tray area to the base if you’re concerned about spills.
- Experiment with different wood types and finishes to match your kitchen decor.
Serving Suggestions
- Place your favorite pour-over dripper, Aeropress, or French press on the top shelf.
- Store coffee beans, filters, and grinders on the base or an additional lower shelf if you add one.
- This stand is perfect for displaying your favorite mug collection.
Storage Tips
Store the brewing stand in a cool, dry place away from direct sunlight to preserve the wood finish. Wipe clean with a damp cloth as needed.
FAQ
Can I customize the size of the brewing stand?
Yes, absolutely! Measure your brewing devices and adjust the dimensions accordingly. Just ensure the base is stable and the uprights are tall enough.
Nutrition Information
- Calories: N/A (this is a furniture item)
- Protein: N/A
- Fat: N/A
- Carbohydrates: N/A

DIY Brewing Stand: The Ultimate Guide to Your Home Coffee Setup
Ingredients
Method
- **Prepare Your Wood:** Cut your wood pieces to the desired dimensions. For a standard setup, the base can be around 12 inches long and 8 inches wide. The uprights should be tall enough to accommodate your tallest brewing device (e.g., 12 inches high and 4 inches wide). The top shelf should be slightly smaller than the base to allow for overhang, perhaps 10 inches by 6 inches.
- **Assemble the Base and Uprights:** Apply a generous amount of wood glue to the bottom edge of one upright. Position it flush with one of the longer edges of the base, approximately 1-2 inches in from the end. Secure it by drilling pilot holes and then driving in wood screws from the underside of the base into the upright. Repeat this process for the second upright on the opposite side of the base.
- **Attach the Top Shelf:** Apply wood glue to the top edges of both uprights. Carefully place the top shelf onto the glued edges, ensuring it is centered and flush with the front and back of the uprights. Use wood clamps to hold it firmly in place while you drill pilot holes and drive screws down through the top shelf into the uprights.
- **Reinforce and Sand:** Once the glue has dried, reinforce the structure by adding more screws if needed for stability. Begin sanding all surfaces and edges. Start with a coarser grit (80 or 120) to smooth out any rough spots and remove pencil marks, then move to a finer grit (220) for a silky-smooth finish. Pay attention to all corners and edges.
- **Apply Wood Finish:** Wipe away all dust from sanding. Apply your chosen wood finish according to the manufacturer's instructions. For coffee stands, a food-safe finish like mineral oil or a durable clear coat is recommended. Allow adequate drying time between coats, usually 2-3 coats are sufficient for protection and a beautiful sheen.

















