Introduction
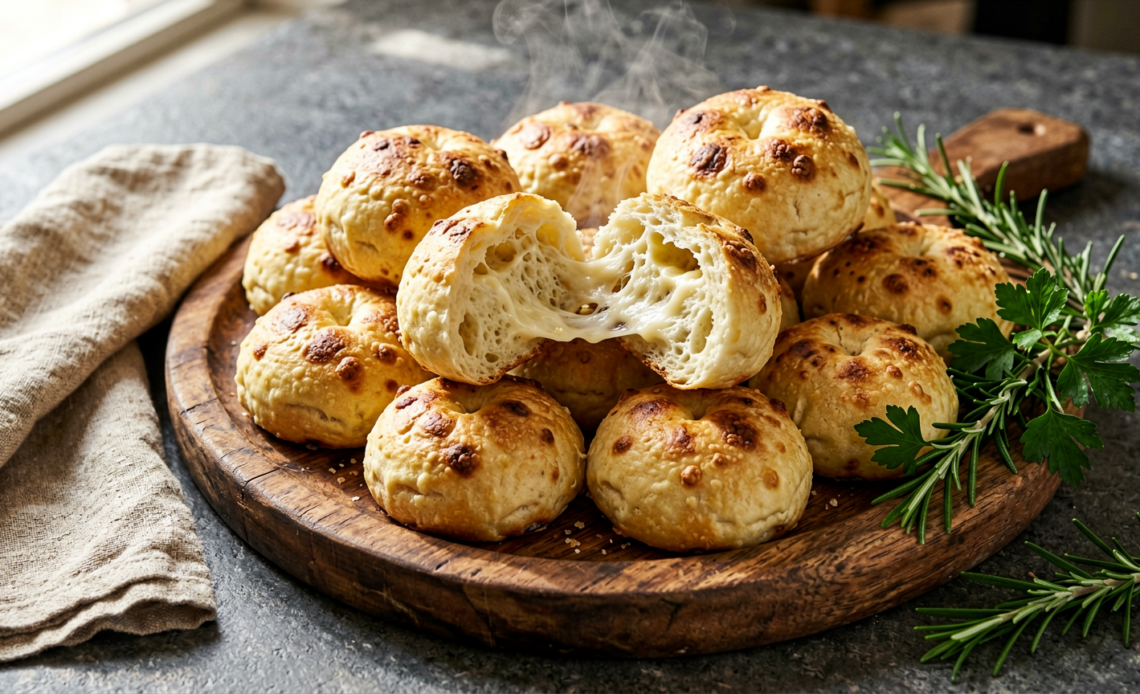
Imagine biting into a warm, chewy, cheesy roll that’s both savory and slightly tangy. That’s the magic of Pão de Queijo, Brazil’s beloved cheese bread! These delightful little orbs are a staple at Brazilian cafes, gatherings, and breakfast tables. Forget the store-bought versions; making them at home is surprisingly simple and incredibly rewarding. Get ready to fill your kitchen with an aroma that will have everyone asking for more!
Recommended Kitchen Tools
To make this recipe easier and more efficient, here are some tools I recommend:
-
Baking Sheet
Check Price on Amazon →
-
Mixing Bowls
Check Price on Amazon →
-
Whisk
Check Price on Amazon →
Why You’ll Love This Recipe
This recipe delivers that authentic, chewy texture and irresistible cheesy flavor you crave. It’s naturally gluten-free, making it a fantastic option for everyone. Plus, the process is straightforward, allowing you to whip up a batch of these golden delights with minimal fuss. Perfect as a snack, appetizer, or side, Pão de Queijo is guaranteed to be a crowd-pleaser.
Ingredients
- 1 cup milk
- 1/2 cup vegetable oil (or other neutral oil)
- 1 teaspoon salt
- 2 cups tapioca flour (also known as tapioca starch)
- 2 large eggs, lightly beaten
- 1 cup grated Parmesan cheese (or a mix of Parmesan and mozzarella for milder flavor)
Instructions
- Preheat your oven to 375°F (190°C). Lightly grease a baking sheet or line it with parchment paper.
- In a medium saucepan, combine the milk, vegetable oil, and salt. Heat over medium heat until it just begins to simmer. Remove from heat immediately.
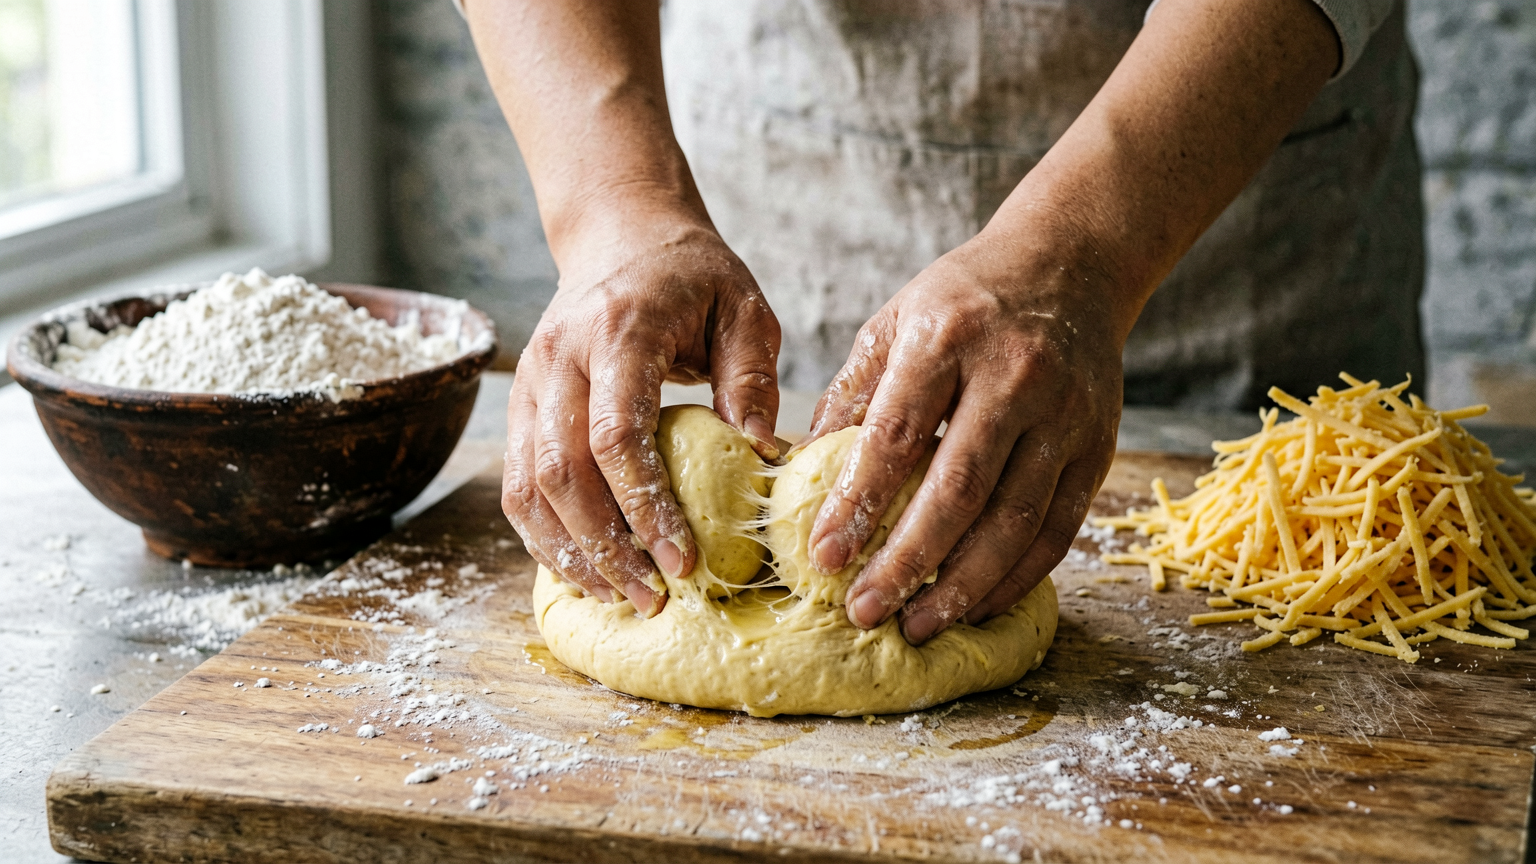
- In a large mixing bowl, place the tapioca flour. Gradually pour the hot milk mixture over the tapioca flour while whisking continuously. Mix until a thick, sticky dough forms.
- Let the dough cool for about 5-10 minutes until it’s comfortable to handle. This step is crucial to prevent cooking the eggs.
- Add the lightly beaten eggs to the cooled dough, a little at a time, mixing well after each addition until fully incorporated. The dough will become smoother and slightly sticky.
- Stir in the grated Parmesan cheese until evenly distributed throughout the dough.
- With lightly oiled hands (this helps prevent sticking), roll the dough into small balls, about 1-1.5 inches in diameter. Place them about 2 inches apart on the prepared baking sheet.
- Bake for 15-20 minutes, or until the cheese bread is puffed up and lightly golden brown. They should be slightly firm to the touch.
- Serve immediately while warm for the best texture and flavor.
Tips
- Ensure your tapioca flour is fresh for the best chewy texture.
- Don’t overmix the dough once the eggs are added; just mix until combined.
- Oiling your hands is key to shaping the sticky dough balls.
- For a crispier exterior, bake for a couple of minutes longer, but watch carefully to prevent burning.
- Experiment with different cheeses for varied flavor profiles. A blend of sharp cheddar and mozzarella can also be delicious.
Serving Suggestions
- Enjoy Pão de Queijo warm, straight from the oven, as a delightful snack.
- Serve them alongside your morning coffee or tea.
- Offer them as an appetizer before a meal, perhaps with a side of dipping sauce like aioli.
- They make a fantastic gluten-free side dish for soups and stews.
Storage Tips
Pão de Queijo are best enjoyed fresh. If you have leftovers, store them in an airtight container at room temperature for up to 2 days. Reheat gently in a toaster oven or a conventional oven at a low temperature (around 300°F/150°C) for a few minutes to restore some of their chewiness.
FAQ
What is Pão de Queijo? Pão de Queijo is a small, baked cheese roll or bun, originating from Brazil, made with tapioca flour, cheese, eggs, and milk.
Is Pão de Queijo gluten-free? Yes, this recipe is naturally gluten-free because it uses tapioca flour instead of wheat flour.
Can I make the dough ahead of time? Yes, you can prepare the dough, roll it into balls, and freeze them on a baking sheet. Once frozen, transfer to a freezer bag. Bake directly from frozen, adding a few extra minutes to the baking time.
Nutrition Information
- Calories: 150 kcal
- Protein: 4 g
- Fat: 8 g
- Carbohydrates: 15 g
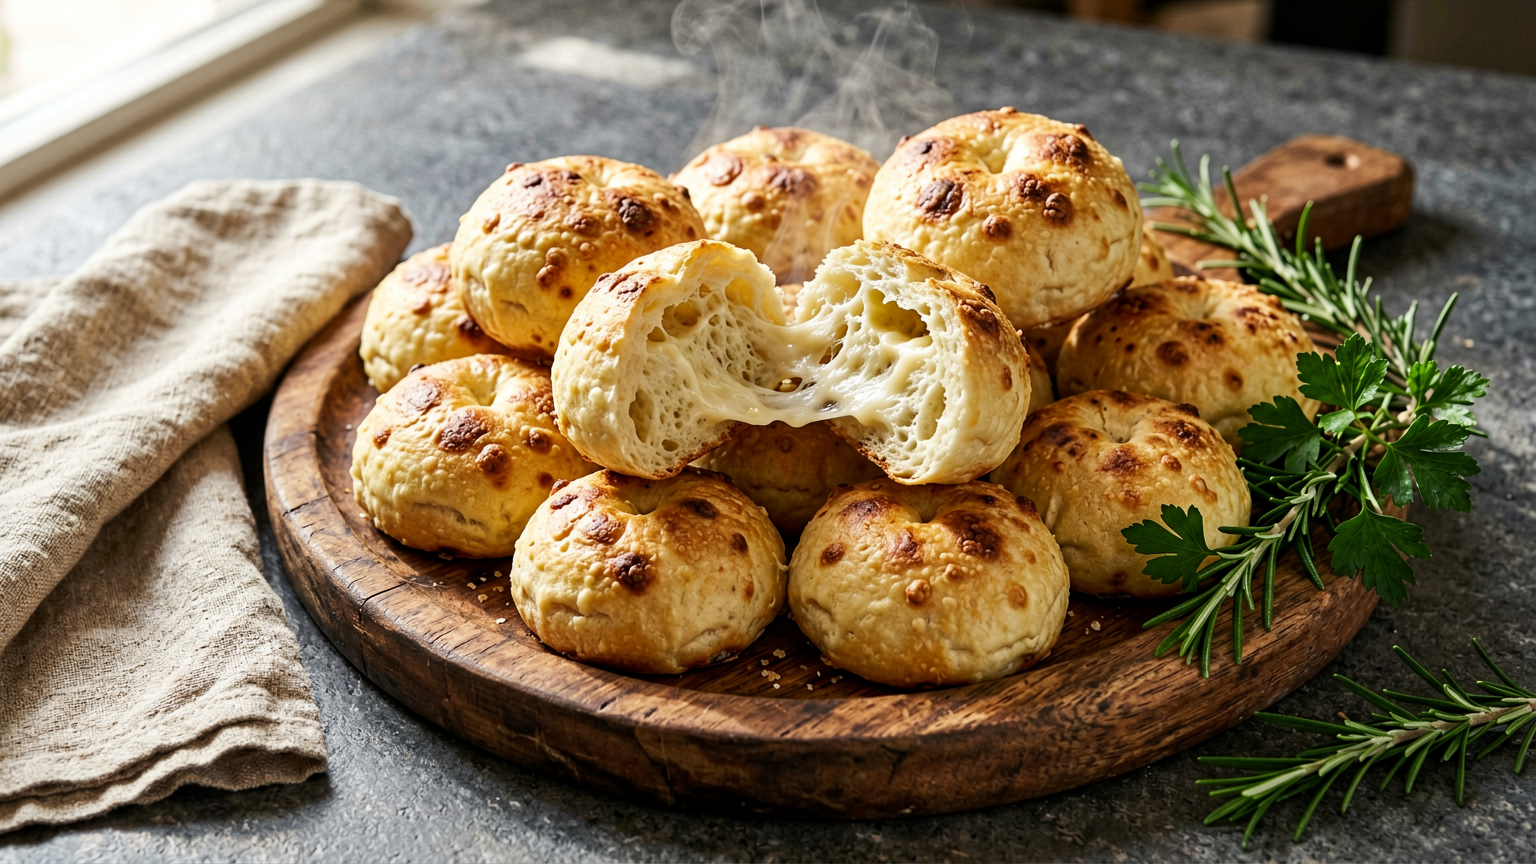
Irresistible Pão de Queijo: Authentic Brazilian Cheese Bread Recipe
Ingredients
Method
- Preheat your oven to 375°F (190°C). Lightly grease a baking sheet or line it with parchment paper.
- In a medium saucepan, combine the milk, vegetable oil, and salt. Heat over medium heat until it just begins to simmer. Remove from heat immediately.
- In a large mixing bowl, place the tapioca flour. Gradually pour the hot milk mixture over the tapioca flour while whisking continuously. Mix until a thick, sticky dough forms.
- Let the dough cool for about 5-10 minutes until it's comfortable to handle. This step is crucial to prevent cooking the eggs.
- Add the lightly beaten eggs to the cooled dough, a little at a time, mixing well after each addition until fully incorporated. The dough will become smoother and slightly sticky.
- Stir in the grated Parmesan cheese until evenly distributed throughout the dough.
- With lightly oiled hands (this helps prevent sticking), roll the dough into small balls, about 1-1.5 inches in diameter. Place them about 2 inches apart on the prepared baking sheet.
- Bake for 15-20 minutes, or until the cheese bread is puffed up and lightly golden brown. They should be slightly firm to the touch.
- Serve immediately while warm for the best texture and flavor.

















