Introduction
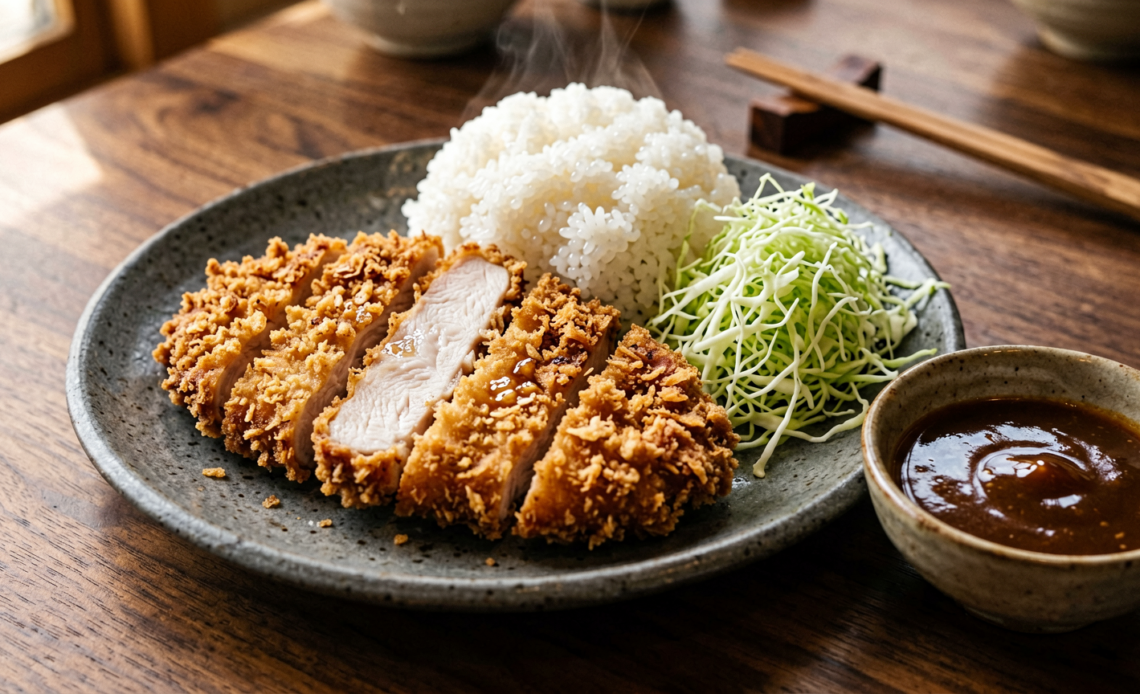
Imagine this: a perfectly golden, impossibly crispy cutlet of chicken, coated in crunchy panko breadcrumbs and fried to tender perfection. That’s the magic of Chicken Katsu! This Japanese comfort food classic is surprisingly simple to make at home and delivers an explosion of flavor and texture that will have everyone asking for seconds. Get ready to elevate your weeknight dinners with this incredibly satisfying recipe.
Recommended Kitchen Tools
To make this recipe easier and more efficient, here are some tools I recommend:
-
Heavy-Bottomed Pan
Check Price on Amazon →
-
Sharp Chef’s Knife
Check Price on Amazon →
-
Tongs
Check Price on Amazon →
Why You’ll Love This Recipe
This Chicken Katsu recipe is a winner because it strikes the perfect balance between crispy exterior and juicy, tender chicken. It’s incredibly versatile, allowing you to customize your side dishes and sauces. Plus, the process is straightforward enough for a weeknight meal, yet impressive enough for guests. It’s pure culinary satisfaction!
Ingredients
- 2 boneless, skinless chicken breasts (about 6-8 oz each)
- Salt and freshly ground black pepper, to taste
- 1/2 cup all-purpose flour
- 2 large eggs, lightly beaten
- 1 1/2 cups panko breadcrumbs
- Vegetable oil or other neutral oil, for frying (about 2-3 inches deep in the pan)
- For Serving (Optional):
- Tonkatsu sauce
- Steamed white rice
- Shredded cabbage salad
Instructions
- Prepare the Chicken: If your chicken breasts are very thick, you can pound them gently to an even thickness of about 1/2 inch. This ensures even cooking. Season both sides generously with salt and pepper.
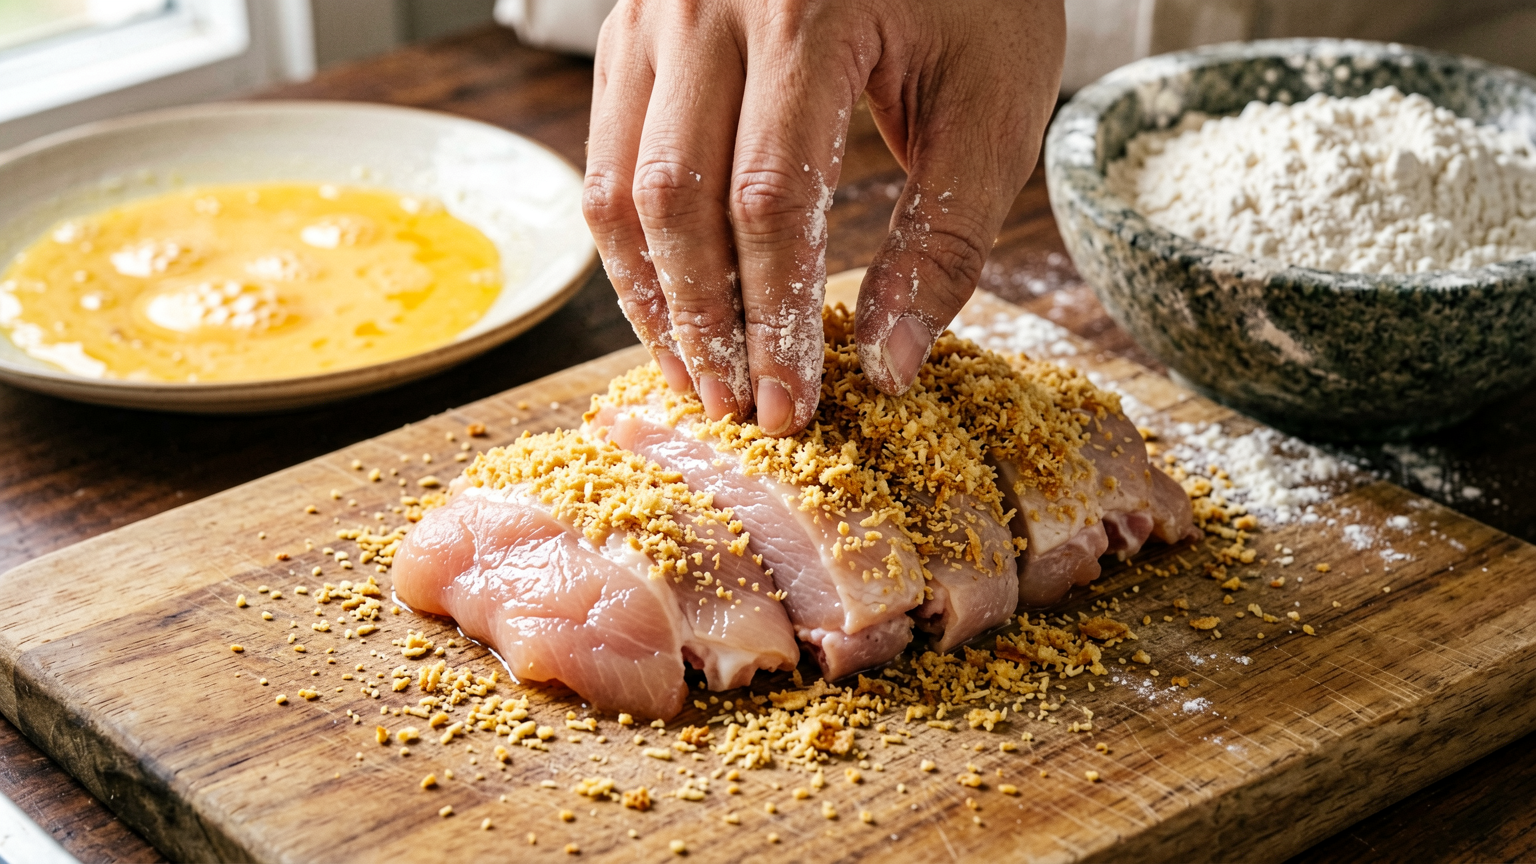
- Set Up Breading Station: Prepare three shallow dishes. In the first, place the all-purpose flour. In the second, whisk the eggs until smooth. In the third, place the panko breadcrumbs.
- Bread the Chicken: Dredge each chicken cutlet first in the flour, shaking off any excess. Then, dip it into the beaten eggs, ensuring it’s fully coated. Finally, press the chicken firmly into the panko breadcrumbs, making sure the entire surface is covered. Repeat for both chicken breasts.
- Heat the Oil: Pour vegetable oil into a heavy-bottomed pan or Dutch oven to a depth of about 2-3 inches. Heat the oil over medium-high heat until it reaches 350°F (175°C). You can test the oil by dropping a few panko crumbs in; they should sizzle immediately.
- Fry the Katsu: Carefully place one or two breaded chicken cutlets into the hot oil, being careful not to overcrowd the pan. Fry for about 3-5 minutes per side, or until golden brown and cooked through. The internal temperature should reach 165°F (74°C).
- Drain and Rest: Using tongs, remove the chicken katsu from the oil and place it on a wire rack set over a baking sheet to drain any excess oil. Let it rest for a few minutes before slicing.
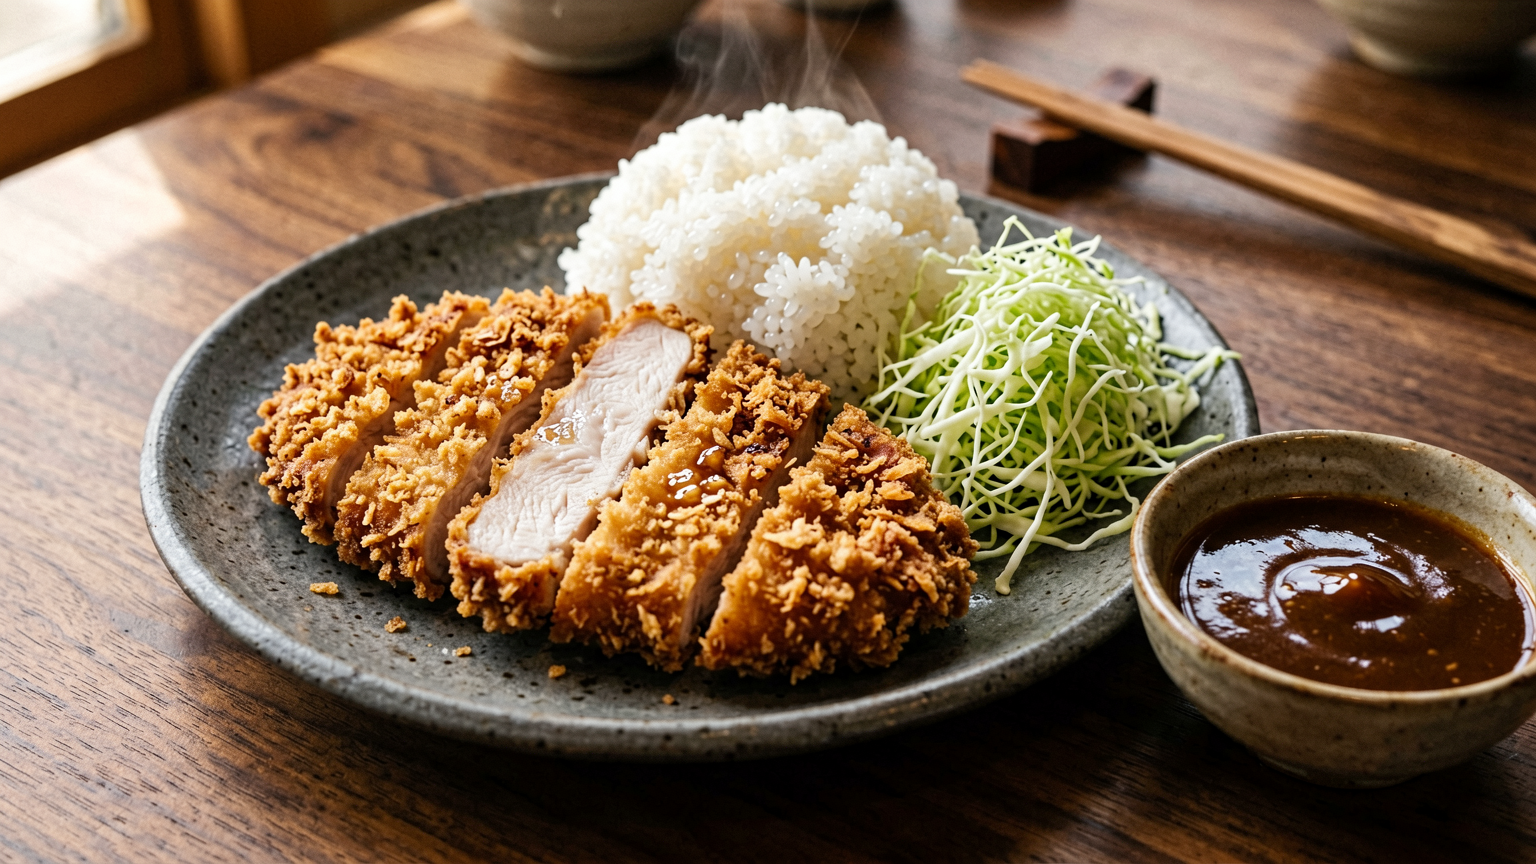
- Serve: Slice the chicken katsu into strips. Serve immediately with steamed rice, shredded cabbage, and a generous drizzle of tonkatsu sauce.
Tips
- For extra crispy katsu, ensure your panko breadcrumbs are fresh and don’t skip the step of pressing them firmly onto the chicken.
- Maintain a consistent oil temperature. If the oil is too hot, the outside will burn before the inside is cooked. If it’s too cool, the katsu will absorb too much oil and become greasy.
- Don’t overcrowd the pan when frying. This can cause the oil temperature to drop significantly, leading to soggy katsu.
- Allow the katsu to rest after frying. This helps the juices redistribute, resulting in more tender and flavorful chicken.
Serving Suggestions
- Traditionally served with steamed white rice and a side of shredded cabbage salad.
- Drizzle generously with Tonkatsu sauce.
- Consider adding a dollop of Japanese mayonnaise or karashi mustard for extra flavor.
- It also makes a fantastic Katsu sandwich or can be added to a rice bowl.
Storage Tips
Leftover cooked chicken katsu is best stored in an airtight container in the refrigerator for up to 2-3 days. To reheat, place in a preheated oven at 375°F (190°C) for about 10-15 minutes, or until heated through and crispy again. Avoid microwaving as it can make the coating soggy.
FAQ
What is Tonkatsu sauce?
Tonkatsu sauce is a thick, sweet, and savory Japanese sauce, similar to a Worcestershire sauce but with a richer, fruitier flavor. It’s the classic accompaniment to katsu.
Can I make chicken katsu ahead of time?
While it’s best enjoyed fresh, you can prepare the breaded chicken cutlets ahead of time and refrigerate them on a baking sheet lined with parchment paper. Fry them just before serving for the crispiest results.
What kind of oil is best for frying?
A neutral oil with a high smoke point is ideal, such as vegetable oil, canola oil, or peanut oil.
Nutrition Information
- Calories: 450 kcal
- Protein: 30 g
- Fat: 25 g
- Carbohydrates: 25 g
Crispy Chicken Katsu Recipe: Your New Go-To Japanese Comfort Food
Ingredients
Method
- Prepare the Chicken: If your chicken breasts are very thick, you can pound them gently to an even thickness of about 1/2 inch. This ensures even cooking. Season both sides generously with salt and pepper.
- Set Up Breading Station: Prepare three shallow dishes. In the first, place the all-purpose flour. In the second, whisk the eggs until smooth. In the third, place the panko breadcrumbs.
- Bread the Chicken: Dredge each chicken cutlet first in the flour, shaking off any excess. Then, dip it into the beaten eggs, ensuring it's fully coated. Finally, press the chicken firmly into the panko breadcrumbs, making sure the entire surface is covered. Repeat for both chicken breasts.
- Heat the Oil: Pour vegetable oil into a heavy-bottomed pan or Dutch oven to a depth of about 2-3 inches. Heat the oil over medium-high heat until it reaches 350°F (175°C). You can test the oil by dropping a few panko crumbs in; they should sizzle immediately.
- Fry the Katsu: Carefully place one or two breaded chicken cutlets into the hot oil, being careful not to overcrowd the pan. Fry for about 3-5 minutes per side, or until golden brown and cooked through. The internal temperature should reach 165°F (74°C).
- Drain and Rest: Using tongs, remove the chicken katsu from the oil and place it on a wire rack set over a baking sheet to drain any excess oil. Let it rest for a few minutes before slicing.
- Serve: Slice the chicken katsu into strips. Serve immediately with steamed rice, shredded cabbage, and a generous drizzle of tonkatsu sauce.

















