Introduction
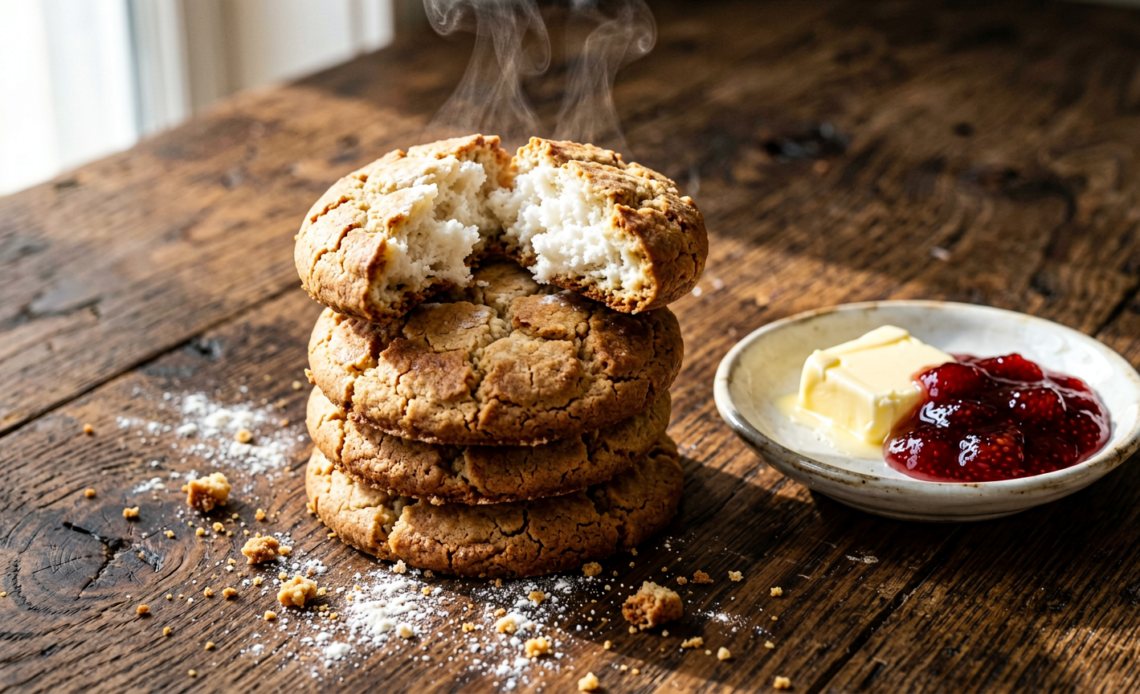
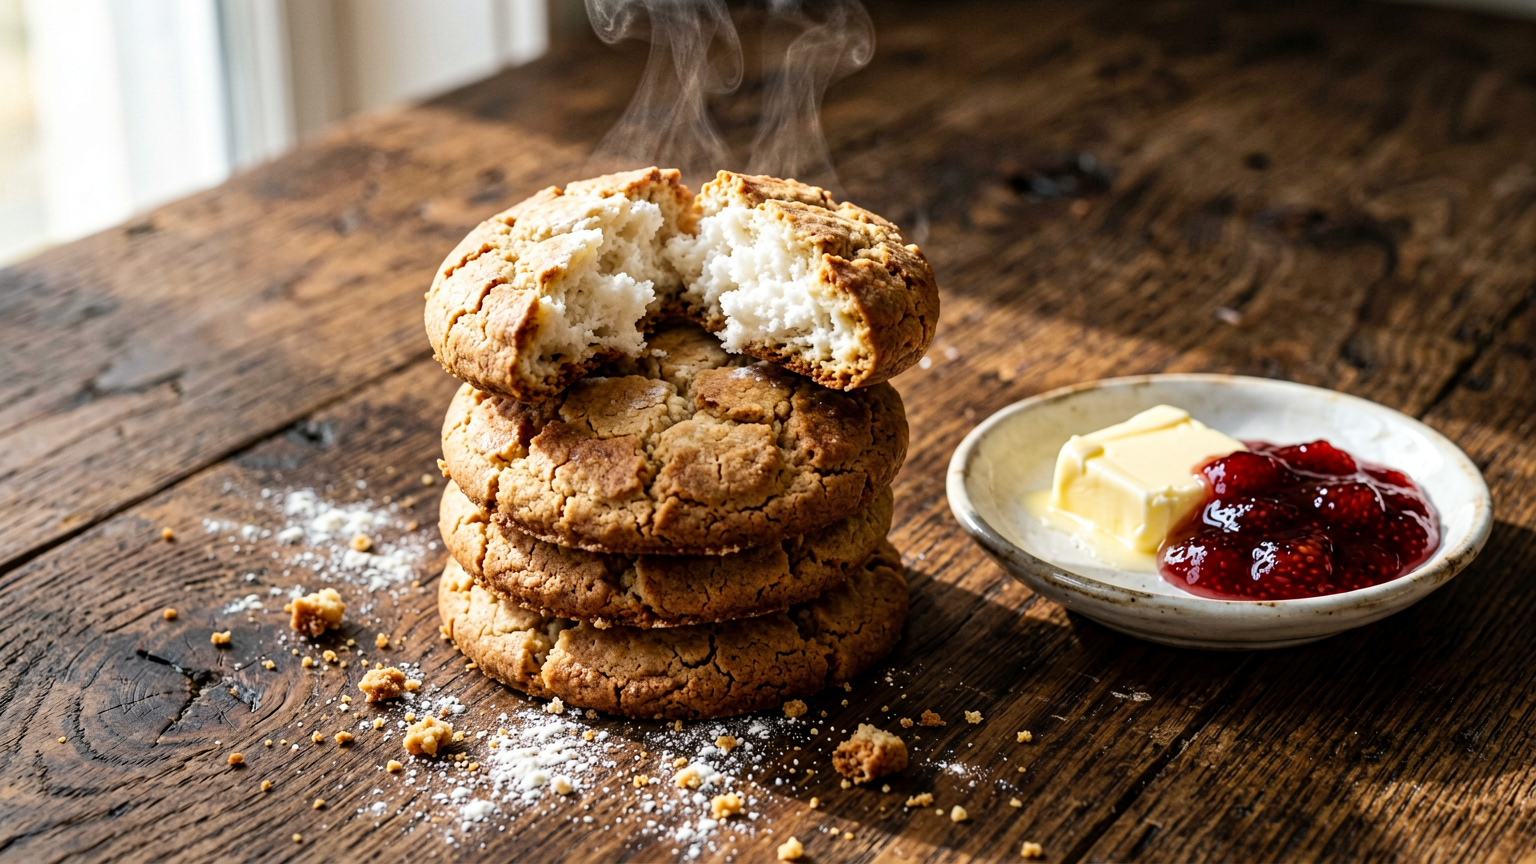
Tired of complicated baking? Meet your new best friend in the kitchen: the self-rising flour biscuit! This recipe harnesses the magic of self-rising flour to create the most wonderfully tender, fluffy, and golden biscuits you’ve ever tasted, with minimal effort. Forget fussy ingredients and long rising times; we’re talking about pure, unadulterated biscuit bliss, ready to grace your table in no time.
Recommended Kitchen Tools
To make this recipe easier and more efficient, here are some tools I recommend:
-
Mixing Bowls
Check Price on Amazon →
-
Pastry Blender
Check Price on Amazon →
-
Baking Sheet
Check Price on Amazon →
Why You’ll Love This Recipe
This recipe is a game-changer for busy home cooks and beginner bakers alike. It delivers consistently delicious results, transforming simple ingredients into comforting, melt-in-your-mouth biscuits. The beauty lies in its simplicity and speed, making it perfect for those weeknight dinners or spontaneous brunch gatherings. Plus, the versatility of these biscuits means they pair perfectly with almost anything!
Ingredients
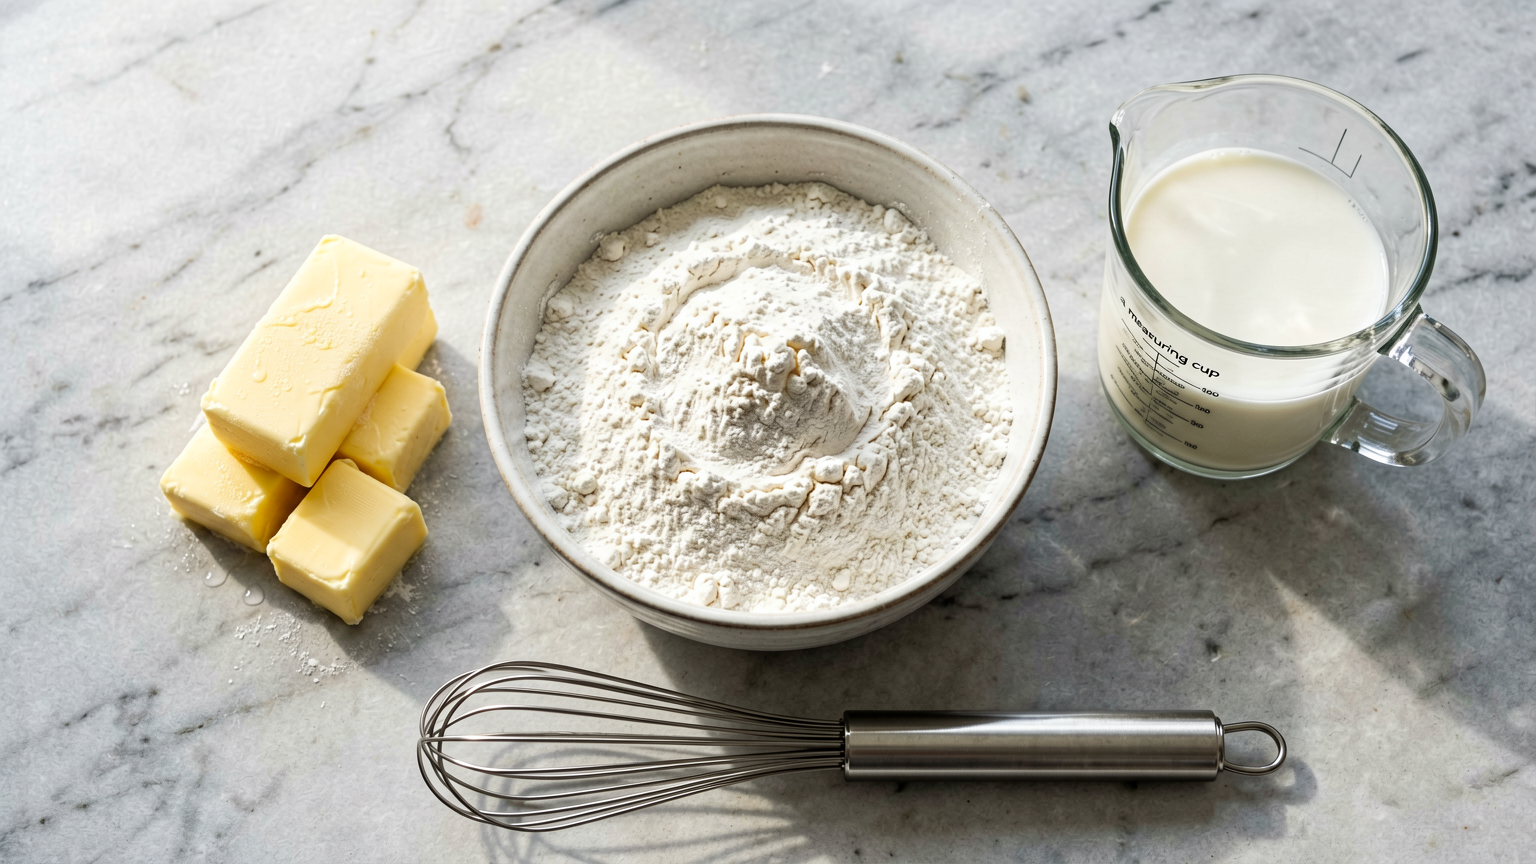
- 2 cups self-rising flour, plus more for dusting
- 1/2 cup (1 stick) cold unsalted butter, cut into small cubes
- 3/4 cup cold milk (whole milk or buttermilk recommended)
- 1 tablespoon sugar (optional, for a hint of sweetness)
- Melted butter, for brushing (optional)
Instructions
- Preheat your oven to 425°F (220°C). Lightly grease a baking sheet or line it with parchment paper.
- In a large mixing bowl, add the self-rising flour and sugar (if using). Whisk to combine.
- Add the cold, cubed butter to the flour mixture. Using a pastry blender, two knives, or your fingertips, cut the butter into the flour until the mixture resembles coarse crumbs with some pea-sized pieces of butter remaining. This step is crucial for flaky biscuits.
- Gradually pour in the cold milk, stirring gently with a fork until just combined. Be careful not to overmix; the dough should be shaggy and slightly sticky.
- Turn the dough out onto a lightly floured surface. Gently knead it a few times (about 5-6 turns) to bring it together. Pat or gently roll the dough into a 3/4-inch thick rectangle.
- Fold the dough in half, then pat or roll it out again to 3/4-inch thickness. Repeat this folding and patting process 2-3 more times. This creates layers for flakiness. Do not overwork the dough.
- Using a biscuit cutter or a glass rim (about 2-3 inches in diameter), cut out the biscuits. Press straight down without twisting to ensure even rising.
- Place the biscuits onto the prepared baking sheet, ensuring they are touching each other for softer sides, or spaced apart for crispier edges.
- Bake for 12-15 minutes, or until the biscuits are golden brown and have risen beautifully. For an extra sheen and flavor, brush the tops with melted butter immediately after they come out of the oven.
- Let cool slightly on the baking sheet before serving.
Tips
- Keep your ingredients, especially the butter and milk, very cold. This is key to achieving a light and flaky texture.
- Do not overmix the dough. Overmixing develops gluten, resulting in tough biscuits.
- Avoid twisting the biscuit cutter. Press straight down to ensure the layers seal and rise properly.
- For extra tender biscuits, consider using buttermilk instead of regular milk.
- If you don’t have a biscuit cutter, a floured glass rim works perfectly.
Serving Suggestions
- Serve warm with butter, jam, honey, or your favorite preserves.
- Perfect alongside stews, soups, chili, or fried chicken.
- Use them as a base for breakfast sandwiches with eggs, cheese, and bacon.
- Top with gravy for a classic biscuits and gravy experience.
Storage Tips
Store leftover biscuits in an airtight container at room temperature for up to 2 days. For longer storage, wrap them tightly and freeze. Reheat in a warm oven or toaster oven for best results.
FAQ
Can I make this recipe without self-rising flour? No, this recipe specifically relies on self-rising flour for leavening. If you don’t have it, you’ll need to make your own by combining all-purpose flour with baking powder and salt.
Why are my biscuits tough? You likely overmixed the dough or overhandled it. Mix until just combined and knead very minimally.
How do I get taller biscuits? Ensure your oven is fully preheated, use cold ingredients, and avoid twisting the cutter. Placing biscuits close together on the baking sheet also helps them rise upwards.
Nutrition Information
- Calories: 250 kcal
- Protein: 5 g
- Fat: 12 g
- Carbohydrates: 30 g
Simple Self-Rising Flour Biscuits: Your Go-To Recipe!
Ingredients
Method
- Preheat your oven to 425°F (220°C). Lightly grease a baking sheet or line it with parchment paper.
- In a large mixing bowl, add the self-rising flour and sugar (if using). Whisk to combine.
- Add the cold, cubed butter to the flour mixture. Using a pastry blender, two knives, or your fingertips, cut the butter into the flour until the mixture resembles coarse crumbs with some pea-sized pieces of butter remaining. This step is crucial for flaky biscuits.
- Gradually pour in the cold milk, stirring gently with a fork until just combined. Be careful not to overmix; the dough should be shaggy and slightly sticky.
- Turn the dough out onto a lightly floured surface. Gently knead it a few times (about 5-6 turns) to bring it together. Pat or gently roll the dough into a 3/4-inch thick rectangle.
- Fold the dough in half, then pat or roll it out again to 3/4-inch thickness. Repeat this folding and patting process 2-3 more times. This creates layers for flakiness. Do not overwork the dough.
- Using a biscuit cutter or a glass rim (about 2-3 inches in diameter), cut out the biscuits. Press straight down without twisting to ensure even rising.
- Place the biscuits onto the prepared baking sheet, ensuring they are touching each other for softer sides, or spaced apart for crispier edges.
- Bake for 12-15 minutes, or until the biscuits are golden brown and have risen beautifully. For an extra sheen and flavor, brush the tops with melted butter immediately after they come out of the oven.
- Let cool slightly on the baking sheet before serving.

















