Introduction
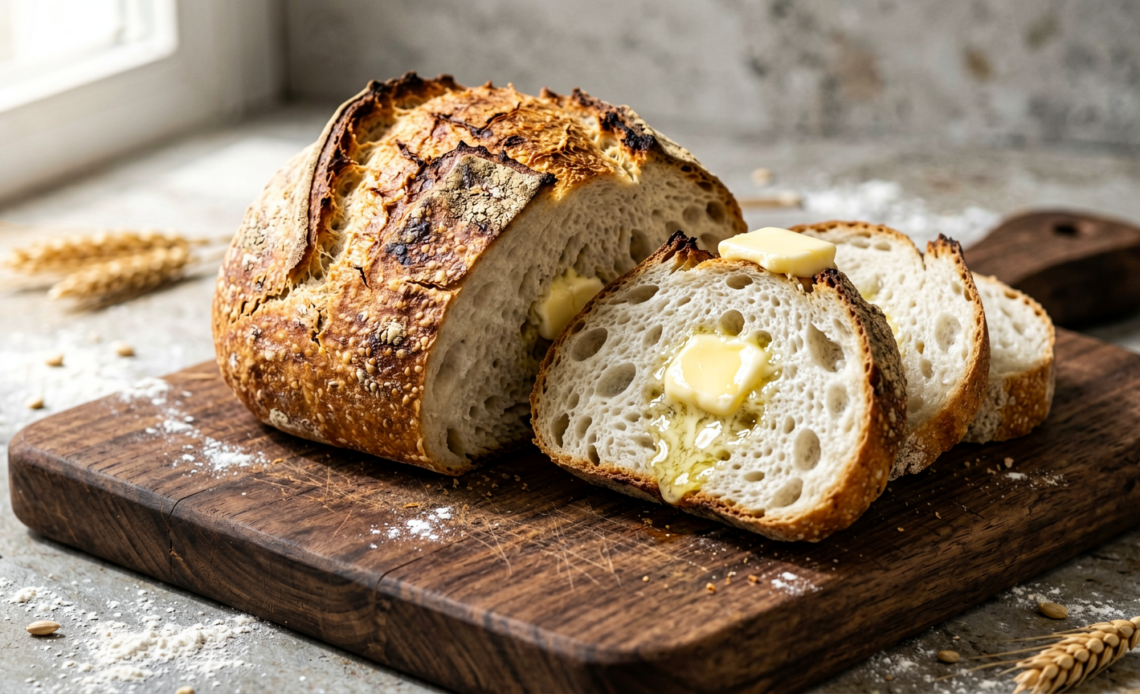
Dreaming of warm, crusty homemade bread but struggling with gluten-free baking? Your bread maker is about to become your new best friend! Forget complicated kneading and unpredictable oven results. This recipe is specifically designed for your trusty bread maker, delivering a wonderfully soft, flavorful, and perfectly risen gluten-free loaf with absolute ease. Get ready to fill your kitchen with the irresistible aroma of freshly baked bread, without the gluten!
Recommended Kitchen Tools
To make this recipe easier and more efficient, here are some tools I recommend:
-
Bread Maker Machine
Check Price on Amazon →
-
Measuring Cups and Spoons Set
Check Price on Amazon →
-
Whisk
Check Price on Amazon →
Why You’ll Love This Recipe
This gluten-free bread maker recipe is a game-changer for anyone seeking delicious homemade bread without the fuss. It’s incredibly simple to follow, requires minimal hands-on time, and consistently yields a fantastic loaf. The texture is soft and satisfying, and the flavor is wonderfully neutral, making it perfect for sandwiches, toast, or simply enjoying with a smear of butter. Plus, it’s a lifesaver for those with celiac disease or gluten sensitivities who crave the comfort of fresh bread.
Ingredients
- 1 ½ cups warm water (105-115°F)
- 2 tablespoons olive oil (plus extra for greasing)
- 2 tablespoons honey or maple syrup
- 1 ½ teaspoons salt
- 2 ½ cups gluten-free all-purpose flour blend (ensure it contains xanthan gum)
- 1 cup almond flour or sorghum flour
- ¼ cup tapioca starch or arrowroot starch
- 2 ¼ teaspoons active dry yeast (one standard packet)
- Optional: 1 teaspoon psyllium husk powder for improved texture
Instructions
- Prepare your bread maker: Ensure the bread pan is clean and lightly greased with olive oil. Insert the kneading paddle.
- Add the wet ingredients: Pour the warm water into the bread pan first. Follow with the olive oil and honey (or maple syrup).
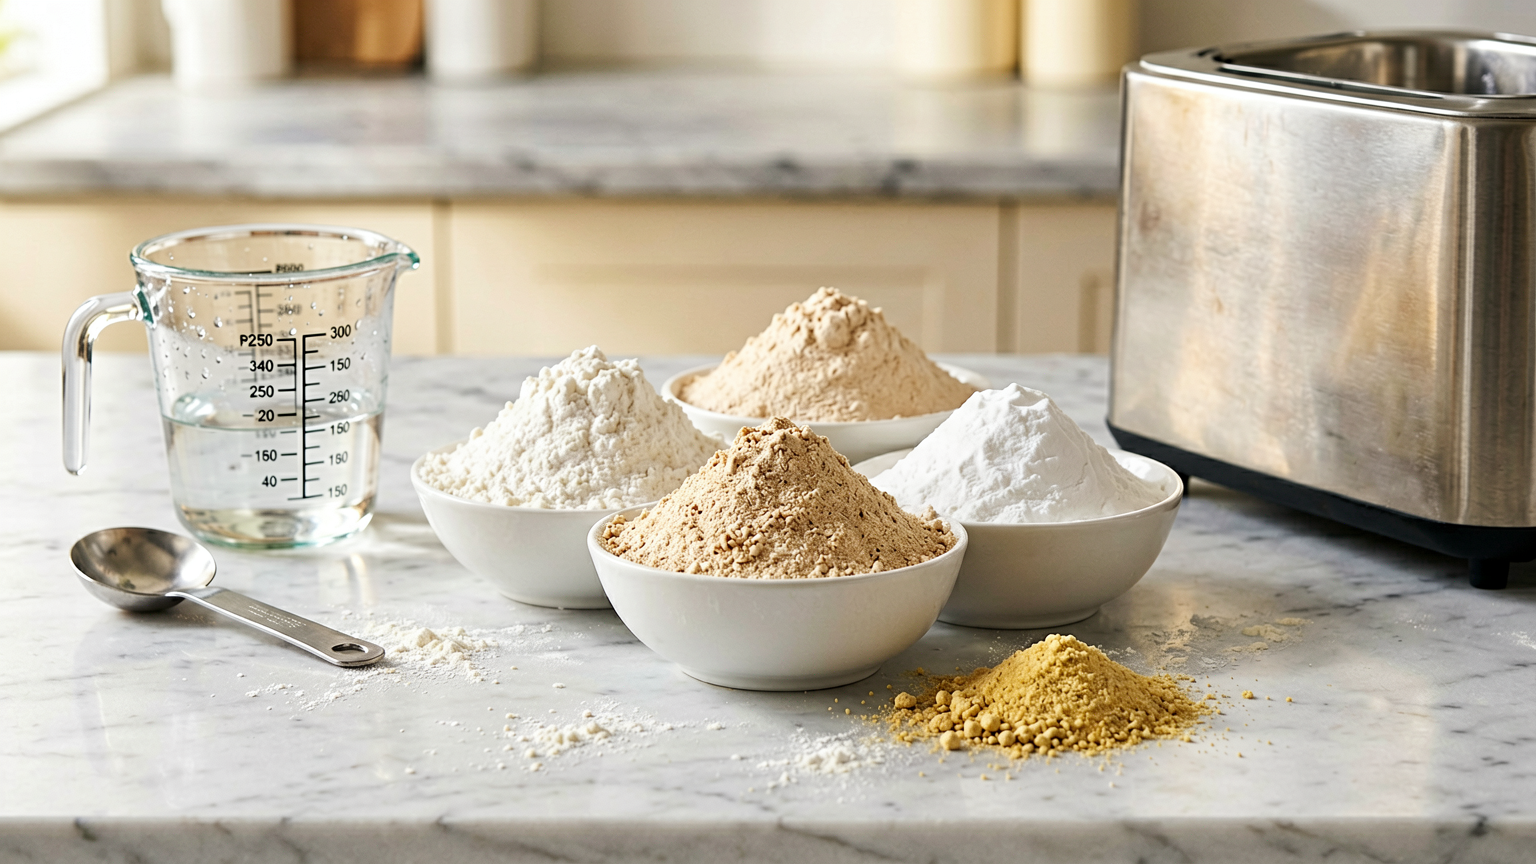
- Add the dry ingredients: In a separate bowl, whisk together the gluten-free flour blend, almond flour (or sorghum flour), tapioca starch (or arrowroot starch), salt, and optional psyllium husk powder. Ensure everything is well combined.
- Add yeast: Create a small well in the center of the dry ingredients in the bread pan and pour the yeast into it. Do not let the yeast touch the liquid yet.
- Start the cycle: Secure the bread pan in your bread maker. Select the appropriate gluten-free or basic bread setting. Start the machine.
- Monitor the dough: Most bread makers have a “dough” cycle or will automatically proceed. If your machine has a pause function, you can briefly check the dough consistency after about 10-15 minutes of mixing. It should form a cohesive, slightly sticky ball. If it seems too dry, add a teaspoon of water at a time; if too wet, add a teaspoon of GF flour blend.
- Bake: Allow the bread maker to complete its full baking cycle. Avoid opening the lid during the baking process, especially in the first 20-30 minutes.
- Cool the bread: Once the cycle is complete, carefully remove the bread pan from the machine. Invert the pan onto a wire cooling rack and gently shake to release the loaf. Remove the kneading paddle if it remains in the bread. Let the bread cool completely before slicing, at least 1-2 hours, for the best texture and to prevent gumminess.
Tips
- Use a quality gluten-free flour blend: The blend’s composition significantly impacts the final loaf. Look for one that includes a mix of starches and flours for better texture.
- Ensure your yeast is fresh: Expired yeast will result in a flat, dense loaf. Test it by dissolving it in warm water with a pinch of sugar; it should become foamy within 5-10 minutes.
- Measure ingredients accurately: Gluten-free baking is sensitive to ratios. Use the ‘spoon and level’ method for flours or weigh them for precision.
- Allow for complete cooling: This is crucial for gluten-free bread. Slicing too early can lead to a gummy texture as the starches haven’t fully set.
- Adjust liquid slightly if needed: Altitude and humidity can affect flour absorption. If the dough seems unusually dry or wet, make minor adjustments.
Serving Suggestions
- Perfect for sandwiches: Its sturdy yet soft crumb holds up well to fillings.
- Delicious toasted: Serve warm with butter, jam, or your favorite spread.
- As a side: Enjoy with soups, stews, or salads.
- French toast: This bread makes a surprisingly delightful gluten-free French toast base.
Storage Tips
Store cooled gluten-free bread in an airtight container or bread bag at room temperature for up to 2-3 days. For longer storage, slice the bread and freeze it in a freezer-safe bag. It thaws beautifully at room temperature or can be toasted directly from frozen.
FAQ
Q: Can I use a different gluten-free flour blend?
A: Yes, but results may vary. Ensure your blend contains xanthan gum, as it’s essential for structure in gluten-free baking. Different blends have different absorption rates, so you might need slight liquid adjustments.
Q: Why is my gluten-free bread dense?
A: This can be due to expired yeast, inaccurate measurements, or not allowing the bread to cool completely. Ensure your yeast is active and follow measurements precisely. Patience during cooling is key!
Q: Can I add seeds or nuts to this recipe?
A: Yes, you can typically add about ½ cup of seeds (like sunflower or pumpkin) or chopped nuts towards the end of the mixing cycle, or as directed by your bread maker’s manual for add-ins.
Nutrition Information
- Calories: Approx. 150-180 per slice (varies based on flour blend and sweeteners used)
- Protein: Approx. 4-6g per slice
- Fat: Approx. 6-8g per slice
- Carbohydrates: Approx. 20-25g per slice

















