Introduction
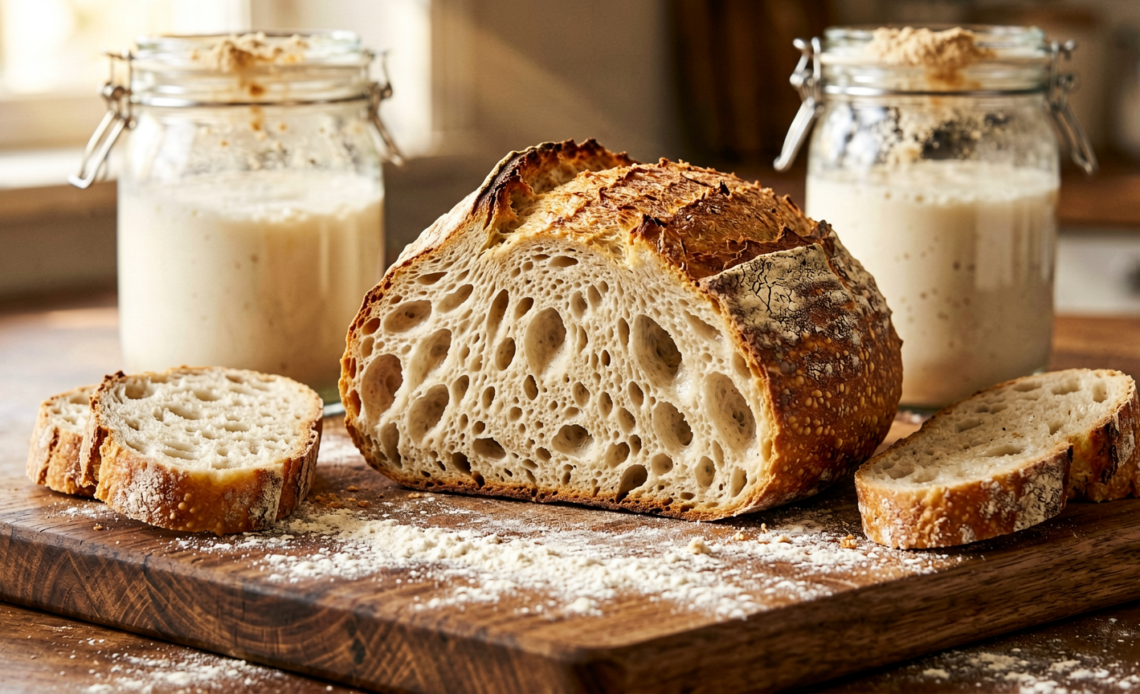
Dreaming of that tangy, chewy sourdough crust but intimidated by the traditional starter maintenance and lengthy proofing? What if I told you that you could achieve that artisanal sourdough magic right in your own kitchen, with the help of your trusty bread machine? Forget the fuss; this recipe is your golden ticket to a perfectly baked, golden-brown sourdough loaf with surprisingly little effort. Get ready to impress yourself (and everyone else!) with the simplest, most rewarding sourdough bread you’ve ever made.
Recommended Kitchen Tools
To make this recipe easier and more efficient, here are some tools I recommend:
-
Digital Kitchen Scale
Check Price on Amazon →
-
Measuring Cups and Spoons Set
Check Price on Amazon →
-
Bread Machine with Sourdough Setting
Check Price on Amazon →
Why You’ll Love This Recipe
This recipe takes all the guesswork out of sourdough. You get that wonderful complex flavor and satisfying chew without the constant feeding, folding, and shaping. It’s perfect for busy bakers who crave homemade sourdough goodness with a set-it-and-forget-it approach. The bread machine handles the kneading and rising, leaving you with a beautiful loaf ready to be sliced and enjoyed.
Ingredients
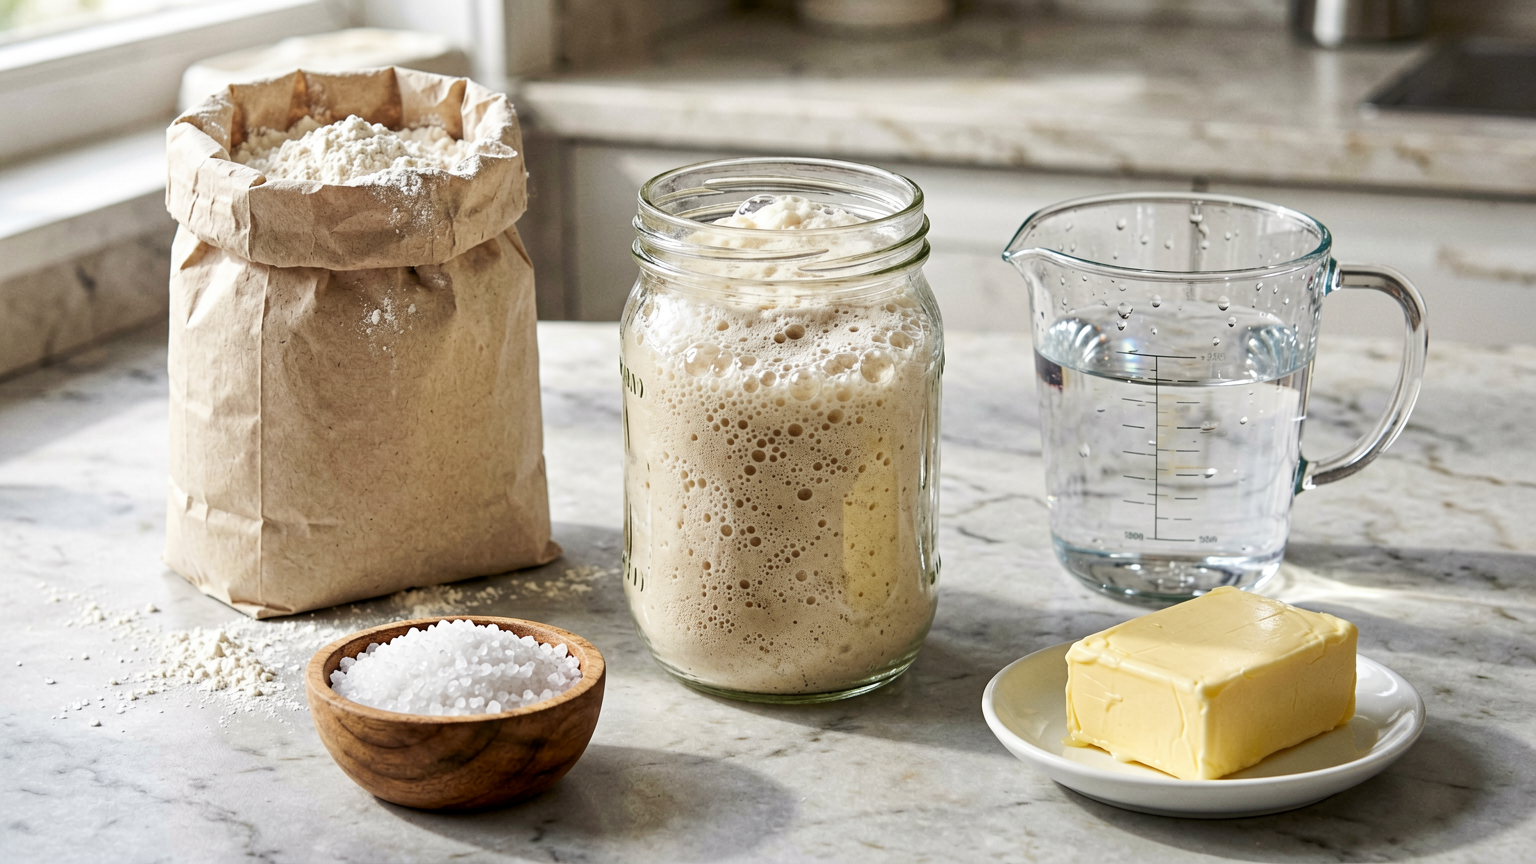
- 150g active sourdough starter (fed and bubbly)
- 330ml lukewarm water (around 90-100°F or 32-38°C)
- 500g bread flour
- 10g salt
- 15g granulated sugar (optional, for a slightly softer crust and faster browning)
- 15g unsalted butter, softened (optional, for a richer crumb)
Instructions
- Prepare your active sourdough starter: Ensure your starter has been fed 4-12 hours prior and is bubbly and active, meaning it has at least doubled in size and floats when a small spoonful is dropped into water.
- Add liquids to the bread machine pan: Pour the lukewarm water into the bread machine pan first. Then, spoon in the active sourdough starter.
- Add dry ingredients: Add the bread flour on top of the liquid. Create a small well in the center of the flour and add the salt. If using, add the sugar and softened butter into the well or around the edges.
- Select the correct setting: Place the pan into your bread machine, close the lid, and select the appropriate ‘Sourdough’ or ‘Artisan Bread’ cycle. If your machine doesn’t have a specific sourdough cycle, choose a basic white bread cycle, preferably one with a longer knead and rise time. Select your desired crust setting (light, medium, or dark).
- Start the machine: Close the lid securely and press start. The machine will now take over the kneading, rising, and baking process.
- Monitor and finish: Let the bread machine complete its cycle. Once the baking cycle is finished, carefully remove the bread pan from the machine using oven mitts. Gently turn the pan upside down to release the loaf onto a wire rack.
- Cool completely: Allow the sourdough bread to cool completely on the wire rack for at least 1-2 hours before slicing. This is crucial for the texture and flavor to fully develop and prevents a gummy interior.
Tips
- Ensure your starter is truly active and bubbly. A sluggish starter will result in a dense loaf.
- Weigh your ingredients, especially flour and water, for the most consistent results. Bread machines are sensitive to hydration levels.
- If your machine has a ‘delay’ start, ensure your starter is mature enough to handle the delay without over-proofing.
- Don’t skip the cooling step! Slicing hot sourdough can lead to a gummy texture.
- Adjust the amount of water slightly if your dough seems too dry or too wet during the initial kneading stage (if your machine allows you to observe). Add water a teaspoon at a time if too dry, or a tablespoon of flour if too wet.
Serving Suggestions
- Serve warm with a generous spread of butter.
- Toast slices and top with avocado, a poached egg, or smoked salmon.
- Use as the base for delicious open-faced sandwiches.
- Enjoy alongside your favorite soups or stews.
- Drizzle with olive oil and sprinkle with herbs for a simple side.
Storage Tips
Store cooled sourdough bread in a bread box or a loosely tied paper bag at room temperature for up to 3-4 days. Avoid plastic bags, as they can make the crust soggy. For longer storage, slice the bread and freeze it in an airtight container or freezer bag.
FAQ
Can I use active dry yeast with this recipe? No, this recipe is specifically designed for active sourdough starter. Yeast will create a different type of bread.
Why is my sourdough bread dense? This is usually due to a sluggish starter, incorrect hydration, or not allowing the bread machine cycle to complete fully.
How do I store sourdough bread made in a machine? Store at room temperature in a paper bag or bread box for 3-4 days. Freeze for longer storage.
Nutrition Information
- Calories: 250 kcal
- Protein: 8 g
- Fat: 3 g
- Carbohydrates: 45 g

















