Introduction
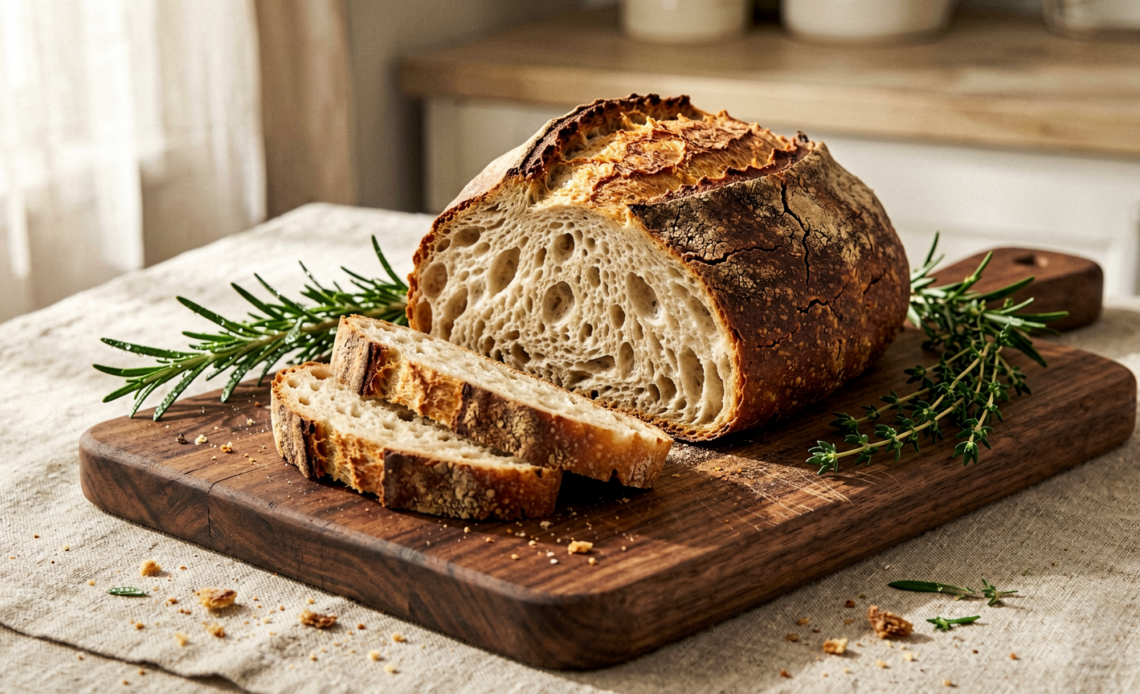
Dreaming of warm, crusty, homemade bread but think gluten-free is too complicated? Think again! This gluten-free bread machine recipe is your golden ticket to effortless, bakery-quality loaves without the fuss. Say goodbye to crumbly, dense disappointments and hello to airy, flavorful gluten-free bread baked with absolute ease.
Recommended Kitchen Tools
To make this recipe easier and more efficient, here are some tools I recommend:
-
Bread Machine
Check Price on Amazon →
-
Measuring Cups and Spoons
Check Price on Amazon →
-
Kitchen Scale
Check Price on Amazon →
Why You’ll Love This Recipe
This recipe takes the guesswork out of gluten-free baking. Simply toss your ingredients into the bread machine, select a cycle, and let the machine do all the work. The result is a consistently perfect, delicious loaf with a beautiful crust and a soft, chewy interior that even gluten-eaters will rave about. It’s simple, satisfying, and surprisingly foolproof!
Ingredients
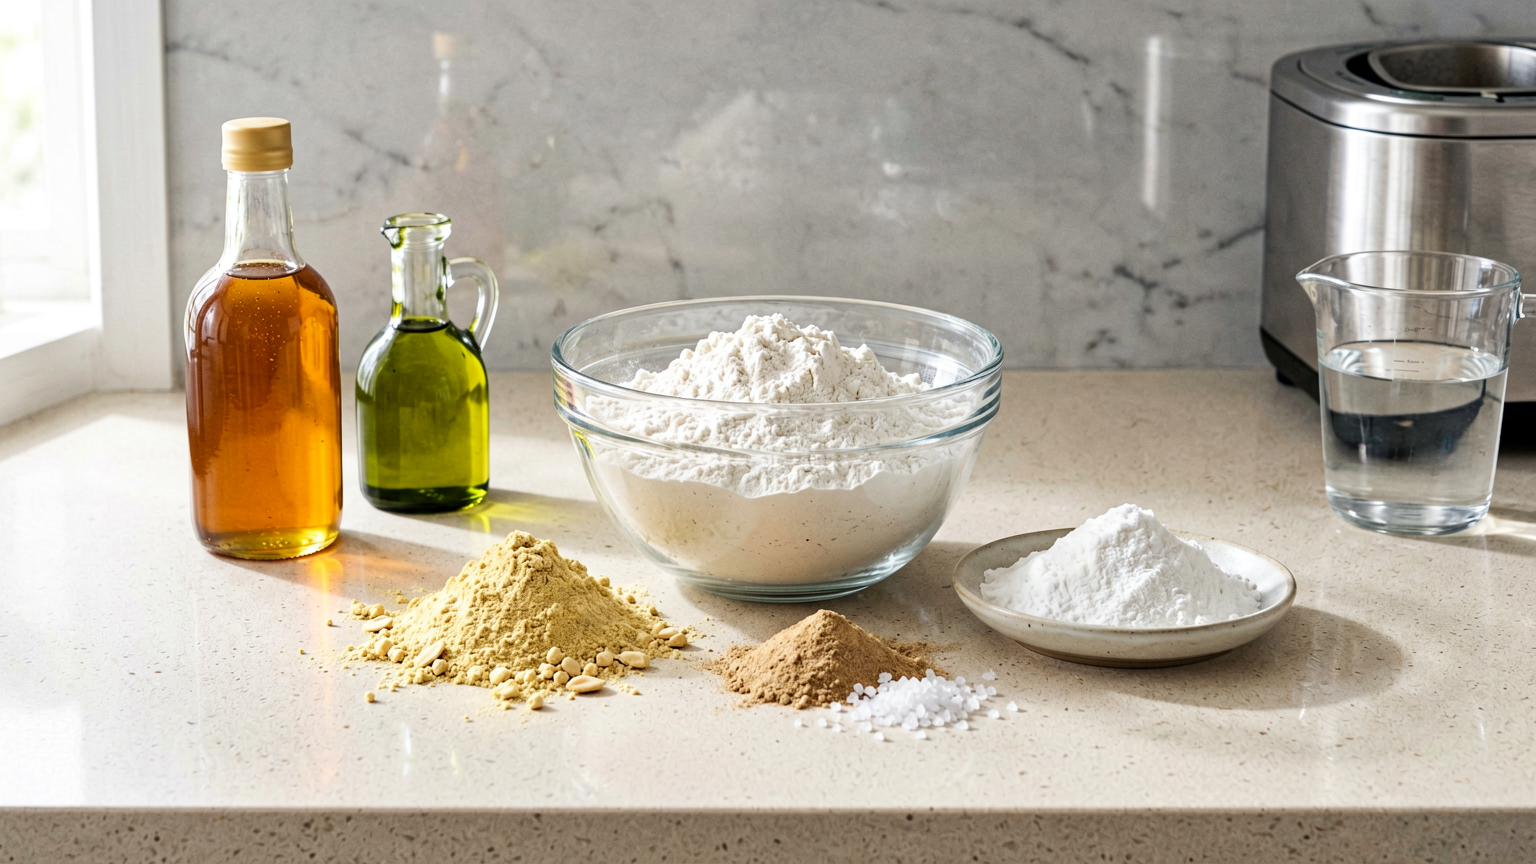
- 1 ½ cups warm water (105-115°F)
- 2 tablespoons olive oil, plus more for greasing
- 1 tablespoon honey or sugar
- 1 ½ teaspoons salt
- 1 ½ cups gluten-free all-purpose flour blend (with xanthan gum)
- ½ cup almond flour
- ¼ cup tapioca starch
- 2 teaspoons active dry yeast
Instructions
- Prepare your bread machine: Ensure the bread pan is clean and lightly greased. Insert the kneading paddle.
- Add liquids first: Pour the warm water, olive oil, and honey into the bread pan. Ensure the water is within the specified temperature range to activate the yeast properly.
- Add dry ingredients: In a separate bowl, whisk together the gluten-free flour blend, almond flour, tapioca starch, and salt. This ensures even distribution of ingredients.
- Add dry ingredients to the machine: Carefully add the dry flour mixture to the bread pan over the liquids. Do not stir.
- Add the yeast: Create a small well in the center of the dry ingredients and add the active dry yeast. Ensure the yeast does not come into direct contact with the liquid yet.
- Select the cycle: Close the lid of your bread machine. Select the ‘Gluten-Free’ or ‘Sweet’ cycle (check your machine’s manual for the best setting for gluten-free bread) and the desired crust setting (usually light or medium).
- Start the machine: Press ‘Start’ and let the bread machine work its magic. Avoid opening the lid during the baking cycle, especially during the initial mixing and rising phases.
- Cool the bread: Once the baking cycle is complete, carefully remove the bread pan from the machine. Invert the pan onto a wire rack to release the loaf. Remove the kneading paddle if it remains in the bread. Let the bread cool completely before slicing for the best texture.
Tips
- Use a high-quality gluten-free flour blend that contains xanthan gum. If your blend does not contain it, add ½ teaspoon of xanthan gum to the dry ingredients.
- Ensure your yeast is fresh and active. Test it by dissolving it in warm water with a pinch of sugar; it should become foamy within 5-10 minutes.
- Room temperature ingredients can help ensure a better rise. If your water is too hot, it can kill the yeast.
- Don’t overfill the bread pan. This recipe is designed for standard 1.5 lb loaf machines. Adjustments may be needed for smaller or larger machines.
- Allow the bread to cool completely before slicing. This is crucial for gluten-free bread to set properly and achieve the best texture.
Serving Suggestions
- Toast slices and serve with butter, jam, or avocado.
- Use for hearty sandwiches or open-faced toasts.
- Serve alongside soups and stews.
- Enjoy a simple slice with a drizzle of olive oil and herbs.
Storage Tips
Store cooled bread in an airtight container or bread bag at room temperature for up to 2-3 days. For longer storage, slice the bread and freeze it in a freezer-safe bag. Reheat slices directly from frozen in a toaster or oven.
FAQ
Can I use a different gluten-free flour blend? Yes, but results may vary. Ensure your blend has a good mix of starches and flours and contains xanthan gum.
Why is my gluten-free bread dense? This can be due to inactive yeast, incorrect measurements, or opening the machine too early. Ensure all ingredients are fresh and measurements are precise.
How long does gluten-free bread last? Gluten-free bread tends to stale faster than traditional bread. Storing it properly and toasting slices can help extend its enjoyment.
Nutrition Information
- Calories: Approx. 150 per slice
- Protein: Approx. 4g per slice
- Fat: Approx. 6g per slice
- Carbohydrates: Approx. 20g per slice
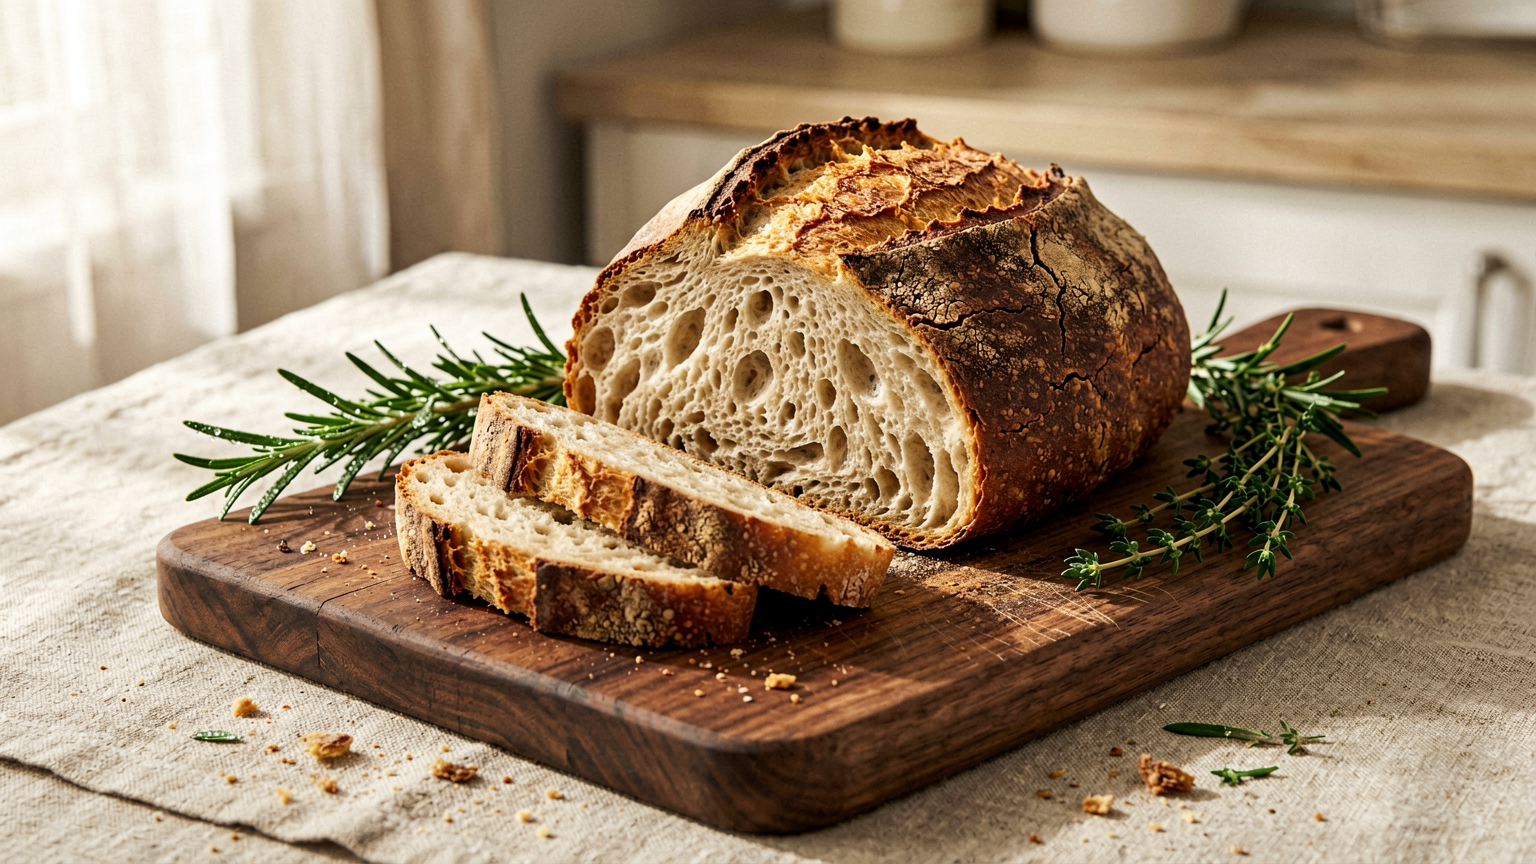
The Ultimate Gluten-Free Bread Machine Recipe for Perfect Loaves Every Time!
Ingredients
Method
- Prepare your bread machine: Ensure the bread pan is clean and lightly greased. Insert the kneading paddle.
- Add liquids first: Pour the warm water, olive oil, and honey into the bread pan. Ensure the water is within the specified temperature range to activate the yeast properly.
- Add dry ingredients: In a separate bowl, whisk together the gluten-free flour blend, almond flour, tapioca starch, and salt. This ensures even distribution of ingredients.
- Add dry ingredients to the machine: Carefully add the dry flour mixture to the bread pan over the liquids. Do not stir.
- Add the yeast: Create a small well in the center of the dry ingredients and add the active dry yeast. Ensure the yeast does not come into direct contact with the liquid yet.
- Select the cycle: Close the lid of your bread machine. Select the 'Gluten-Free' or 'Sweet' cycle (check your machine's manual for the best setting for gluten-free bread) and the desired crust setting (usually light or medium).
- Start the machine: Press 'Start' and let the bread machine work its magic. Avoid opening the lid during the baking cycle, especially during the initial mixing and rising phases.
- Cool the bread: Once the baking cycle is complete, carefully remove the bread pan from the machine. Invert the pan onto a wire rack to release the loaf. Remove the kneading paddle if it remains in the bread. Let the bread cool completely before slicing for the best texture.

















