Introduction
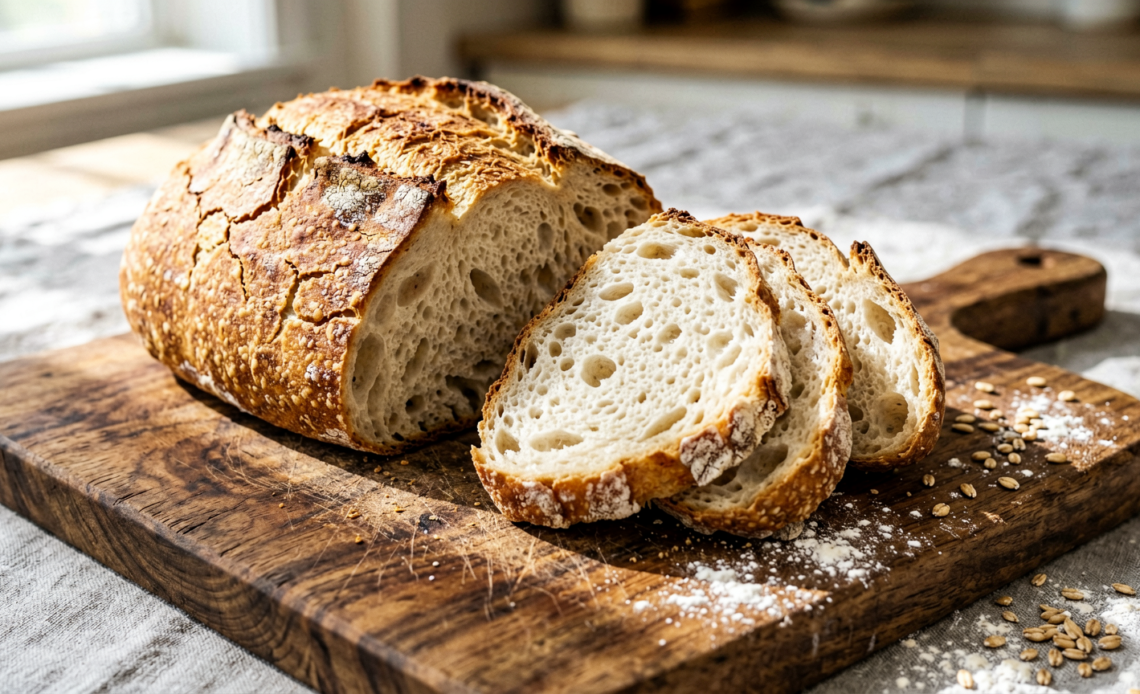
Tired of crumbly, dense gluten-free bread that disappoints? Say goodbye to your gluten-free baking woes! This recipe is a game-changer, delivering a beautifully soft, wonderfully moist, and incredibly delicious loaf that even the most discerning bread lovers will adore. Imagine the aroma filling your kitchen as a golden-brown loaf bakes to perfection – it’s achievable, and it’s easier than you think!
Recommended Kitchen Tools
To make this recipe easier and more efficient, here are some tools I recommend:
-
Stand Mixer with Dough Hook
Check Price on Amazon →
-
Large Mixing Bowl
Check Price on Amazon →
-
Standard Loaf Pan
Check Price on Amazon →
Why You’ll Love This Recipe
This gluten-free bread recipe is a triumph of texture and taste. It rises beautifully, has a tender crumb, and a delightful crust. It’s versatile enough for your morning toast, hearty sandwiches, or even as a side to your favorite soup. Plus, it’s surprisingly straightforward to make, making it perfect for both beginner and experienced gluten-free bakers.
Ingredients
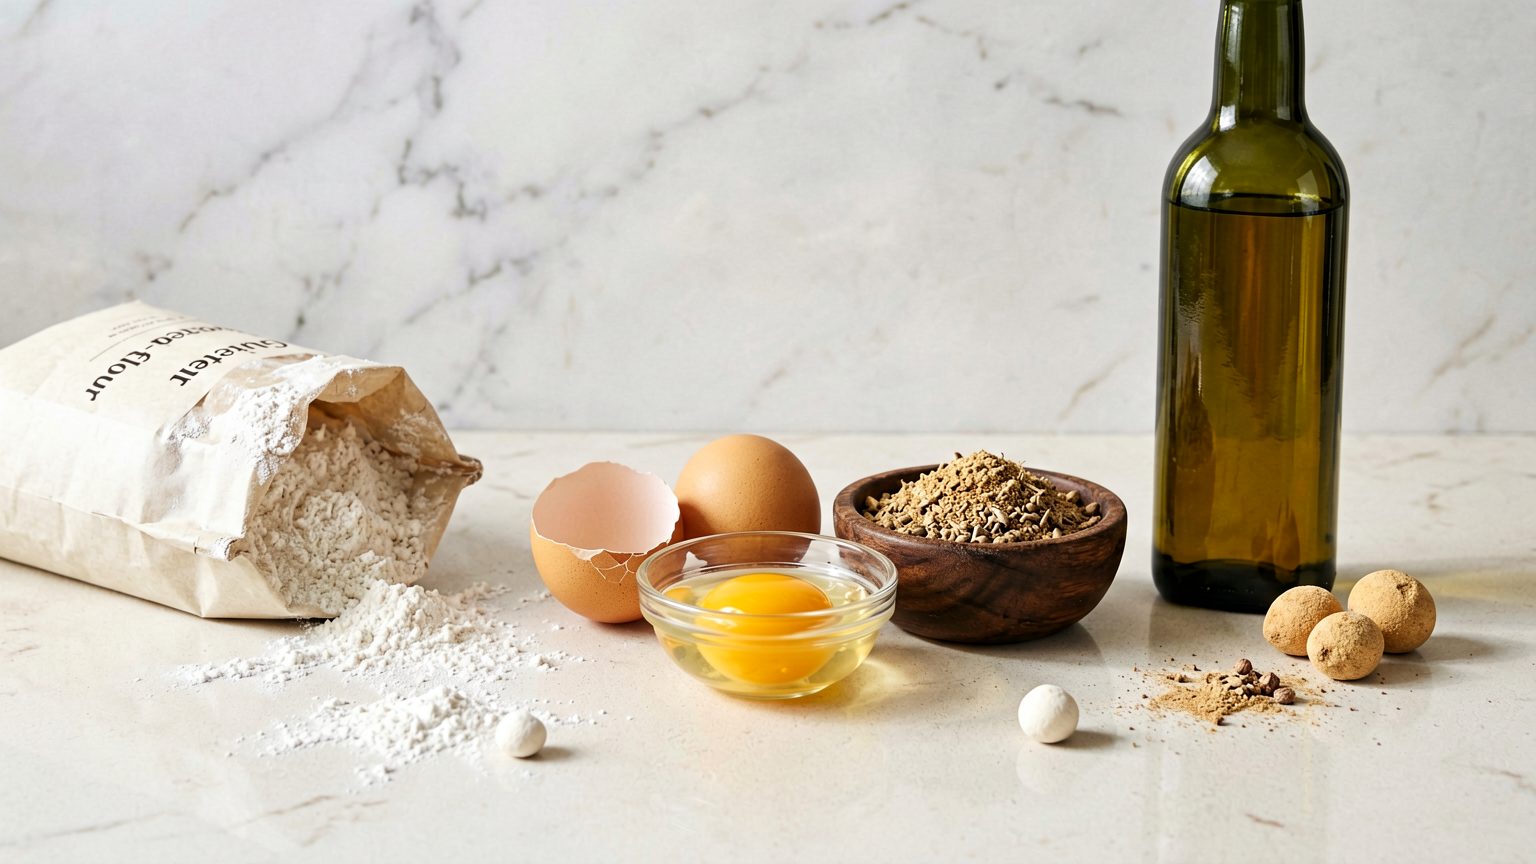
- 1 ½ cups warm water (105-115°F)
- 2 ¼ teaspoons active dry yeast
- 1 tablespoon sugar
- 3 ½ cups gluten-free all-purpose flour blend (with xanthan gum)
- 1 teaspoon salt
- 1 teaspoon psyllium husk powder
- 2 large eggs, at room temperature
- ¼ cup olive oil, plus extra for greasing
- 1 teaspoon apple cider vinegar
Instructions
- In a large mixing bowl or the bowl of your stand mixer, combine the warm water, sugar, and yeast. Stir gently and let it sit for 5-10 minutes until foamy. This indicates the yeast is active.
- In a separate bowl, whisk together the gluten-free flour blend, salt, and psyllium husk powder. Ensure they are well combined.
- Add the eggs, olive oil, and apple cider vinegar to the activated yeast mixture. Mix on low speed until just combined.
- Gradually add the dry ingredients to the wet ingredients while mixing on low speed. Once all the flour is incorporated, increase the speed to medium and beat for 5-7 minutes. The dough will be sticky and more like a thick batter than traditional bread dough.
- Grease a standard loaf pan generously with olive oil or cooking spray. Scrape the dough into the prepared pan, using a spatula dipped in water to smooth the top evenly.
- Cover the loaf pan loosely with plastic wrap or a clean kitchen towel. Let it rise in a warm place for 45-60 minutes, or until it has nearly doubled in size and reached the rim of the pan.
- While the dough is rising, preheat your oven to 375°F (190°C).
- Once risen, remove the cover and bake for 40-50 minutes, or until the crust is golden brown and the internal temperature of the bread reaches 205-210°F (96-99°C) on an instant-read thermometer. If the top starts browning too quickly, you can loosely tent it with aluminum foil.
- Remove the bread from the oven and immediately turn it out onto a wire rack to cool completely before slicing. This step is crucial for achieving the best texture.
Tips
- Ensure your gluten-free flour blend contains xanthan gum. If it doesn’t, you’ll need to add it separately (usually about 1-2 teaspoons per recipe).
- Don’t over-proof the dough; it should look puffy and almost ready to spill over, but not completely collapsed.
- A thermometer is your best friend for gluten-free baking. It ensures the bread is cooked through without being dry.
- Allow the bread to cool completely before slicing. Slicing too early will result in a gummy texture.
Serving Suggestions
- Toast slices and spread with butter, jam, or avocado.
- Use it for your favorite sandwiches and paninis.
- Serve alongside soups and stews.
- Enjoy a simple slice with a drizzle of olive oil and a sprinkle of sea salt.
Storage Tips
Store cooled bread in an airtight container or bread box at room temperature for up to 3 days. For longer storage, slice the bread and freeze it in a freezer-safe bag for up to 3 months. Thaw at room temperature or toast directly from frozen.
FAQ
Can I use a different gluten-free flour blend? Yes, but results may vary. Look for a blend specifically designed for baking bread for best results.
Why is my gluten-free bread dense? This can be due to inactive yeast, not enough liquid, or not baking it long enough. Ensure your yeast is fresh and use an internal thermometer.
Can I make this bread dairy-free? Yes, ensure your gluten-free flour blend is dairy-free and use a dairy-free alternative for eggs if needed (though eggs are crucial for structure here).
Nutrition Information
- Calories: Approximately 150-180 per slice
- Protein: Approximately 3-4g per slice
- Fat: Approximately 5-7g per slice
- Carbohydrates: Approximately 25-30g per slice
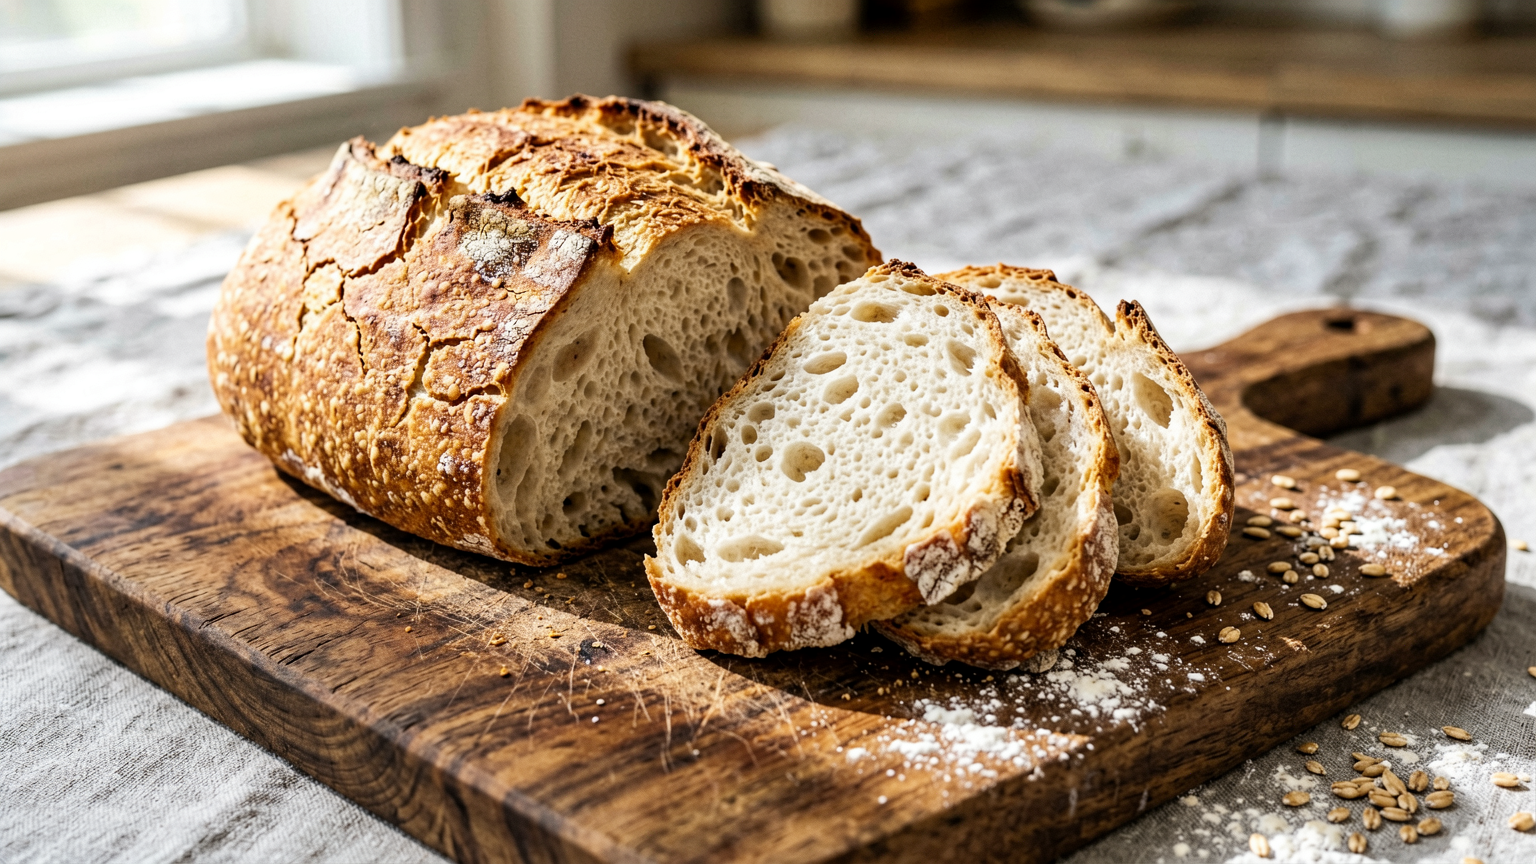
The Ultimate Gluten-Free Bread Recipe: Soft, Delicious & Easy!
Ingredients
Method
- In a large mixing bowl or the bowl of your stand mixer, combine the warm water, sugar, and yeast. Stir gently and let it sit for 5-10 minutes until foamy. This indicates the yeast is active.
- In a separate bowl, whisk together the gluten-free flour blend, salt, and psyllium husk powder. Ensure they are well combined.
- Add the eggs, olive oil, and apple cider vinegar to the activated yeast mixture. Mix on low speed until just combined.
- Gradually add the dry ingredients to the wet ingredients while mixing on low speed. Once all the flour is incorporated, increase the speed to medium and beat for 5-7 minutes. The dough will be sticky and more like a thick batter than traditional bread dough.
- Grease a standard loaf pan generously with olive oil or cooking spray. Scrape the dough into the prepared pan, using a spatula dipped in water to smooth the top evenly.
- Cover the loaf pan loosely with plastic wrap or a clean kitchen towel. Let it rise in a warm place for 45-60 minutes, or until it has nearly doubled in size and reached the rim of the pan.
- While the dough is rising, preheat your oven to 375°F (190°C).
- Once risen, remove the cover and bake for 40-50 minutes, or until the crust is golden brown and the internal temperature of the bread reaches 205-210°F (96-99°C) on an instant-read thermometer. If the top starts browning too quickly, you can loosely tent it with aluminum foil.
- Remove the bread from the oven and immediately turn it out onto a wire rack to cool completely before slicing. This step is crucial for achieving the best texture.

















