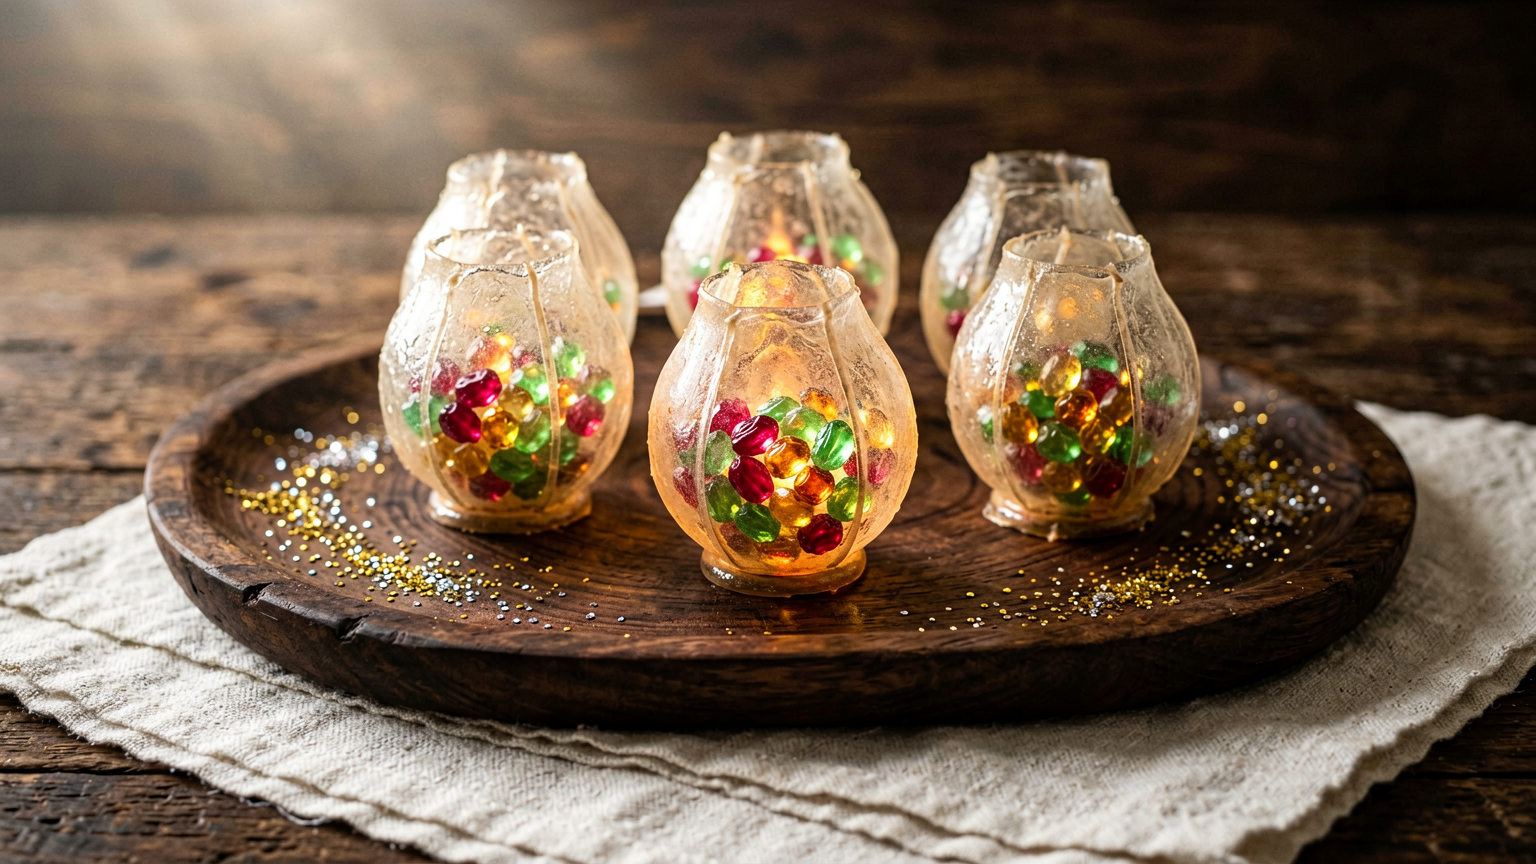
Prepare your silicone molds by lightly greasing them with a neutral oil if they are not non-stick. Ensure they are completely dry.
In a small saucepan, combine the granulated sugar, light corn syrup, and water. Stir gently until the sugar is mostly dissolved.
Place the saucepan over medium heat. Bring the mixture to a boil without stirring. If you stir, it can cause crystallization. Use a candy thermometer if you have one; you're aiming for the hard crack stage (around 300-310°F or 149-154°C). If you don't have a thermometer, you can test by dropping a small amount into ice water; it should form hard, brittle threads.
Once the syrup reaches the correct temperature, immediately remove it from the heat. Carefully stir in the vanilla extract and gel food coloring, if using. Work quickly as the mixture will start to harden.
Working very carefully (molten sugar is extremely hot!), pour small amounts of the hot syrup into the prepared silicone molds. You want to create a thin, hollow shell that resembles a lantern. You might need to tilt the mold slightly to get an even coating, or pour a second thin layer once the first has set slightly.
Allow the lanterns to cool and harden completely in the molds. This can take about 15-30 minutes depending on the size of your molds and room temperature.
Once fully hardened, gently unmold the edible lanterns. If using edible glitter or sanding sugar, you can lightly brush the outside with a tiny bit of water or edible glue and sprinkle them on while still slightly tacky, or dust them after they are fully set.
If you want to create a 'handle' for your lanterns, you can carefully drizzle a thin strand of the hardened sugar mixture over the top of two opposing sides of the lantern once it has set, creating a bridge.