Introduction
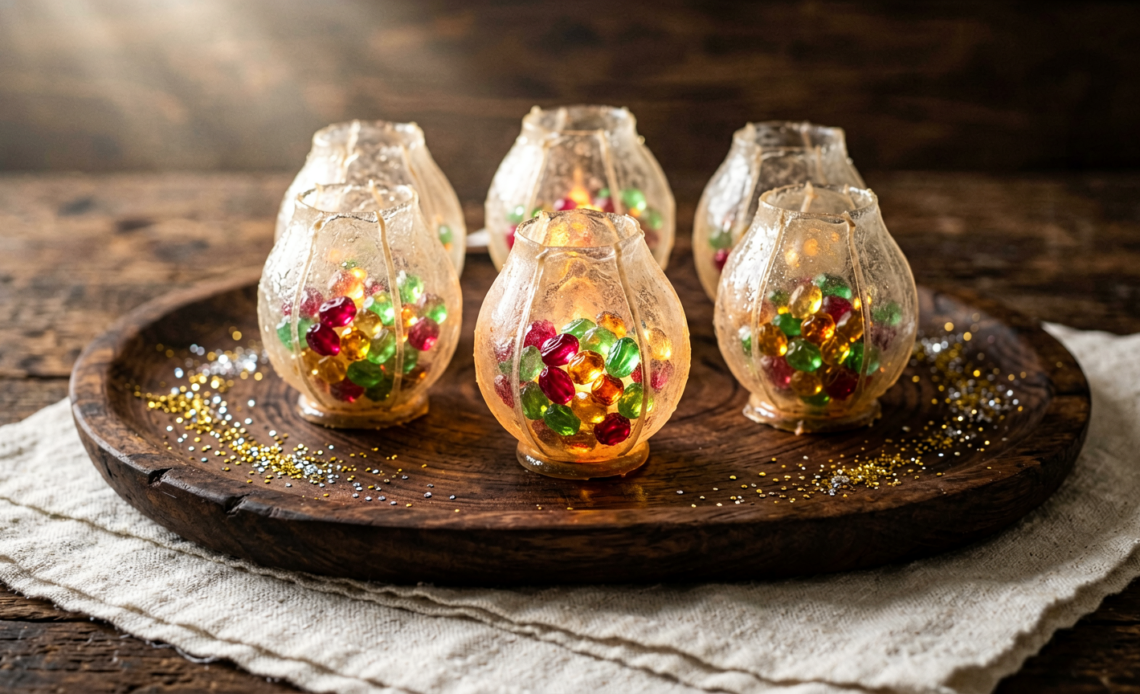
Imagine a treat that not only delights your taste buds but also adds a touch of enchantment to your table. Our Edible Lanterns are just that – whimsical, delicious, and surprisingly simple to create! Perfect for adding a sprinkle of magic to birthdays, holidays, or any gathering that calls for a little extra charm, these little delights are sure to be a conversation starter and a guaranteed hit.
Recommended Kitchen Tools
To make this recipe easier and more efficient, here are some tools I recommend:
-
Small Saucepan
Check Price on Amazon →
-
Whisk
Check Price on Amazon →
-
Silicone Molds
Check Price on Amazon →
Why You’ll Love This Recipe
These edible lanterns are a joy to make and even more of a joy to eat! They offer a delightful combination of textures and flavors, and their charming appearance makes any dessert spread feel instantly more festive. Plus, they’re a fantastic way to impress guests with a homemade treat that looks far more complicated than it is.
Ingredients
- 1 cup granulated sugar
- 1/4 cup light corn syrup
- 1/4 cup water
- 1 teaspoon vanilla extract
- Gel food coloring (optional, for colored lanterns)
- Edible glitter or sanding sugar (optional, for decoration)
Instructions
- Prepare your silicone molds by lightly greasing them with a neutral oil if they are not non-stick. Ensure they are completely dry.
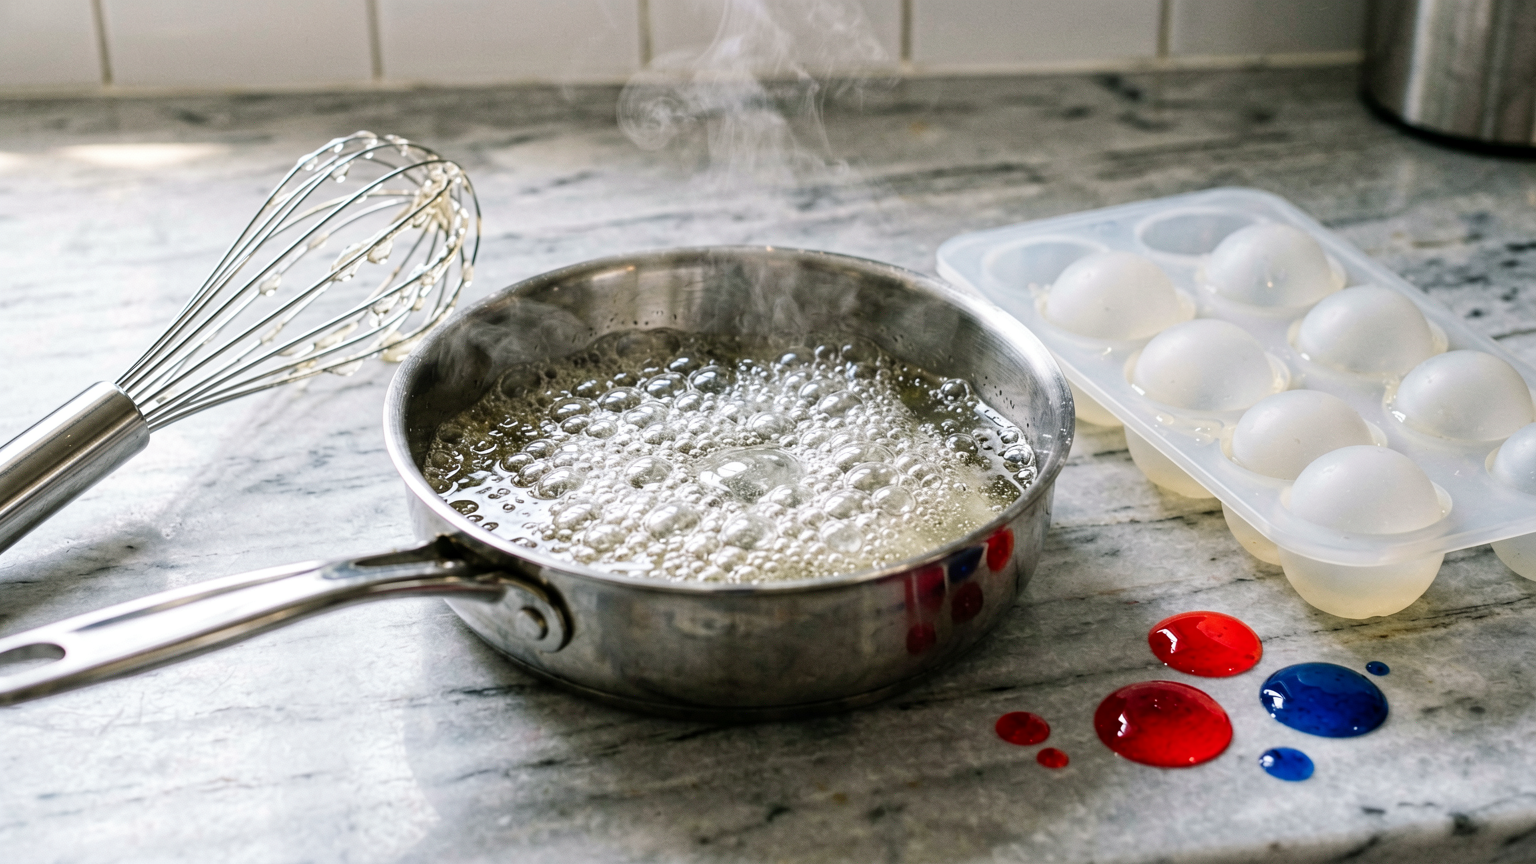
- In a small saucepan, combine the granulated sugar, light corn syrup, and water. Stir gently until the sugar is mostly dissolved.
- Place the saucepan over medium heat. Bring the mixture to a boil without stirring. If you stir, it can cause crystallization. Use a candy thermometer if you have one; you’re aiming for the hard crack stage (around 300-310°F or 149-154°C). If you don’t have a thermometer, you can test by dropping a small amount into ice water; it should form hard, brittle threads.
- Once the syrup reaches the correct temperature, immediately remove it from the heat. Carefully stir in the vanilla extract and gel food coloring, if using. Work quickly as the mixture will start to harden.
- Working very carefully (molten sugar is extremely hot!), pour small amounts of the hot syrup into the prepared silicone molds. You want to create a thin, hollow shell that resembles a lantern. You might need to tilt the mold slightly to get an even coating, or pour a second thin layer once the first has set slightly.
- Allow the lanterns to cool and harden completely in the molds. This can take about 15-30 minutes depending on the size of your molds and room temperature.
- Once fully hardened, gently unmold the edible lanterns. If using edible glitter or sanding sugar, you can lightly brush the outside with a tiny bit of water or edible glue and sprinkle them on while still slightly tacky, or dust them after they are fully set.
- If you want to create a ‘handle’ for your lanterns, you can carefully drizzle a thin strand of the hardened sugar mixture over the top of two opposing sides of the lantern once it has set, creating a bridge.
Tips
- Humidity is the enemy of hard candy! Try to make these on a dry day for the best results.
- Have all your ingredients measured and your molds ready before you start cooking the sugar. The process moves quickly once the syrup is ready.
- Be extremely cautious when working with hot sugar. It can cause severe burns. Keep a bowl of ice water nearby in case of accidental contact.
- If the sugar starts to harden in the saucepan before you can pour it, you can gently reheat it over very low heat, but be careful not to scorch it.
Serving Suggestions
- Use these edible lanterns as decorative elements on cakes or cupcakes.
- Fill them with small candies, chocolate chips, or a dollop of whipped cream.
- Serve them as whimsical dessert toppers for ice cream sundaes.
- Arrange them on a platter for a unique party centerpiece.
Storage Tips
Store completely cooled edible lanterns in an airtight container at room temperature, away from humidity. They are best consumed within a few days as they can become sticky over time.
FAQ
Q: Can I make these without a candy thermometer?
A: Yes, you can use the cold water test: drop a spoonful of syrup into a glass of ice water. If it forms hard, brittle threads that break easily, it’s ready.
Q: How do I prevent the sugar from crystallizing?
A: Avoid stirring the sugar mixture once it comes to a boil. You can wash down the sides of the pan with a wet pastry brush if you see sugar crystals forming.
Q: Can I make these in different colors?
A: Absolutely! Add a few drops of gel food coloring to the sugar syrup after removing it from the heat. Gel colors provide vibrant hues without adding too much liquid.
Nutrition Information
- Calories: Approximately 50-70 per lantern (depending on size and decorations)
- Protein: 0g
- Fat: 0g
- Carbohydrates: 13-17g (mostly sugar)
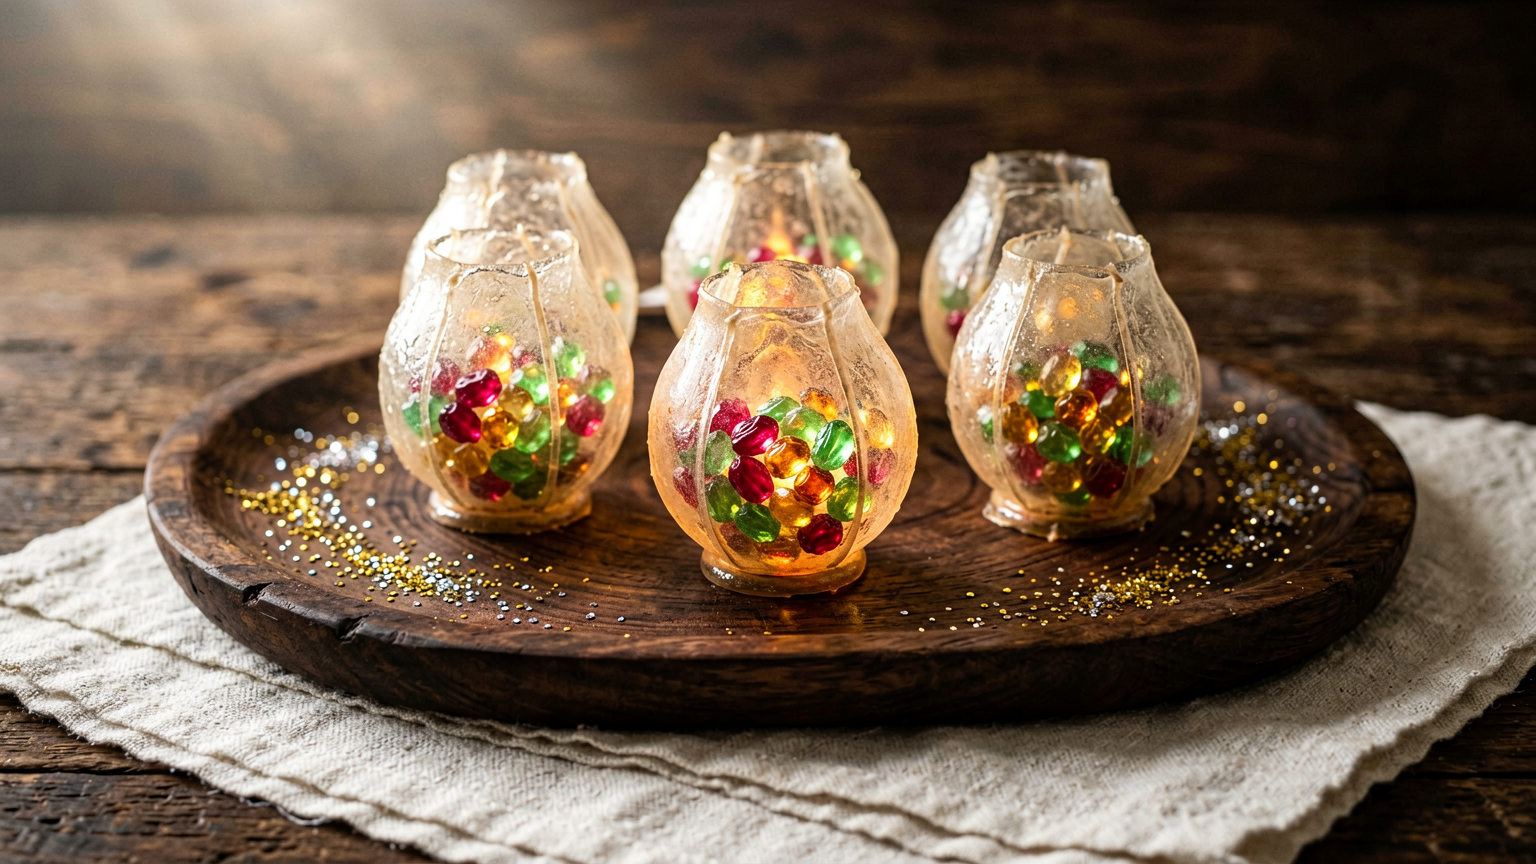
Edible Lanterns: A Whimsical & Delicious Treat for Any Occasion
Ingredients
Method
- Prepare your silicone molds by lightly greasing them with a neutral oil if they are not non-stick. Ensure they are completely dry.
- In a small saucepan, combine the granulated sugar, light corn syrup, and water. Stir gently until the sugar is mostly dissolved.
- Place the saucepan over medium heat. Bring the mixture to a boil without stirring. If you stir, it can cause crystallization. Use a candy thermometer if you have one; you're aiming for the hard crack stage (around 300-310°F or 149-154°C). If you don't have a thermometer, you can test by dropping a small amount into ice water; it should form hard, brittle threads.
- Once the syrup reaches the correct temperature, immediately remove it from the heat. Carefully stir in the vanilla extract and gel food coloring, if using. Work quickly as the mixture will start to harden.
- Working very carefully (molten sugar is extremely hot!), pour small amounts of the hot syrup into the prepared silicone molds. You want to create a thin, hollow shell that resembles a lantern. You might need to tilt the mold slightly to get an even coating, or pour a second thin layer once the first has set slightly.
- Allow the lanterns to cool and harden completely in the molds. This can take about 15-30 minutes depending on the size of your molds and room temperature.
- Once fully hardened, gently unmold the edible lanterns. If using edible glitter or sanding sugar, you can lightly brush the outside with a tiny bit of water or edible glue and sprinkle them on while still slightly tacky, or dust them after they are fully set.
- If you want to create a 'handle' for your lanterns, you can carefully drizzle a thin strand of the hardened sugar mixture over the top of two opposing sides of the lantern once it has set, creating a bridge.

















