Introduction
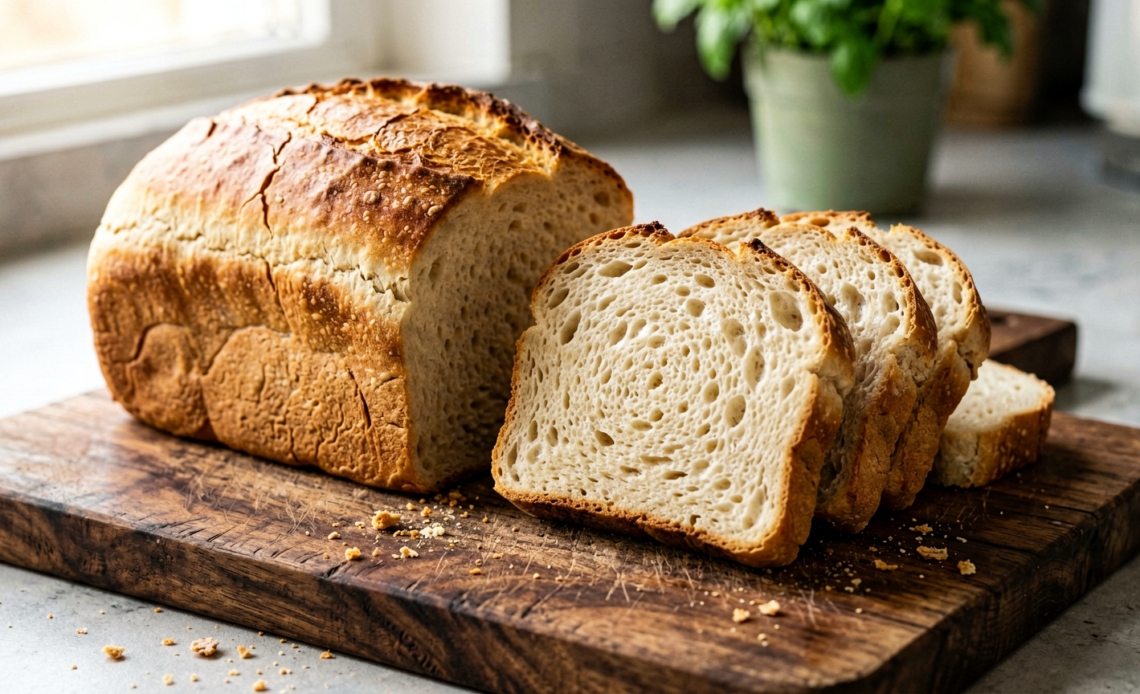
Dreaming of warm, freshly baked bread but struggle with gluten-free baking? Say goodbye to crumbly disappointments and hello to the magic of your bread machine! This recipe is your golden ticket to a perfectly textured, wonderfully aromatic gluten-free loaf, made with minimal fuss and maximum flavor. Get ready to fill your kitchen with the irresistible scent of home-baked goodness.
Recommended Kitchen Tools
To make this recipe easier and more efficient, here are some tools I recommend:
-
Bread Machine
Check Price on Amazon →
-
Measuring Cups and Spoons Set
Check Price on Amazon →
-
Kitchen Scale
Check Price on Amazon →
Why You’ll Love This Recipe
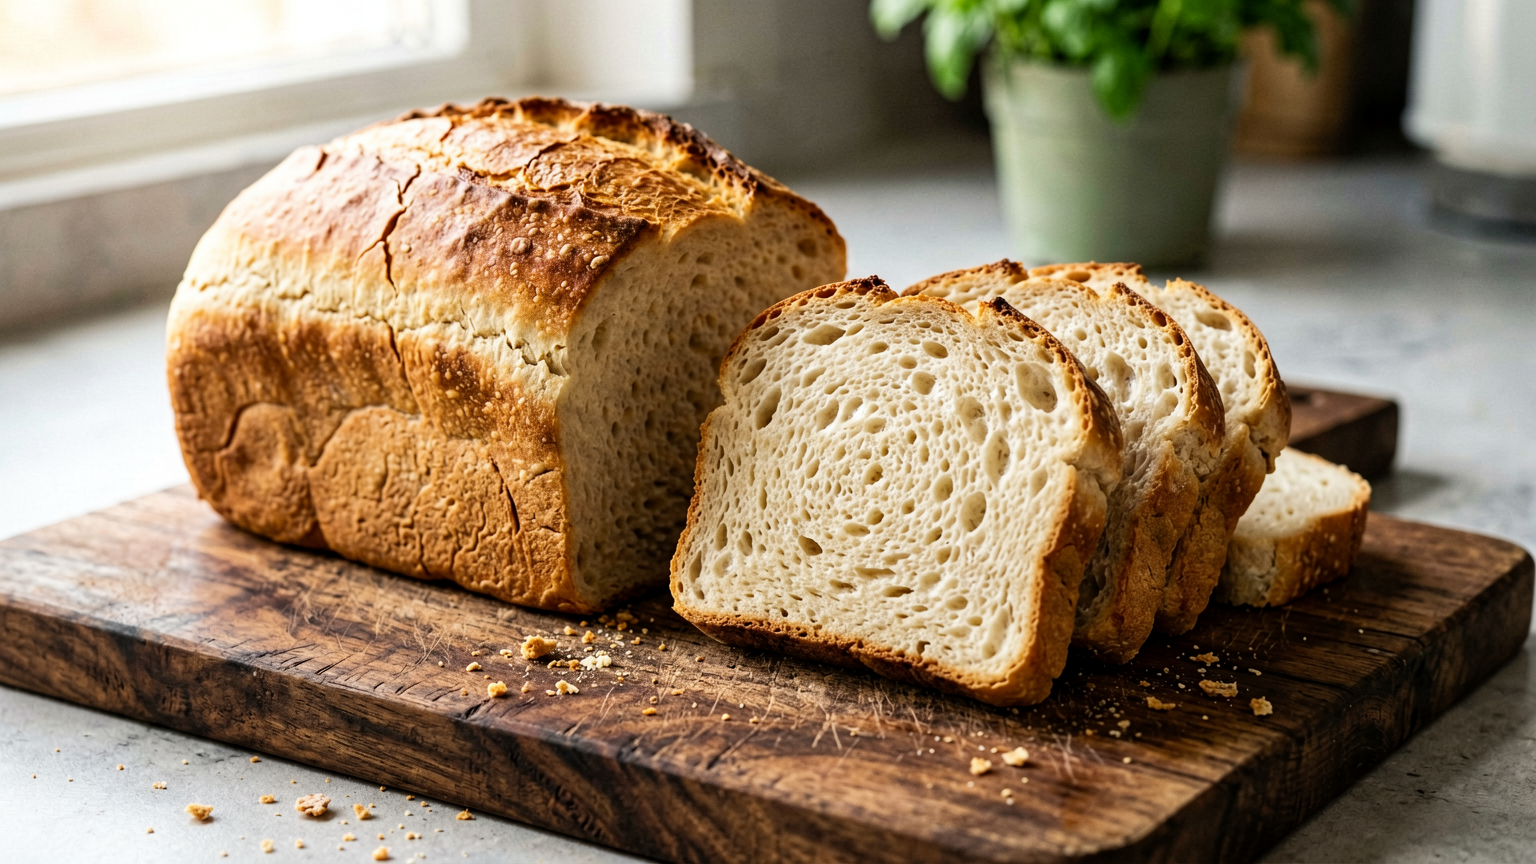
This gluten-free bread machine recipe is a game-changer for anyone seeking convenient, delicious gluten-free bread. It eliminates the guesswork, delivers consistent results every time, and requires almost no hands-on time. The texture is surprisingly soft and chewy, with a delightful crust – a rarity in gluten-free baking. It’s perfect for sandwiches, toast, or just enjoying with a smear of butter.
Ingredients
- 1 ½ cups warm water (105-115°F)
- 2 tablespoons olive oil (plus extra for greasing)
- 1 tablespoon honey or maple syrup
- 1 ½ teaspoons salt
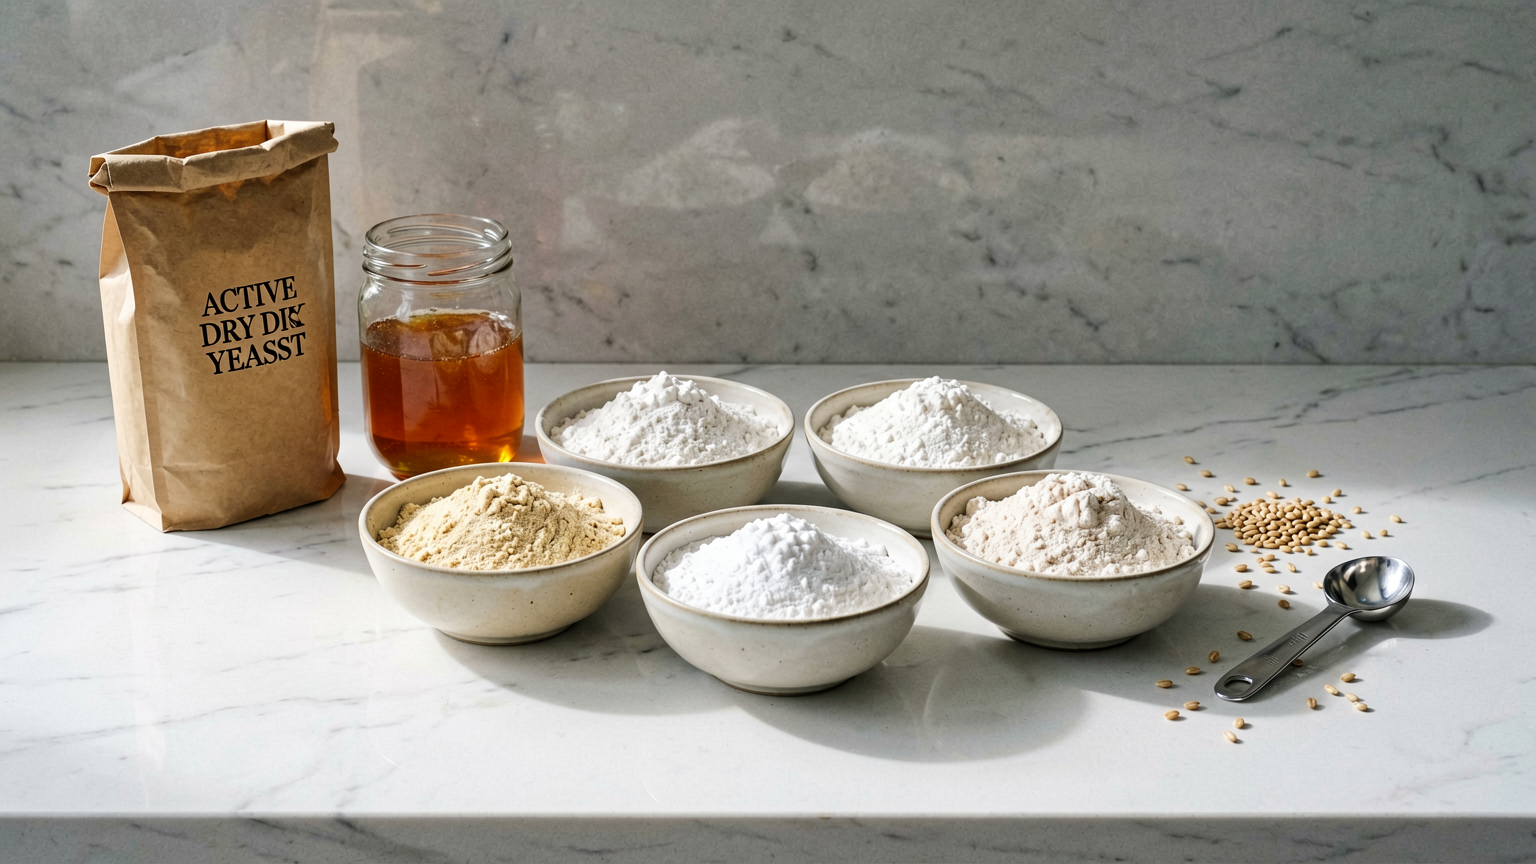
- 1 ½ cups gluten-free all-purpose flour blend (ensure it contains xanthan gum)
- ½ cup almond flour
- ½ cup tapioca starch
- ¼ cup potato starch
- 2 teaspoons active dry yeast
- 1 teaspoon xanthan gum (omit if your flour blend already contains it)
Instructions
- Prepare your bread machine by ensuring the baking pan is clean and lightly greased. Add the ingredients to the bread machine pan in the order recommended by your manufacturer, typically liquids first, followed by dry ingredients, and finally, the yeast.
- Ensure the yeast does not come into contact with the liquid until you’re ready to start the cycle. Secure the lid of the bread machine.
- Select the appropriate setting for your bread machine. For gluten-free bread, a ‘Gluten-Free’, ‘Sweet’, or ‘Basic’ cycle on a medium crust setting usually works best. Consult your machine’s manual for specific recommendations.
- Start the bread machine and let it run through its complete cycle. This typically takes between 2.5 to 4 hours, depending on your machine.
- Once the cycle is complete, carefully remove the bread pan from the machine. Use oven mitts as the pan will be hot. Gently invert the pan to release the loaf onto a wire cooling rack. If the loaf is sticking, gently shake the pan or use a silicone spatula to loosen the edges.
- Allow the bread to cool completely on the wire rack before slicing. This is crucial for gluten-free bread to set properly and achieve the best texture. Slicing while warm can result in a gummy texture.
Tips
- Use a high-quality gluten-free all-purpose flour blend specifically designed for baking. Brands like Bob’s Red Mill 1-to-1 Baking Flour or King Arthur Gluten-Free Measure for Measure Flour work well.
- Ensure your yeast is fresh and active. You can test this by dissolving it in warm water with a pinch of sugar; it should become foamy within 5-10 minutes.
- Measure your flours accurately, preferably by weight using a kitchen scale, for the most consistent results.
- Don’t be tempted to open the bread machine lid during the first hour of baking, as this can disrupt the rising process.
- If your bread machine doesn’t have a gluten-free setting, a ‘Sweet’ or ‘Basic’ cycle often works. You may need to experiment slightly with your machine’s settings.
- Allow the bread to cool completely before slicing. Patience is key for the perfect texture!
Serving Suggestions
- Toast slices and serve with butter, jam, or honey.
- Use for delicious gluten-free sandwiches with your favorite fillings.
- Serve alongside soups or stews.
- Enjoy a slice with a drizzle of olive oil and herbs.
Storage Tips
Store completely cooled gluten-free bread in an airtight container or bread bag at room temperature for up to 2-3 days. For longer storage, slice the bread and freeze it in a freezer-safe bag. It thaws beautifully at room temperature or can be toasted directly from frozen.
FAQ
Can I use a different gluten-free flour blend? Yes, but ensure it contains xanthan gum or add it separately. Results may vary slightly depending on the blend.
Why is my gluten-free bread gummy? This is usually due to slicing the bread before it has cooled completely. Allow it to cool for at least 2-3 hours.
How long does this bread last? At room temperature, it’s best within 2-3 days. Freezing extends its shelf life significantly.
Nutrition Information
- Calories: Approx. 150 per slice
- Protein: Approx. 4g per slice
- Fat: Approx. 6g per slice
- Carbohydrates: Approx. 22g per slice
Effortless Gluten-Free Bread Machine Loaf: Your Easiest Gluten-Free Bake Yet!
Ingredients
Method
- Prepare your bread machine by ensuring the baking pan is clean and lightly greased. Add the ingredients to the bread machine pan in the order recommended by your manufacturer, typically liquids first, followed by dry ingredients, and finally, the yeast.
- Ensure the yeast does not come into contact with the liquid until you're ready to start the cycle. Secure the lid of the bread machine.
- Select the appropriate setting for your bread machine. For gluten-free bread, a 'Gluten-Free', 'Sweet', or 'Basic' cycle on a medium crust setting usually works best. Consult your machine's manual for specific recommendations.
- Start the bread machine and let it run through its complete cycle. This typically takes between 2.5 to 4 hours, depending on your machine.
- Once the cycle is complete, carefully remove the bread pan from the machine. Use oven mitts as the pan will be hot. Gently invert the pan to release the loaf onto a wire cooling rack. If the loaf is sticking, gently shake the pan or use a silicone spatula to loosen the edges.
- Allow the bread to cool completely on the wire rack before slicing. This is crucial for gluten-free bread to set properly and achieve the best texture. Slicing while warm can result in a gummy texture.

















