Introduction
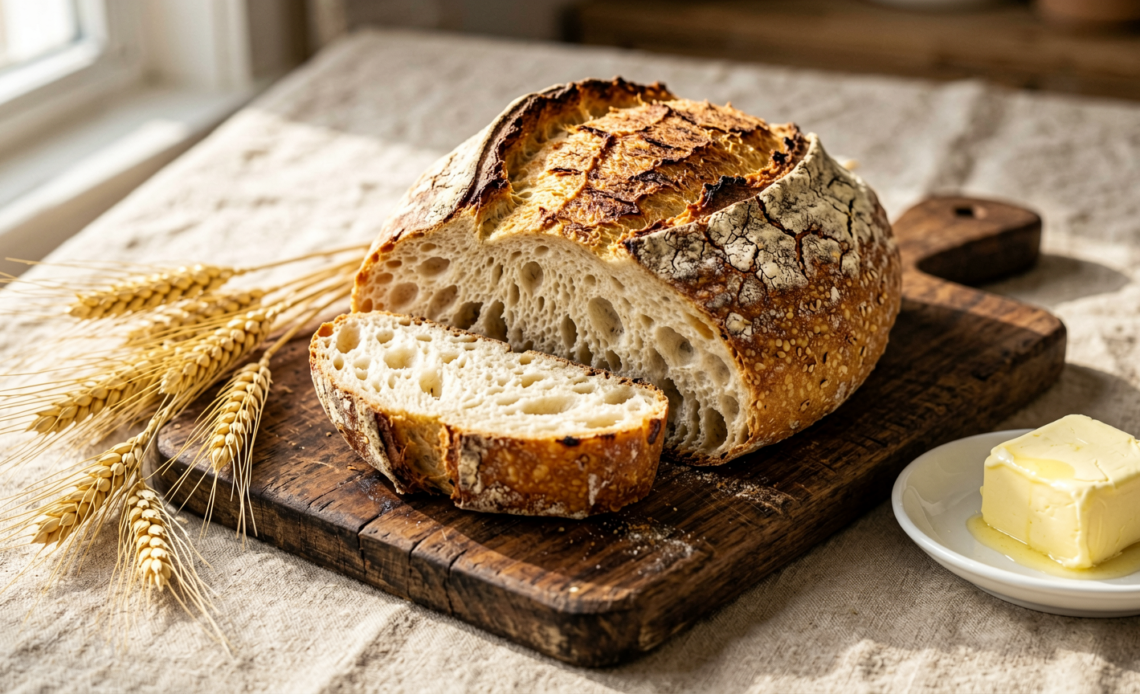
Tired of store-bought bread that lacks that homemade charm and freshness? Imagine waking up to the irresistible aroma of freshly baked bread, its crust perfectly golden and its interior wonderfully soft. With a bread machine, this dream is not only achievable but incredibly simple. Forget the kneading, the proofing, and the worry – your trusty bread machine is here to do all the heavy lifting, delivering artisanal-quality loaves right in your own kitchen. Let’s unlock the full potential of your bread maker and transform your baking game!
Recommended Kitchen Tools
To make this recipe easier and more efficient, here are some tools I recommend:
-
Bread Machine
Check Price on Amazon →
-
Measuring Cups and Spoons
Check Price on Amazon →
-
Cooling Rack
Check Price on Amazon →
Why You’ll Love This Recipe
This recipe is designed for ultimate convenience and delicious results. It takes the guesswork out of bread making, allowing anyone to produce consistently fantastic loaves. Whether you’re a seasoned baker or a complete novice, you’ll love the simplicity, the incredible flavor, and the satisfaction of serving warm, homemade bread that tastes like it came from a professional bakery.
Ingredients
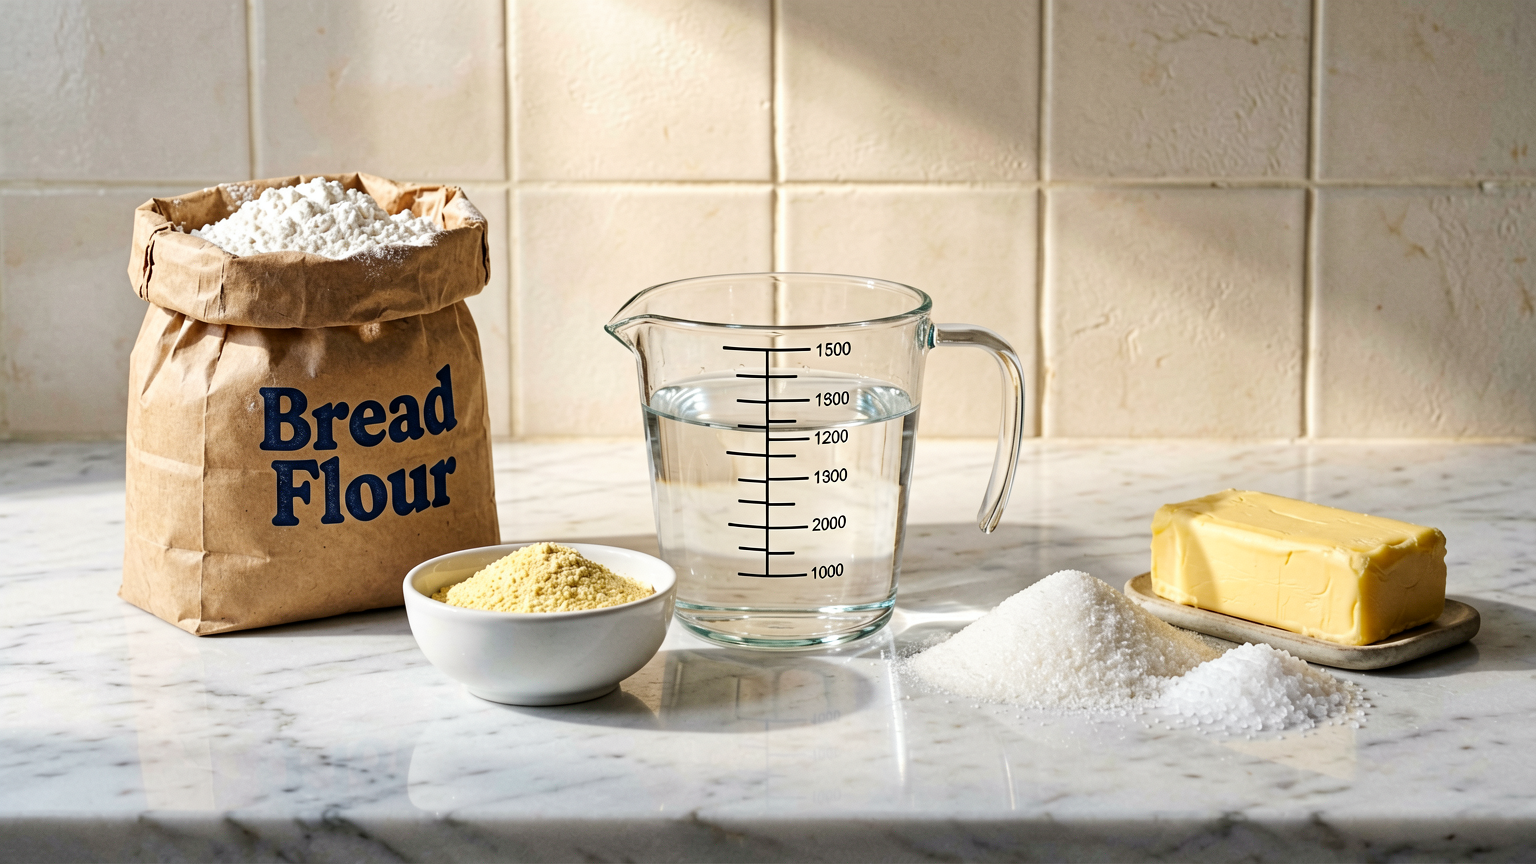
- 1 ½ cups warm water (105-115°F)
- 2 tablespoons unsalted butter, softened
- 3 cups bread flour
- ¼ cup granulated sugar
- 1 teaspoon salt
- 1 teaspoon active dry yeast
Instructions
- Prepare your bread machine by ensuring the kneading paddle is securely in place. Add the ingredients to the bread machine pan in the order recommended by your manufacturer. Typically, this involves adding liquids first, followed by dry ingredients, and finally, the yeast in a small well on top of the flour.
- Close the lid of the bread machine and select the appropriate cycle for your desired bread type (e.g., ‘Basic White’, ‘Whole Wheat’, or ‘Rapid Bake’). Ensure you choose the correct crust setting (light, medium, or dark) based on your preference.
- Start the bread machine and let it work its magic. The machine will mix, knead, rise, and bake the bread automatically. Avoid opening the lid during the kneading and rising cycles to maintain the correct temperature and humidity.
- Once the baking cycle is complete, the bread machine will typically beep. Carefully remove the bread pan from the machine using oven mitts. Gently invert the pan onto a wire cooling rack to release the loaf. Remove the kneading paddle if it remains in the bread.
- Allow the bread to cool completely on the wire rack for at least 30 minutes before slicing. This is crucial for the texture to set properly and prevent a gummy interior.
Tips
- Ensure your ingredients are fresh, especially the yeast. Expired yeast will result in a flat, dense loaf.
- Use the correct water temperature. Too hot will kill the yeast, and too cold will slow down its activity.
- Measure your flour correctly. Spooning flour into the measuring cup and leveling it off is more accurate than scooping directly from the bag.
- Experiment with different bread machine cycles and settings to find what works best for your machine and your taste preferences.
- For a richer flavor, consider substituting some of the water with milk or adding a tablespoon of honey or maple syrup to the liquid ingredients.
Serving Suggestions
- Serve warm slices with butter, jam, or honey.
- Perfect for sandwiches, toast, or alongside your favorite soups and stews.
- Enjoy as a base for French toast or bread pudding.
Storage Tips
Store cooled bread in an airtight container or bread box at room temperature for up to 3 days. For longer storage, wrap the loaf tightly in plastic wrap, then in foil, and freeze for up to 3 months. Thaw at room temperature or reheat slices in the oven or toaster.
FAQ
Q: Why is my bread dense or flat?
A: This can be due to expired yeast, incorrect liquid measurements, using the wrong flour type, or opening the machine during rising cycles.
Q: Can I use all-purpose flour instead of bread flour?
A: While you can, bread flour has a higher protein content, which results in a better texture and structure for yeast breads. Results may vary with all-purpose flour.
Q: How do I clean my bread machine pan?
A: Most bread machine pans should be hand-washed with warm, soapy water and a soft sponge. Avoid abrasive cleaners or scouring pads that can damage the non-stick coating.
Nutrition Information
- Calories: 150 kcal
- Protein: 5 g
- Fat: 3 g
- Carbohydrates: 25 g

















