Introduction
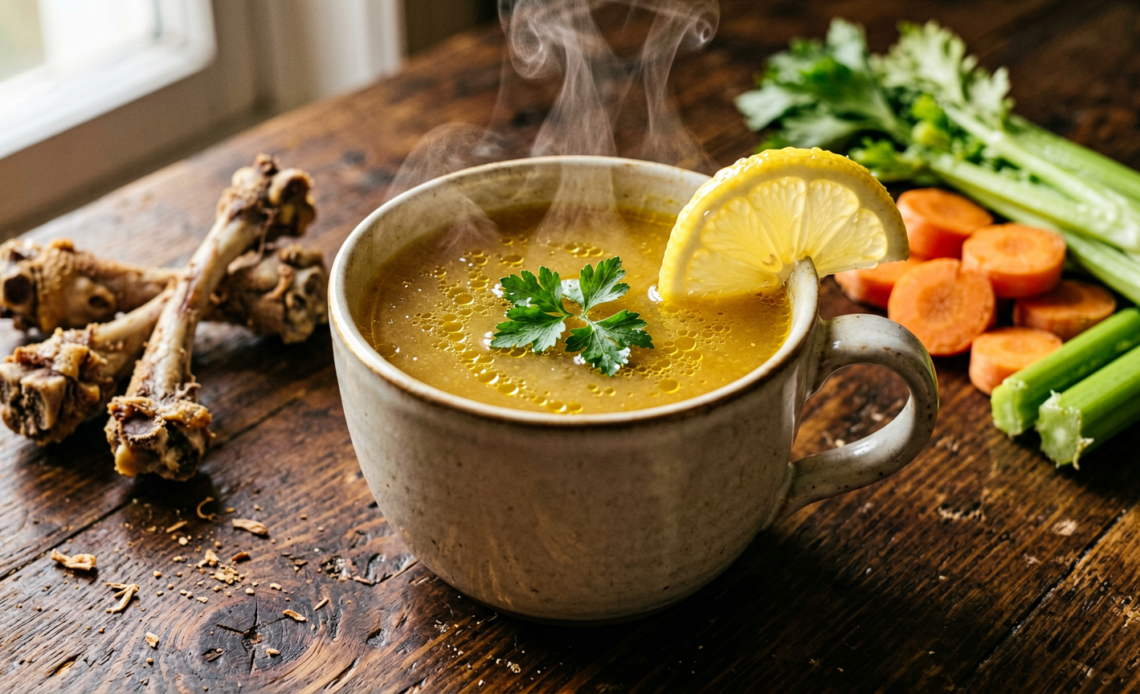
Tired of store-bought broths that lack depth and goodness? Dive into the comforting world of homemade chicken bone broth! This recipe is your gateway to a nutrient-rich elixir, simmered to perfection, that will warm your soul and fortify your body. Forget the bland and embrace the brilliant with a broth that’s bursting with flavor and packed with goodness.
Recommended Kitchen Tools
To make this recipe easier and more efficient, here are some tools I recommend:
-
Large Stock Pot
Check Price on Amazon →
-
Fine Mesh Strainer
Check Price on Amazon →
-
Kitchen Tongs
Check Price on Amazon →
Why You’ll Love This Recipe
This chicken bone broth recipe is a labor of love that yields incredible results. It’s incredibly versatile, serving as a base for soups, stews, sauces, or simply enjoyed on its own. Beyond its culinary applications, it’s a powerhouse of nutrients, known for supporting gut health, joint function, and overall well-being. Plus, making it at home is far more economical and rewarding than buying it pre-made.
Ingredients
- 3-4 lbs chicken bones (backs, necks, wings, carcasses – organic and pasture-raised preferred)
- 1 large onion, quartered (unpeeled is fine for color)
- 2-3 carrots, roughly chopped
- 3-4 celery stalks, roughly chopped
- 4-6 cloves garlic, smashed
- 1 tablespoon apple cider vinegar
- 1 teaspoon whole black peppercorns
- 2-3 bay leaves
- 1 bunch fresh parsley (stems and leaves)
- 10-12 cups cold water (or enough to cover ingredients)
Instructions
- Preheat your oven to 400°F (200°C).
- Spread the chicken bones on a baking sheet and roast for 30-40 minutes, or until nicely browned. This step is crucial for developing a deep, rich flavor and color in your broth.
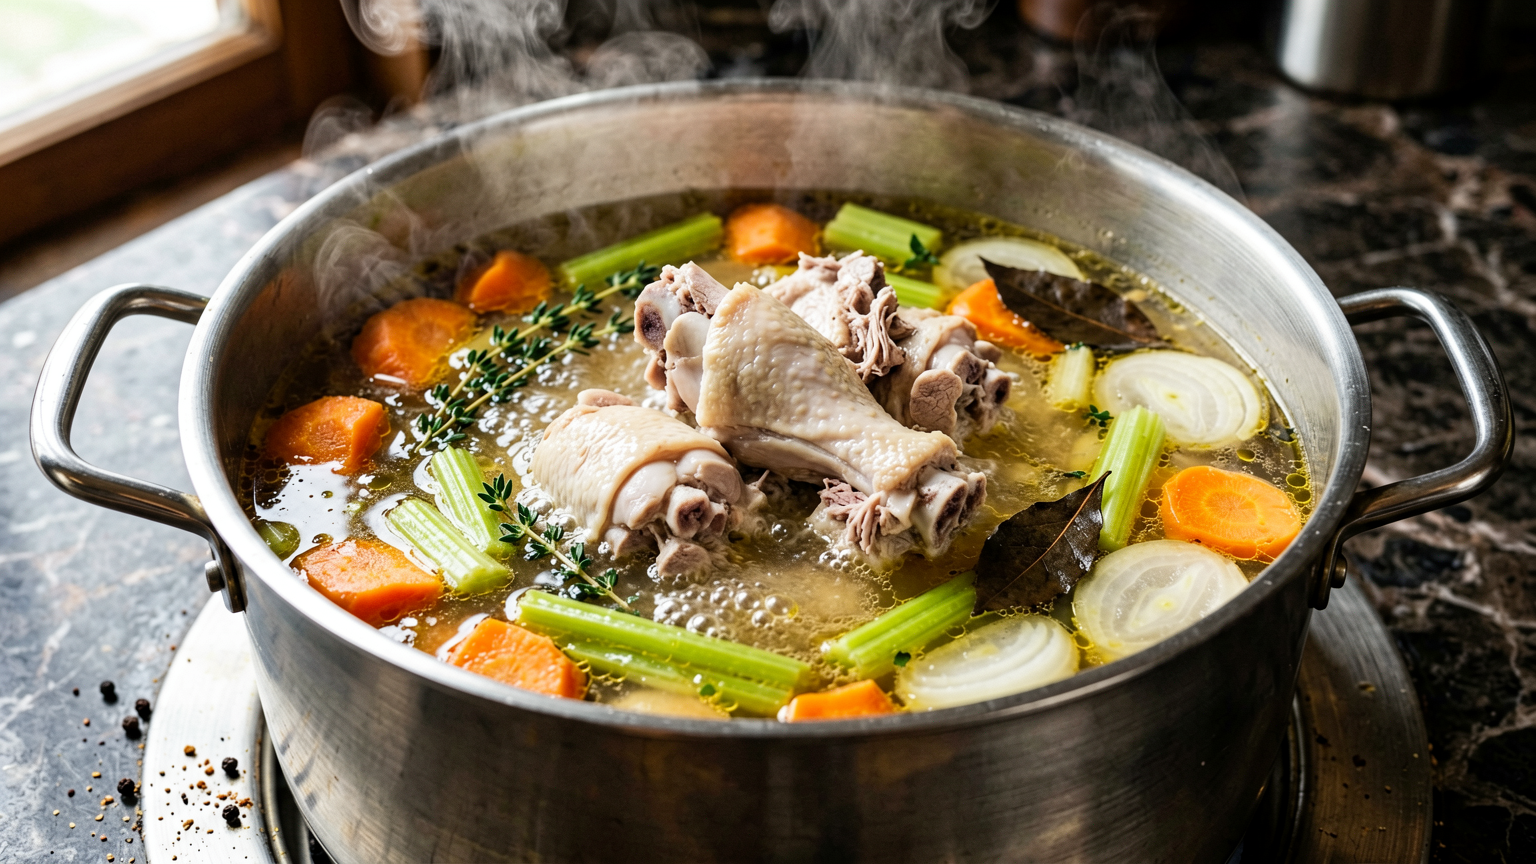
- Transfer the roasted bones to a large stock pot. Add the quartered onion, chopped carrots, celery, smashed garlic, apple cider vinegar, peppercorns, bay leaves, and parsley.
- Pour in enough cold water to cover all the ingredients by at least an inch or two. Adding the apple cider vinegar helps to extract minerals from the bones.
- Bring the pot to a boil over high heat, then immediately reduce the heat to low. Skim off any foam or impurities that rise to the surface during the first hour of simmering.
- Cover the pot partially (leaving a small gap for steam to escape) and let it simmer gently for at least 12-24 hours. The longer it simmers, the more nutrient-rich and flavorful it will become. Ensure it never reaches a rolling boil, just a gentle simmer.
- Once the simmering time is complete, carefully remove the bones and vegetables using tongs or a slotted spoon. Discard the solids.
- Strain the broth through a fine-mesh sieve into a clean pot or large heatproof bowls. For an even clearer broth, you can line the sieve with cheesecloth.
- Allow the broth to cool slightly, then skim off any excess fat from the surface. You can reserve this fat for cooking if desired.
- Let the broth cool completely before storing.
Tips
- Don’t skip the roasting step for the bones; it’s key for flavor and color.
- Use a combination of bones for the best flavor profile – marrow bones, joints, and carcass pieces all contribute.
- If you have leftover cooked chicken carcass from a roast chicken, it’s perfect for making broth.
- Simmering on the lowest heat possible is essential for a clear, clean-tasting broth.
- Adding a splash of acid like apple cider vinegar helps to leach minerals from the bones.
- Taste and adjust seasonings (salt) only after the broth has been strained and cooled, as the flavor concentrates during simmering.
Serving Suggestions
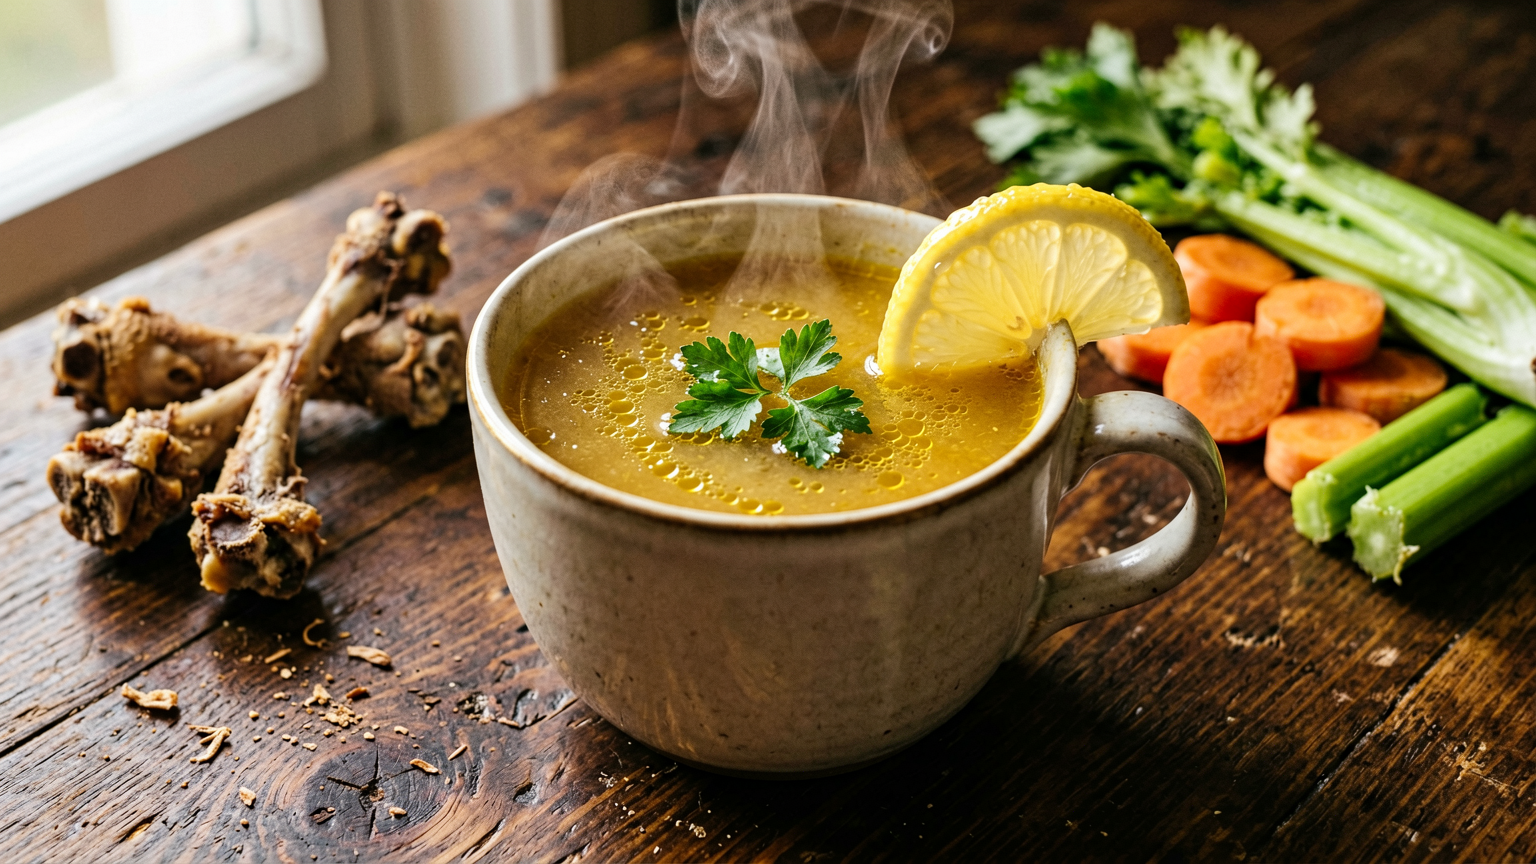
- Enjoy a warm mug of broth on its own as a comforting beverage.
- Use it as a base for soups like chicken noodle soup, ramen, or vegetable soup.
- Incorporate it into risotto, sauces, gravies, or braising liquids.
- Rehydrate dried grains like rice or quinoa with bone broth for added flavor and nutrients.
Storage Tips
Once cooled, store the bone broth in airtight containers in the refrigerator for up to 4-5 days, or freeze it in portions (ice cube trays work well for small amounts) for up to 6 months. Broth will solidify when chilled due to the gelatin content.
FAQ
How long should I simmer the bone broth? For maximum nutrient extraction and flavor, simmer for at least 12 hours, and up to 24 hours.
What kind of chicken bones should I use? You can use backs, necks, wings, carcasses, or a combination. Roasting them first enhances flavor.
Why is my broth cloudy? Over-boiling can cause cloudiness. Ensure you maintain a very gentle simmer and skim impurities.
Can I make this in a slow cooker or Instant Pot? Yes, a slow cooker can simmer for 12-24 hours on low. An Instant Pot can pressure cook on high for 90-120 minutes, followed by natural release.
Nutrition Information
- Calories: Approximately 30-50 per cup (varies based on fat content)
- Protein: Approximately 5-8g per cup
- Fat: Approximately 1-3g per cup (can be higher if not skimmed)
- Carbohydrates: Less than 1g per cup
Nourishing Homemade Chicken Bone Broth Recipe (Rich & Flavorful!)
Ingredients
Method
- Preheat your oven to 400°F (200°C).
- Spread the chicken bones on a baking sheet and roast for 30-40 minutes, or until nicely browned. This step is crucial for developing a deep, rich flavor and color in your broth.
- Transfer the roasted bones to a large stock pot. Add the quartered onion, chopped carrots, celery, smashed garlic, apple cider vinegar, peppercorns, bay leaves, and parsley.
- Pour in enough cold water to cover all the ingredients by at least an inch or two. Adding the apple cider vinegar helps to extract minerals from the bones.
- Bring the pot to a boil over high heat, then immediately reduce the heat to low. Skim off any foam or impurities that rise to the surface during the first hour of simmering.
- Cover the pot partially (leaving a small gap for steam to escape) and let it simmer gently for at least 12-24 hours. The longer it simmers, the more nutrient-rich and flavorful it will become. Ensure it never reaches a rolling boil, just a gentle simmer.
- Once the simmering time is complete, carefully remove the bones and vegetables using tongs or a slotted spoon. Discard the solids.
- Strain the broth through a fine-mesh sieve into a clean pot or large heatproof bowls. For an even clearer broth, you can line the sieve with cheesecloth.
- Allow the broth to cool slightly, then skim off any excess fat from the surface. You can reserve this fat for cooking if desired.
- Let the broth cool completely before storing.

















