Introduction
Tired of lumpy sauces and bland gravies? The secret to a restaurant-quality finish often lies in a simple yet fundamental technique: the roux. This magical blend of fat and flour is the cornerstone of countless culinary delights, from creamy mac and cheese to rich gumbo. Forget intimidating culinary jargon; we’re breaking down how to create a perfect roux, every single time, making you a kitchen wizard in no time!
Recommended Kitchen Tools
To make this recipe easier and more efficient, here are some tools I recommend:
-
Heavy-Bottomed Saucepan
Check Price on Amazon →
-
Whisk
Check Price on Amazon →
-
Measuring Cups and Spoons
Check Price on Amazon →
Why You’ll Love This Recipe
This guide demystifies the roux, transforming a potentially tricky technique into an easy, essential skill. You’ll gain the confidence to elevate your cooking, creating velvety sauces, flavorful gravies, and hearty soups that will impress everyone at the table. It’s the foundation for so many delicious dishes, and once you master it, your culinary repertoire expands exponentially!
Ingredients
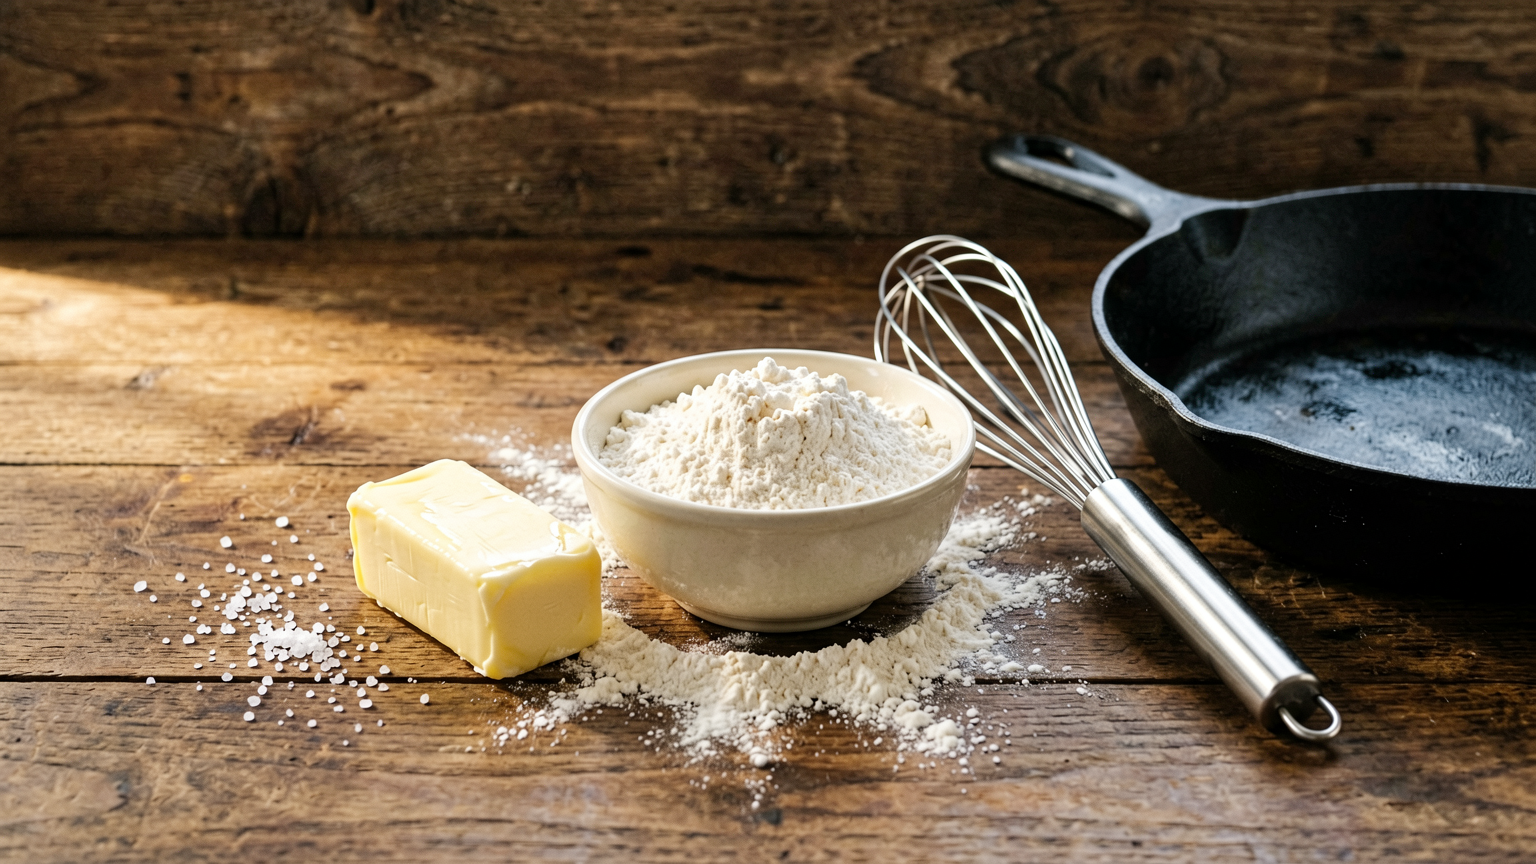
- 1/4 cup unsalted butter (or other fat like oil or bacon drippings)
- 1/4 cup all-purpose flour
Instructions
- Measure out your fat and flour. For a basic roux, the ratio is typically equal parts by volume, so 1/4 cup of fat to 1/4 cup of flour is a great starting point for about 2 cups of liquid.
- Place a heavy-bottomed saucepan over medium-low heat. Add the fat and allow it to melt completely. If using butter, let it melt gently without browning.
- Once the fat is melted and shimmering (but not smoking), gradually whisk in the flour. Continue whisking constantly to combine the flour and fat, ensuring there are no lumps. This is your white roux.
- For a blonde roux, continue cooking and whisking for about 3-5 minutes. The mixture will turn a pale, straw-like color and emit a slightly nutty aroma. Be careful not to burn it.
- To achieve a brown roux, continue cooking and whisking for another 5-10 minutes (totaling 8-15 minutes from the start). The roux will deepen to a peanut butter or light brown color and have a more pronounced nutty scent. This adds more flavor but has less thickening power.
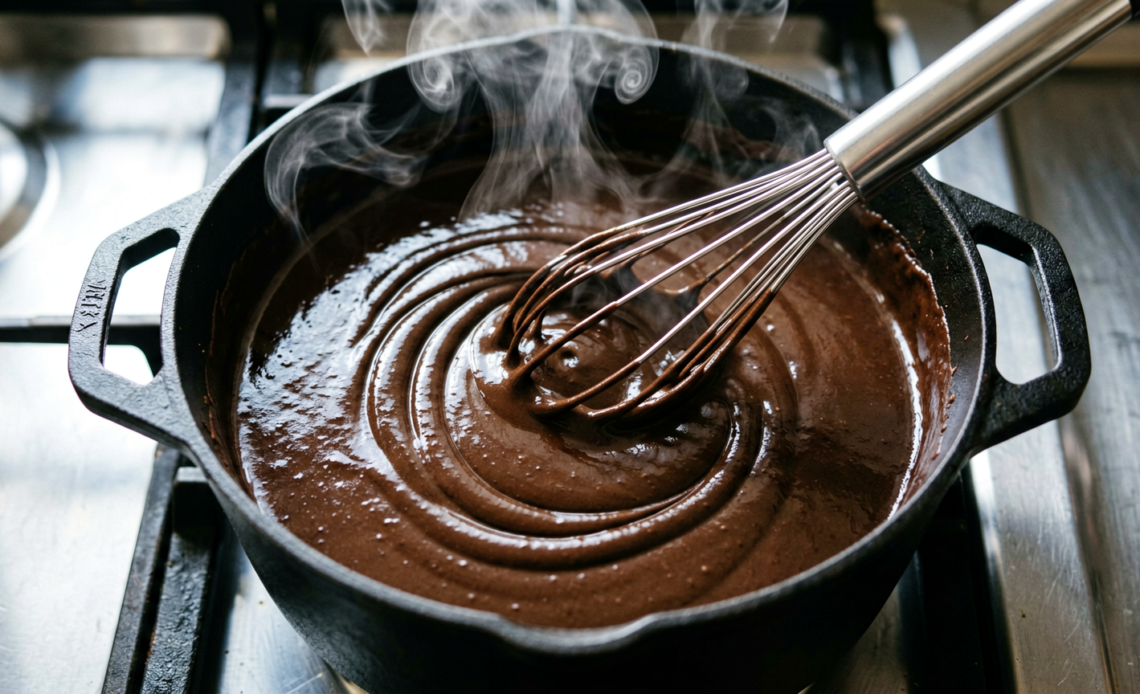
- For a dark brown or ‘gumbo’ roux, continue cooking and whisking for an additional 5-15 minutes (totaling 15-30 minutes or more). The color will be a deep, rich brown, similar to dark chocolate. This roux has the most flavor but the least thickening ability. Constant stirring is crucial to prevent burning.
- Once your desired color is reached, you can immediately add your liquid (stock, milk, etc.) to create your sauce or gravy. Whisk vigorously as you add the liquid to incorporate the roux smoothly and prevent lumps.
Tips
- Always use a heavy-bottomed pan to ensure even heat distribution and prevent scorching.
- Whisk continuously, especially as the roux cooks and darkens, to prevent burning and ensure a smooth texture.
- The cooking time for your roux determines its color and flavor. White roux is for delicate sauces, blonde for gravies, and dark for robust flavors like gumbo.
- When adding liquid, it should ideally be cold or room temperature if you’re making a white or blonde roux with hot roux, or hot if you’re making a dark roux with cold roux. This helps prevent lumps.
- Don’t rush the process, especially for darker rouxs. Patience is key to developing rich flavor without burning.
Serving Suggestions
- Use a white roux for béchamel sauce, cream soups, and cheese sauces.
- A blonde roux is perfect for country gravies, chicken and turkey gravies, and lighter cream sauces.
- Employ a brown or dark roux for rich, flavorful dishes like gumbo, étouffée, and hearty stews.
Storage Tips
Roux can be made ahead of time and stored. Once cooled, it can be covered and refrigerated for up to 3 days, or frozen for longer storage. Thaw and re-whisk before using.
FAQ
What is a roux? A roux is a thickening agent made by cooking equal parts fat and flour together.
How long does it take to make a roux? It can take anywhere from 3-5 minutes for a white roux to 15-30+ minutes for a dark roux, depending on the desired color and flavor.
Can I use oil instead of butter? Yes, you can use various fats like vegetable oil, canola oil, bacon drippings, or even lard.
What happens if my roux burns? Burnt roux will impart a bitter flavor to your dish and cannot be salvaged. It’s best to discard it and start over.
Nutrition Information
- Calories: Approx. 100 per tablespoon (for basic butter/flour)
- Protein: Approx. 1g per tablespoon
- Fat: Approx. 7g per tablespoon
- Carbohydrates: Approx. 7g per tablespoon
Master the Art of Roux: The Ultimate Guide to a Silky Smooth Sauce Base
Ingredients
Method
- Measure out your fat and flour. For a basic roux, the ratio is typically equal parts by volume, so 1/4 cup of fat to 1/4 cup of flour is a great starting point for about 2 cups of liquid.
- Place a heavy-bottomed saucepan over medium-low heat. Add the fat and allow it to melt completely. If using butter, let it melt gently without browning.
- Once the fat is melted and shimmering (but not smoking), gradually whisk in the flour. Continue whisking constantly to combine the flour and fat, ensuring there are no lumps. This is your white roux.
- For a blonde roux, continue cooking and whisking for about 3-5 minutes. The mixture will turn a pale, straw-like color and emit a slightly nutty aroma. Be careful not to burn it.
- To achieve a brown roux, continue cooking and whisking for another 5-10 minutes (totaling 8-15 minutes from the start). The roux will deepen to a peanut butter or light brown color and have a more pronounced nutty scent. This adds more flavor but has less thickening power.
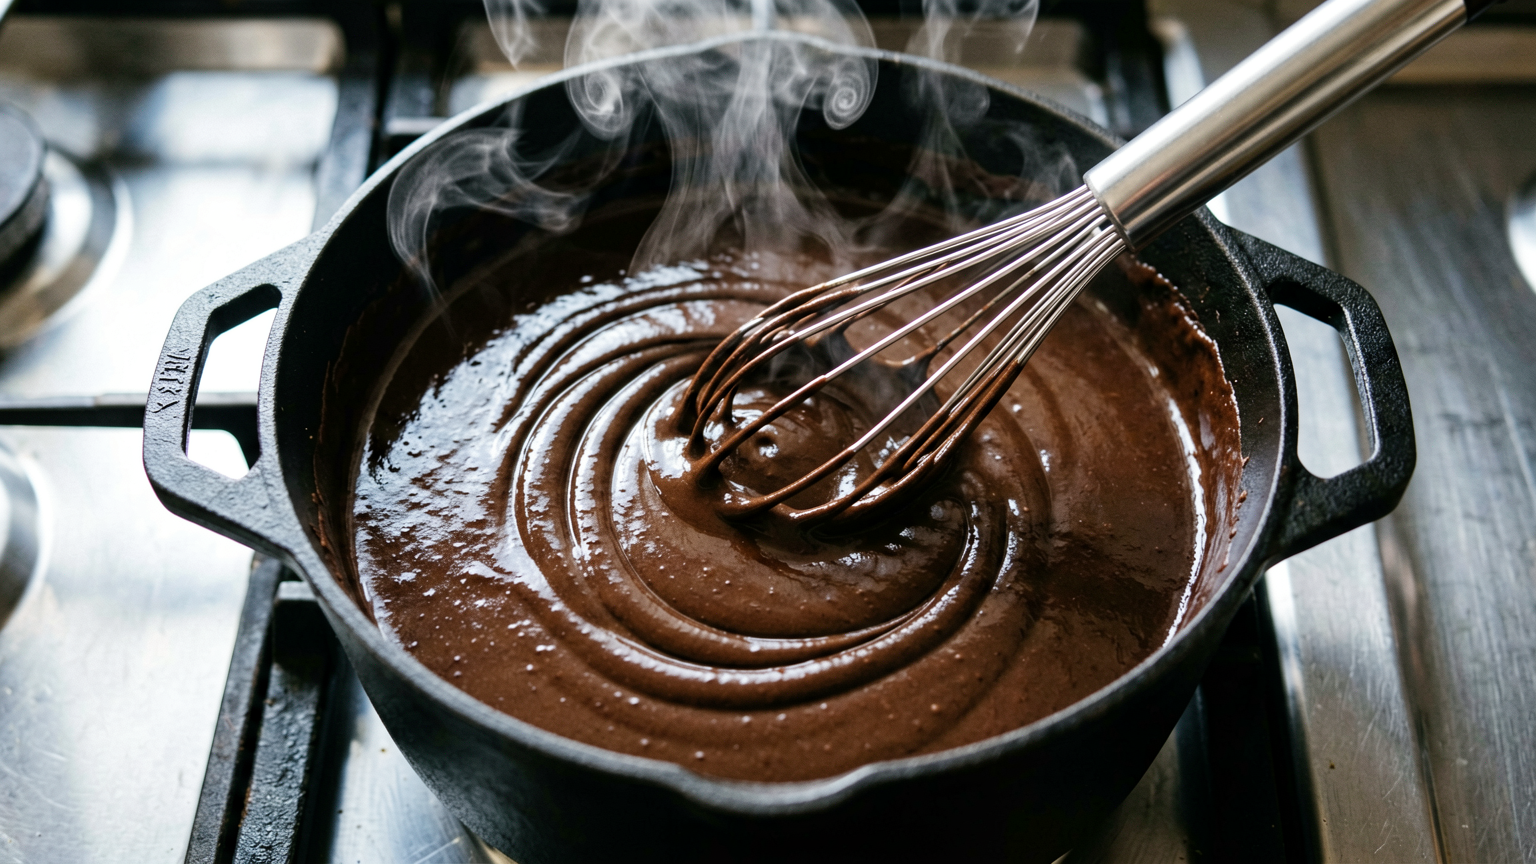
- For a dark brown or 'gumbo' roux, continue cooking and whisking for an additional 5-15 minutes (totaling 15-30 minutes or more). The color will be a deep, rich brown, similar to dark chocolate. This roux has the most flavor but the least thickening ability. Constant stirring is crucial to prevent burning.
- Once your desired color is reached, you can immediately add your liquid (stock, milk, etc.) to create your sauce or gravy. Whisk vigorously as you add the liquid to incorporate the roux smoothly and prevent lumps.

















