Introduction
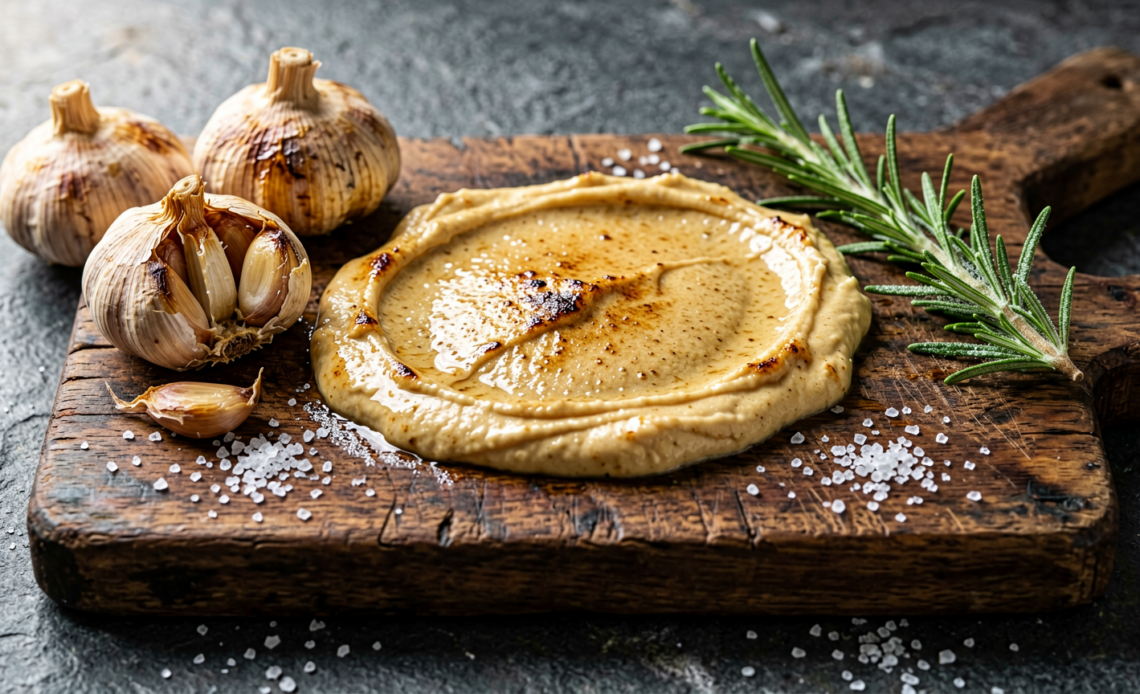
Imagine a mellow, sweet, and deeply savory aroma filling your kitchen, transforming humble garlic into a creamy, spreadable delight. That’s the magic of roasted garlic! Forget the sharp bite of raw cloves; roasting mellows garlic’s intensity into a rich, nutty, and utterly delicious ingredient that can elevate everything from simple toast to sophisticated sauces. This easy roasted garlic recipe is a game-changer for any home cook looking to add a gourmet touch to their meals.
Recommended Kitchen Tools
To make this recipe easier and more efficient, here are some tools I recommend:
-
Baking Sheet
Check Price on Amazon →
-
Sharp Knife
Check Price on Amazon →
-
Aluminum Foil
Check Price on Amazon →
Why You’ll Love This Recipe
This roasted garlic recipe is incredibly versatile, surprisingly simple to make, and yields a flavor that’s both comforting and complex. It’s the secret weapon for boosting the taste of countless dishes, and the process itself is wonderfully aromatic. Plus, who doesn’t love a warm, buttery spread or a flavorful dip?
Ingredients
- 2-3 whole heads of garlic
- 2 tablespoons olive oil (or melted butter)
- Salt, to taste
- Black pepper, to taste
- Optional: Fresh rosemary or thyme sprigs
Instructions
- Preheat your oven to 400°F (200°C).
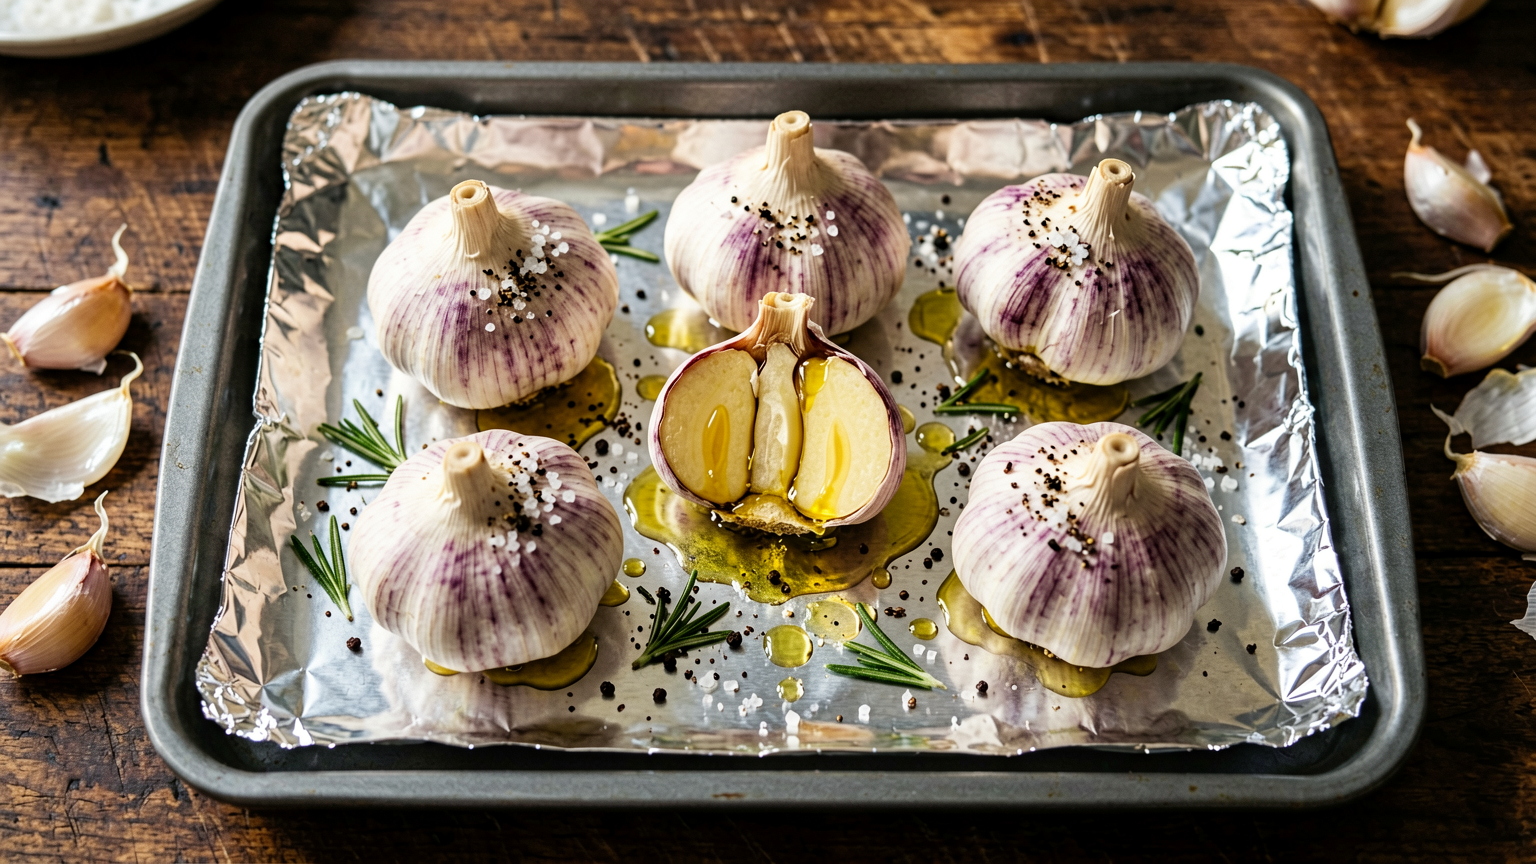
- Prepare the garlic: Slice off the top 1/4 inch of each garlic head, exposing the cloves. Be careful not to cut too deep, you want to keep the head intact.
- Place the garlic heads, cut-side up, on a piece of aluminum foil large enough to wrap them. If using, tuck a sprig of rosemary or thyme into the foil packet with each head.
- Drizzle each garlic head generously with olive oil (or melted butter). Ensure the oil seeps down between the cloves.
- Season with salt and pepper. Wrap the foil tightly around each garlic head to create a sealed packet.
- Place the foil packets on a baking sheet and roast in the preheated oven for 40-60 minutes. The exact time will depend on the size of your garlic heads. They are ready when the cloves are soft, tender, and lightly golden brown.
- Carefully remove the baking sheet from the oven. Let the garlic cool slightly in the foil packets for about 5-10 minutes, until it’s safe to handle.
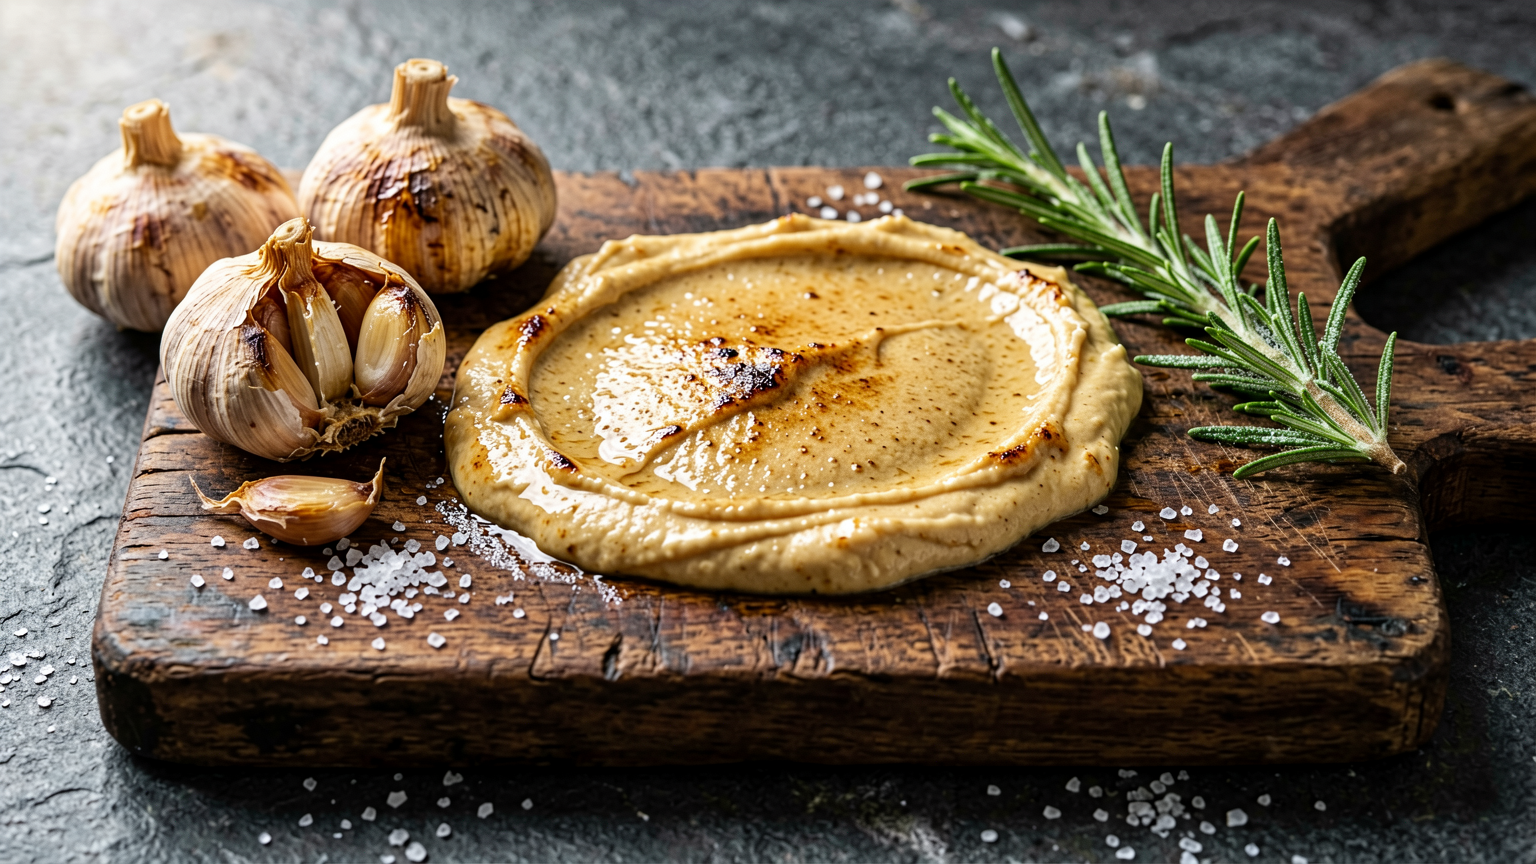
- To serve, squeeze the softened garlic cloves out of their skins. They should pop out easily. Mash with a fork or spoon to create a spreadable paste.
Tips
- Choose firm, fresh garlic heads for the best results.
- Don’t overcook, or the garlic can become bitter.
- For an even richer flavor, use butter instead of olive oil.
- If you don’t have foil, a small oven-safe dish with a lid can also work.
- Ensure the foil is sealed well to trap steam and cook the garlic evenly.
Serving Suggestions
- Spread on crusty bread, baguette slices, or crostini.
- Mash into mashed potatoes or other root vegetables.
- Stir into pasta sauces, soups, or stews.
- Use as a base for salad dressings or dips.
- Serve alongside roasted meats or vegetables as a flavorful condiment.
Storage Tips
Once cooled, store leftover roasted garlic in an airtight container in the refrigerator for up to 1 week. The roasted garlic paste can also be frozen in an ice cube tray for convenient portions.
FAQ
Q: How do I know when the roasted garlic is done?
A: The garlic is done when the cloves are very soft and tender when squeezed, and have a light golden-brown color.
Q: Can I roast garlic without olive oil?
A: Yes, you can use melted butter for a richer flavor, or even a neutral oil like avocado oil. A little fat is recommended to help with browning and flavor.
Q: How long does roasted garlic last?
A: Roasted garlic can be stored in the refrigerator for about a week when kept in an airtight container.
Nutrition Information
- Calories: Approx. 50-70 per clove (highly variable)
- Protein: Less than 1g per clove
- Fat: Approx. 4-6g per clove (mostly from added oil/butter)
- Carbohydrates: Approx. 2-3g per clove
Sweet & Savory Roasted Garlic Recipe: The Ultimate Flavor Booster
Ingredients
Method
- Preheat your oven to 400°F (200°C).
- Prepare the garlic: Slice off the top 1/4 inch of each garlic head, exposing the cloves. Be careful not to cut too deep, you want to keep the head intact.
- Place the garlic heads, cut-side up, on a piece of aluminum foil large enough to wrap them. If using, tuck a sprig of rosemary or thyme into the foil packet with each head.
- Drizzle each garlic head generously with olive oil (or melted butter). Ensure the oil seeps down between the cloves.
- Season with salt and pepper. Wrap the foil tightly around each garlic head to create a sealed packet.
- Place the foil packets on a baking sheet and roast in the preheated oven for 40-60 minutes. The exact time will depend on the size of your garlic heads. They are ready when the cloves are soft, tender, and lightly golden brown.
- Carefully remove the baking sheet from the oven. Let the garlic cool slightly in the foil packets for about 5-10 minutes, until it's safe to handle.
- To serve, squeeze the softened garlic cloves out of their skins. They should pop out easily. Mash with a fork or spoon to create a spreadable paste.

















