
Introduction
Unleash your inner artist and dive into the wonderfully tactile world of paper mache! Whether you’re planning a craft day with the kids, embarking on a DIY home decor project, or simply looking for a fun and budget-friendly way to create something unique, this classic paper mache recipe is your golden ticket. Forget complicated store-bought kits; we’re going back to basics with ingredients you likely already have in your pantry and craft box. Get ready to transform simple paper and glue into durable, imaginative masterpieces!
Recommended Kitchen Tools
To make this recipe easier and more efficient, here are some tools I recommend:
-
Mixing Bowl
Check Price on Amazon →
-
Whisk or Spoon
Check Price on Amazon →
-
Measuring Cups and Spoons
Check Price on Amazon →
Why You’ll Love This Recipe
This paper mache recipe is incredibly versatile, allowing you to create everything from elaborate masks and sculptures to sturdy bowls and decorative objects. It’s a fantastic, low-cost craft that encourages creativity and fine motor skills, making it perfect for all ages. The process is straightforward, forgiving, and yields impressive results that can be painted and decorated to your heart’s content. Plus, it’s a great way to upcycle old newspapers and magazines!
Ingredients
- 2 cups all-purpose flour
- 2 cups water (plus more if needed)
- 1/4 cup white craft glue (like Elmer’s) or liquid starch (optional, for extra strength)
- Newspaper or paper towels, torn into strips (about 1-inch wide and 6-8 inches long)
- A mold or base for your project (e.g., balloon, bowl, cardboard shape)
Instructions
- Prepare your workspace: Cover your table with newspaper or a plastic tablecloth to protect it from glue and paint. Have your mold ready and your paper strips torn and within easy reach.
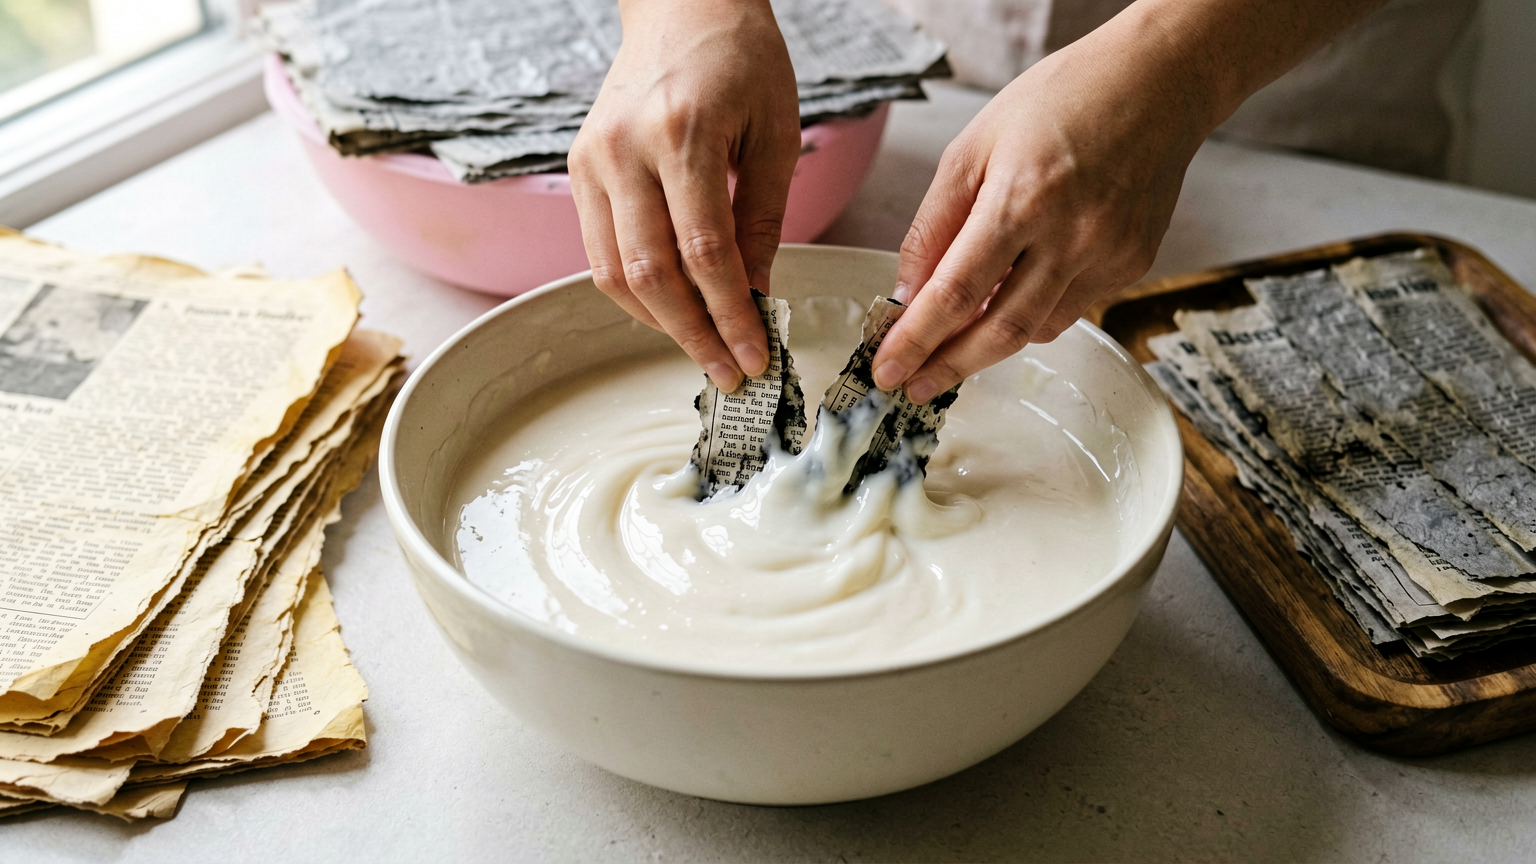
- Make the paste: In a medium-sized mixing bowl, combine the flour and water. Whisk vigorously until you achieve a smooth, lump-free consistency, similar to pancake batter. If using, stir in the white craft glue or liquid starch for added durability.
- Dip the paper strips: Take a strip of newspaper or paper towel and dip it into the paste, ensuring it’s fully saturated. Run the strip between your fingers to remove excess paste, leaving just enough to coat the paper.
- Apply the strips: Lay the coated paper strips onto your mold, overlapping them slightly to create a solid layer. Smooth out any air bubbles or wrinkles as you go. Continue layering strips in different directions to build strength.
- Build layers: For a sturdy final product, apply at least 3-4 layers of paper mache. Allow each layer to dry partially before adding the next, especially if you’re working on a complex shape. This helps prevent sogginess and ensures a stronger structure.
- Drying time: Once you’ve applied all your layers, let your creation dry completely. This can take 24-48 hours, depending on the thickness, humidity, and air circulation. Ensure it’s thoroughly dry before proceeding to the next step.
- Remove from mold and decorate: Carefully remove the dried paper mache from its mold. If you used a balloon, pop and remove it. Now comes the fun part! Sand any rough edges if desired, and then paint, draw, or embellish your creation however you like!
Tips
- For a smoother finish, use thinner paper like paper towels or printer paper for the final layers.
- If your paste becomes too thick, add a little more water, a tablespoon at a time, until it reaches the desired consistency.
- Ensure your workspace is well-ventilated during the drying process to speed things up and prevent mold.
- For larger or more complex projects, consider using a combination of paste and a watered-down craft glue for extra strength.
- Don’t be afraid to experiment with different molds and shapes!
Serving Suggestions
- Decorate with acrylic paints, markers, glitter, or decoupage.
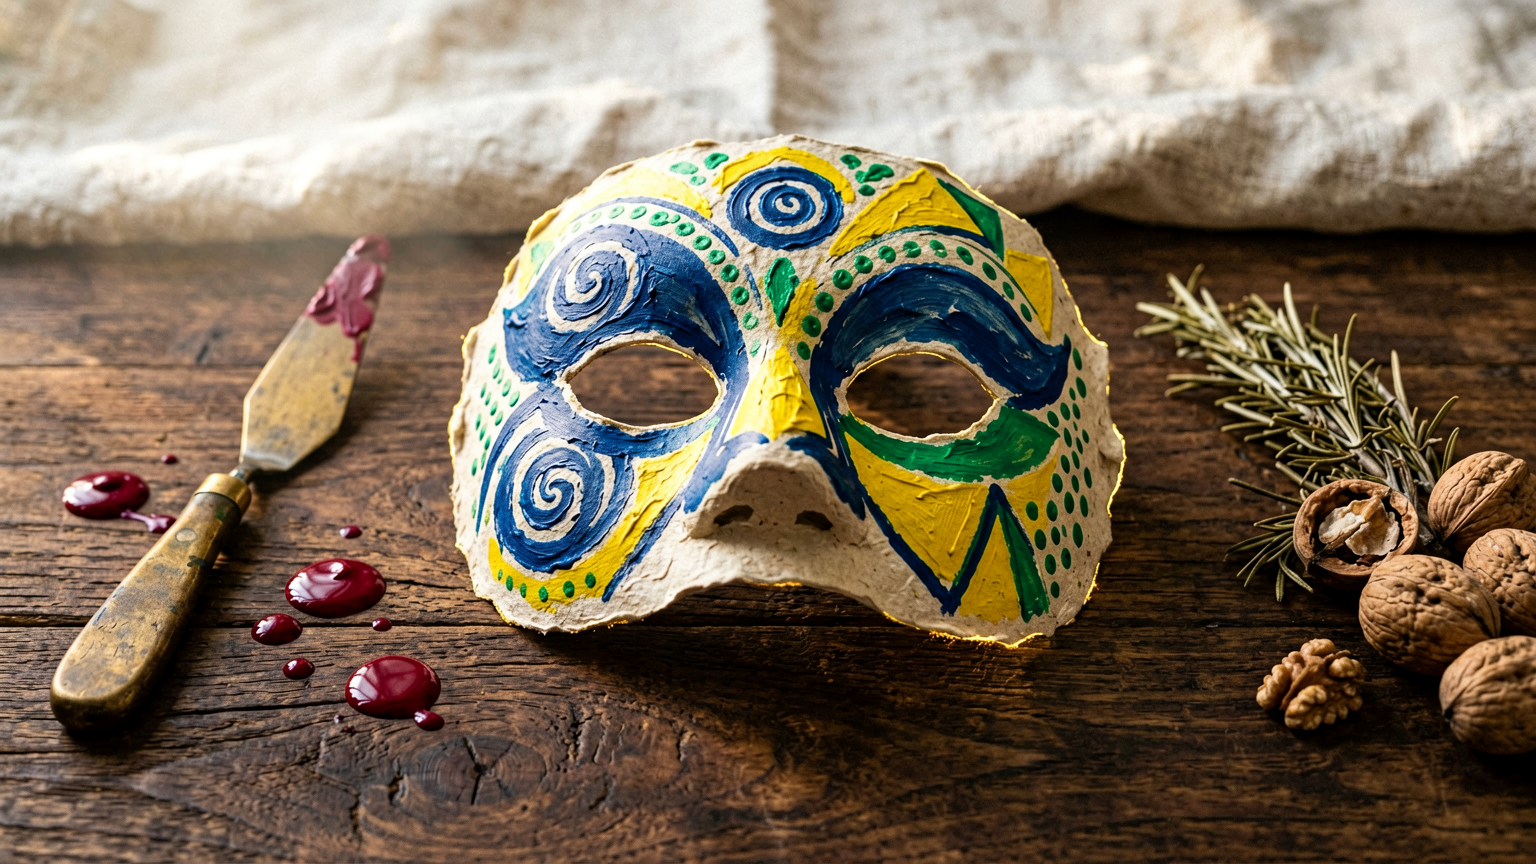
- Create unique masks for parties or costumes.
- Craft decorative bowls for holding lightweight items (not food).
- Make sturdy figures or sculptures.
- Use as a base for dioramas or school projects.
Storage Tips
Store your finished, dried, and decorated paper mache creations in a cool, dry place away from direct sunlight and moisture to preserve their integrity and prevent damage.
FAQ
Q: How long does paper mache take to dry?
A: Drying time can vary significantly, typically ranging from 24 to 48 hours, depending on the number of layers, ambient humidity, and air circulation. Ensure it’s completely dry before painting.
Q: Can I make paper mache waterproof?
A: While not inherently waterproof, you can seal your dried paper mache with a waterproof sealant or varnish after painting to make it more resistant to moisture.
Q: What is the best paper to use for paper mache?
A: Newspaper is a classic choice due to its absorbency and availability. Paper towels, brown paper bags, or even tissue paper can also be used for different textures and finishes.
Nutrition Information
- Calories: N/A (Craft material)
- Protein: N/A (Craft material)
- Fat: N/A (Craft material)
- Carbohydrates: N/A (Craft material)
Easy & Fun Paper Mache Recipe: Craft Stunning Projects with Household Items!
Ingredients
Method
- Prepare your workspace: Cover your table with newspaper or a plastic tablecloth to protect it from glue and paint. Have your mold ready and your paper strips torn and within easy reach.
- Make the paste: In a medium-sized mixing bowl, combine the flour and water. Whisk vigorously until you achieve a smooth, lump-free consistency, similar to pancake batter. If using, stir in the white craft glue or liquid starch for added durability.
- Dip the paper strips: Take a strip of newspaper or paper towel and dip it into the paste, ensuring it's fully saturated. Run the strip between your fingers to remove excess paste, leaving just enough to coat the paper.
- Apply the strips: Lay the coated paper strips onto your mold, overlapping them slightly to create a solid layer. Smooth out any air bubbles or wrinkles as you go. Continue layering strips in different directions to build strength.
- Build layers: For a sturdy final product, apply at least 3-4 layers of paper mache. Allow each layer to dry partially before adding the next, especially if you're working on a complex shape. This helps prevent sogginess and ensures a stronger structure.
- Drying time: Once you've applied all your layers, let your creation dry completely. This can take 24-48 hours, depending on the thickness, humidity, and air circulation. Ensure it's thoroughly dry before proceeding to the next step.
- Remove from mold and decorate: Carefully remove the dried paper mache from its mold. If you used a balloon, pop and remove it. Now comes the fun part! Sand any rough edges if desired, and then paint, draw, or embellish your creation however you like!

















