Introduction
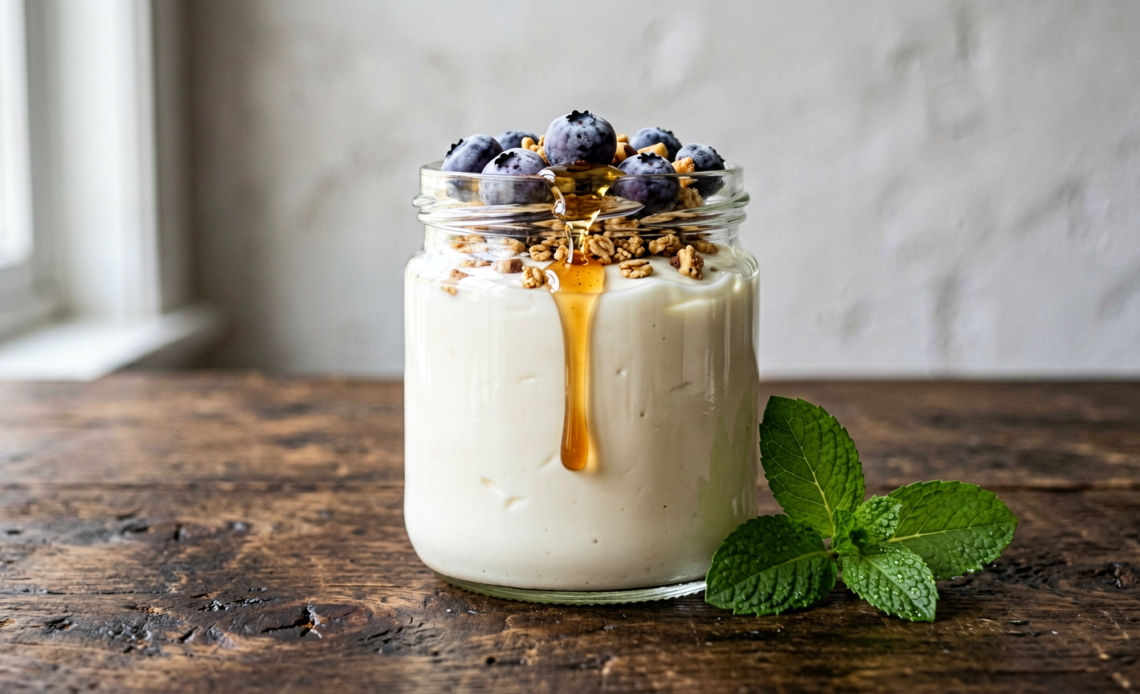
Tired of store-bought yogurt with mystery ingredients and a hefty price tag? Imagine waking up to a jar of rich, velvety, homemade yogurt, knowing exactly what went into it. With your Instant Pot, this dream is not only possible but surprisingly simple! Say goodbye to complicated techniques and hello to the easiest, most satisfying yogurt you’ve ever tasted.
Recommended Kitchen Tools
To make this recipe easier and more efficient, here are some tools I recommend:
-
Instant Pot
Check Price on Amazon →
-
Whisk
Check Price on Amazon →
-
Thermometer
Check Price on Amazon →
Why You’ll Love This Recipe
This Instant Pot yogurt recipe is a game-changer for busy kitchens. It’s incredibly hands-off, yields consistently delicious results, and allows you to customize the tanginess and thickness to your exact preference. Plus, it’s far more economical and healthier than most store-bought options, free from artificial flavors and excessive sugars.
Ingredients
- 1 gallon whole milk (or 2% for a lighter version)
- 1/2 cup plain yogurt with live active cultures (this is your starter)
- Optional: Sweetener to taste (honey, maple syrup, sugar)
- Optional: Flavorings (vanilla extract, fruit puree)
Instructions
- Pour the milk into your clean Instant Pot inner pot. Secure the lid and set the valve to ‘Sealing’. Press the ‘Yogurt’ button and select ‘Normal’ or ‘Boil’ (if your model has it) and let the milk heat for about 10-15 minutes, or until it reaches 180°F (82°C). If your pot doesn’t have this function, you can manually heat the milk on the stovetop to this temperature.
- Once the milk has reached 180°F, carefully remove the inner pot from the Instant Pot base. Let the milk cool down to 110-115°F (43-46°C). You can speed this up by placing the inner pot in an ice bath, stirring occasionally. Alternatively, you can leave the lid on and let it cool naturally. It’s crucial to reach this temperature range for proper culturing.
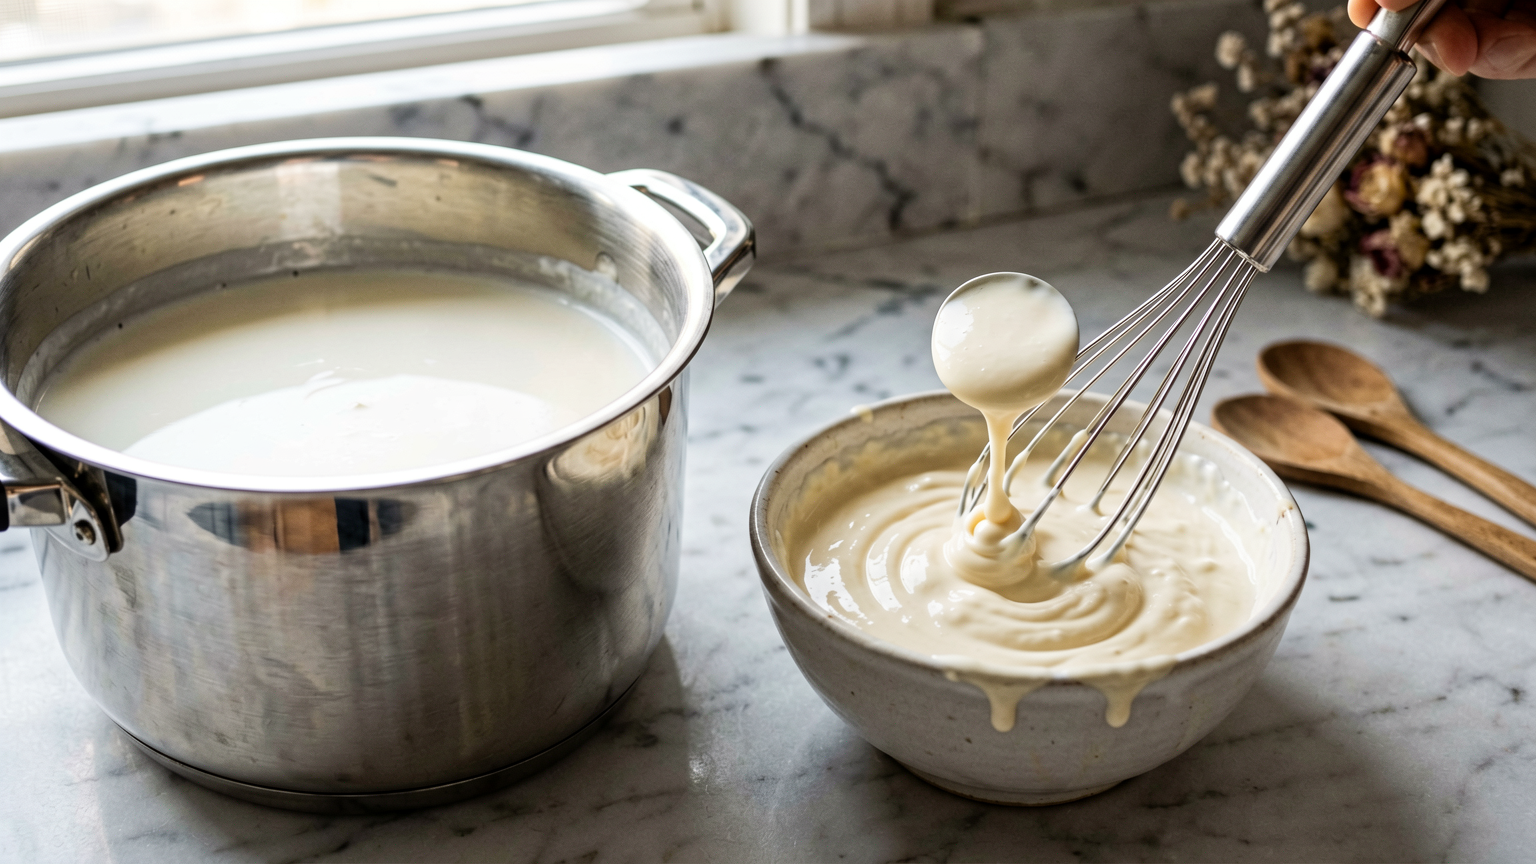
- In a small bowl, whisk together the 1/2 cup of starter yogurt with a ladleful of the cooled milk until smooth. This helps temper the cultures.
- Pour the tempered yogurt mixture back into the main pot of cooled milk. Whisk gently to combine thoroughly. If you plan to add sweetener or flavorings now, do so at this stage and whisk well.
- Place the inner pot back into the Instant Pot. Secure the lid and set the valve to ‘Sealing’. Press the ‘Yogurt’ button and select ‘Incubate’ or ‘8 Hours’ (or your desired fermentation time, typically 8-12 hours). Ensure the lid is sealed and avoid disturbing the pot during this time.
- Once the incubation cycle is complete, carefully open the lid. The yogurt should look thickened. You can strain it further for a thicker consistency (like Greek yogurt) by lining a sieve with cheesecloth and letting it drain over a bowl in the refrigerator for a few hours. Discard the whey or save it for other uses.
- Transfer the finished yogurt to airtight containers. Chill thoroughly in the refrigerator for at least 4-6 hours before serving to allow it to set completely.
Tips
- Use whole milk for the creamiest, richest yogurt. Lower fat milks will result in a thinner yogurt.
- Ensure your starter yogurt is fresh and contains live active cultures. Check the label!
- Sterilize your inner pot and any utensils that come into contact with the milk or yogurt to prevent unwanted bacteria from interfering.
- Don’t stir or move the pot during the incubation phase; this can disrupt the culturing process.
- For Greek-style yogurt, strain it longer. The longer it strains, the thicker it becomes.
Serving Suggestions
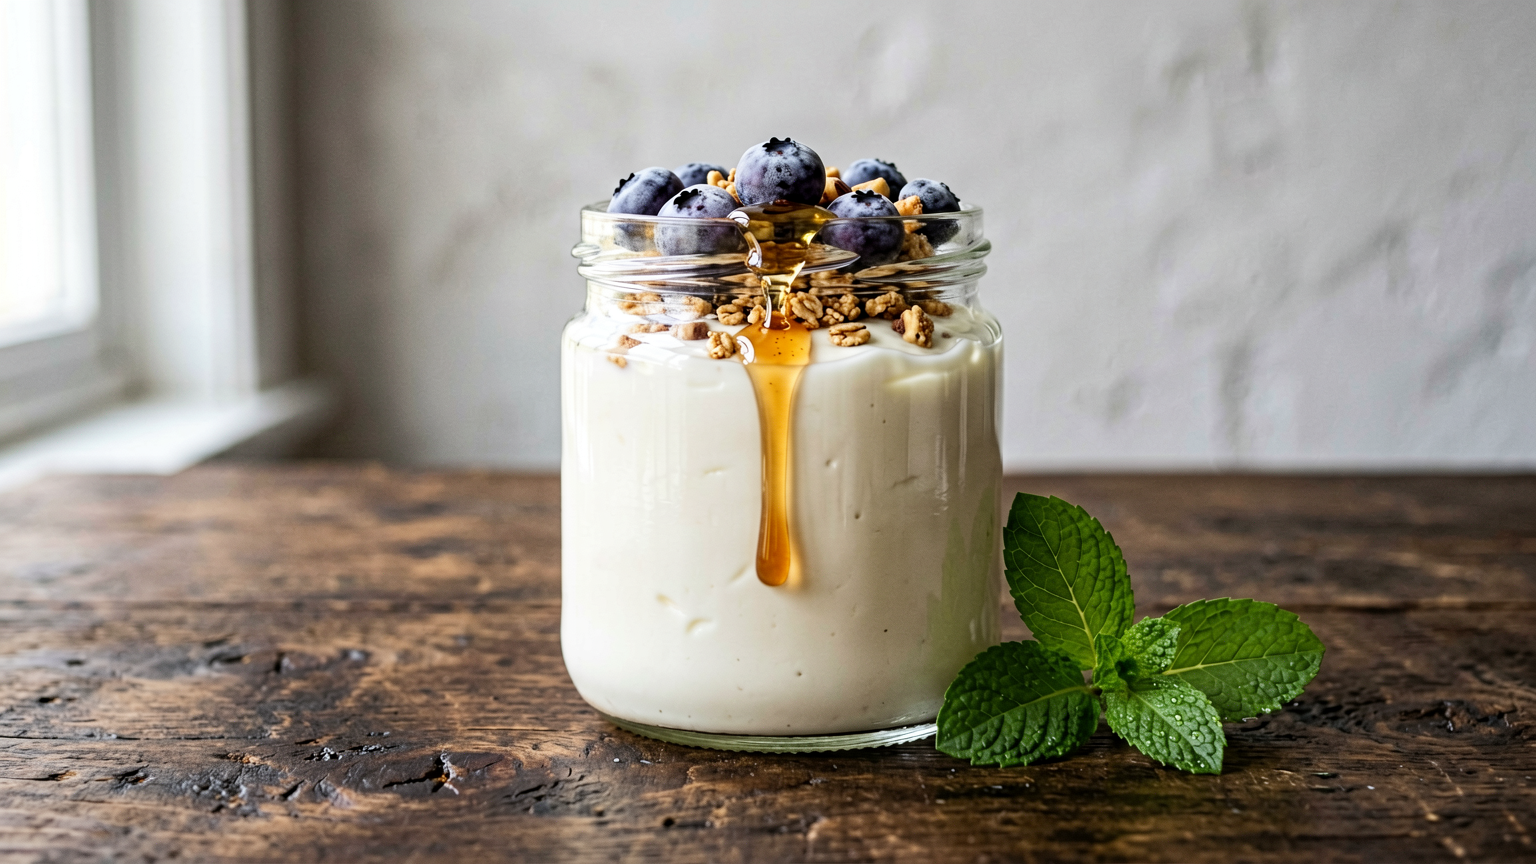
- Serve chilled, plain, or with your favorite toppings like fresh fruit, granola, honey, or a drizzle of maple syrup.
- Use as a base for smoothies, dips, or salad dressings.
- Enjoy a dollop on top of breakfast bowls or overnight oats.
Storage Tips
Store homemade yogurt in airtight containers in the refrigerator for up to 2 weeks. Always use a clean spoon when serving to maintain freshness.
FAQ
Q: Can I use a different type of milk? A: Yes, you can use 2% milk for a lighter yogurt, or even non-dairy alternatives like almond or soy milk, though results may vary and you might need specific vegan yogurt cultures.
Q: Why is my yogurt thin? A: This could be due to insufficient culturing time, incorrect temperatures during cooling or incubation, or using a starter that lacked active cultures. Straining can also help thicken it.
Q: Can I reuse some of my homemade yogurt as a starter? A: Yes, you can use your own yogurt as a starter for subsequent batches, but only for a few generations (around 5-7 times) before the cultures may weaken and you’ll need a fresh starter.
Nutrition Information
- Calories: 150 kcal (per 1 cup, plain, whole milk)
- Protein: 8g
- Fat: 8g
- Carbohydrates: 12g
Effortless Instant Pot Yogurt: Creamy, Dreamy Homemade Goodness!
Ingredients
Method
- Pour the milk into your clean Instant Pot inner pot. Secure the lid and set the valve to 'Sealing'. Press the 'Yogurt' button and select 'Normal' or 'Boil' (if your model has it) and let the milk heat for about 10-15 minutes, or until it reaches 180°F (82°C). If your pot doesn't have this function, you can manually heat the milk on the stovetop to this temperature.
- Once the milk has reached 180°F, carefully remove the inner pot from the Instant Pot base. Let the milk cool down to 110-115°F (43-46°C). You can speed this up by placing the inner pot in an ice bath, stirring occasionally. Alternatively, you can leave the lid on and let it cool naturally. It's crucial to reach this temperature range for proper culturing.
- In a small bowl, whisk together the 1/2 cup of starter yogurt with a ladleful of the cooled milk until smooth. This helps temper the cultures.
- Pour the tempered yogurt mixture back into the main pot of cooled milk. Whisk gently to combine thoroughly. If you plan to add sweetener or flavorings now, do so at this stage and whisk well.
- Place the inner pot back into the Instant Pot. Secure the lid and set the valve to 'Sealing'. Press the 'Yogurt' button and select 'Incubate' or '8 Hours' (or your desired fermentation time, typically 8-12 hours). Ensure the lid is sealed and avoid disturbing the pot during this time.
- Once the incubation cycle is complete, carefully open the lid. The yogurt should look thickened. You can strain it further for a thicker consistency (like Greek yogurt) by lining a sieve with cheesecloth and letting it drain over a bowl in the refrigerator for a few hours. Discard the whey or save it for other uses.
- Transfer the finished yogurt to airtight containers. Chill thoroughly in the refrigerator for at least 4-6 hours before serving to allow it to set completely.

















